CHANGING
Changing The Ribbon Cassette
1) Move the print carrier to the center of the platen using the | SPACE | or | . |
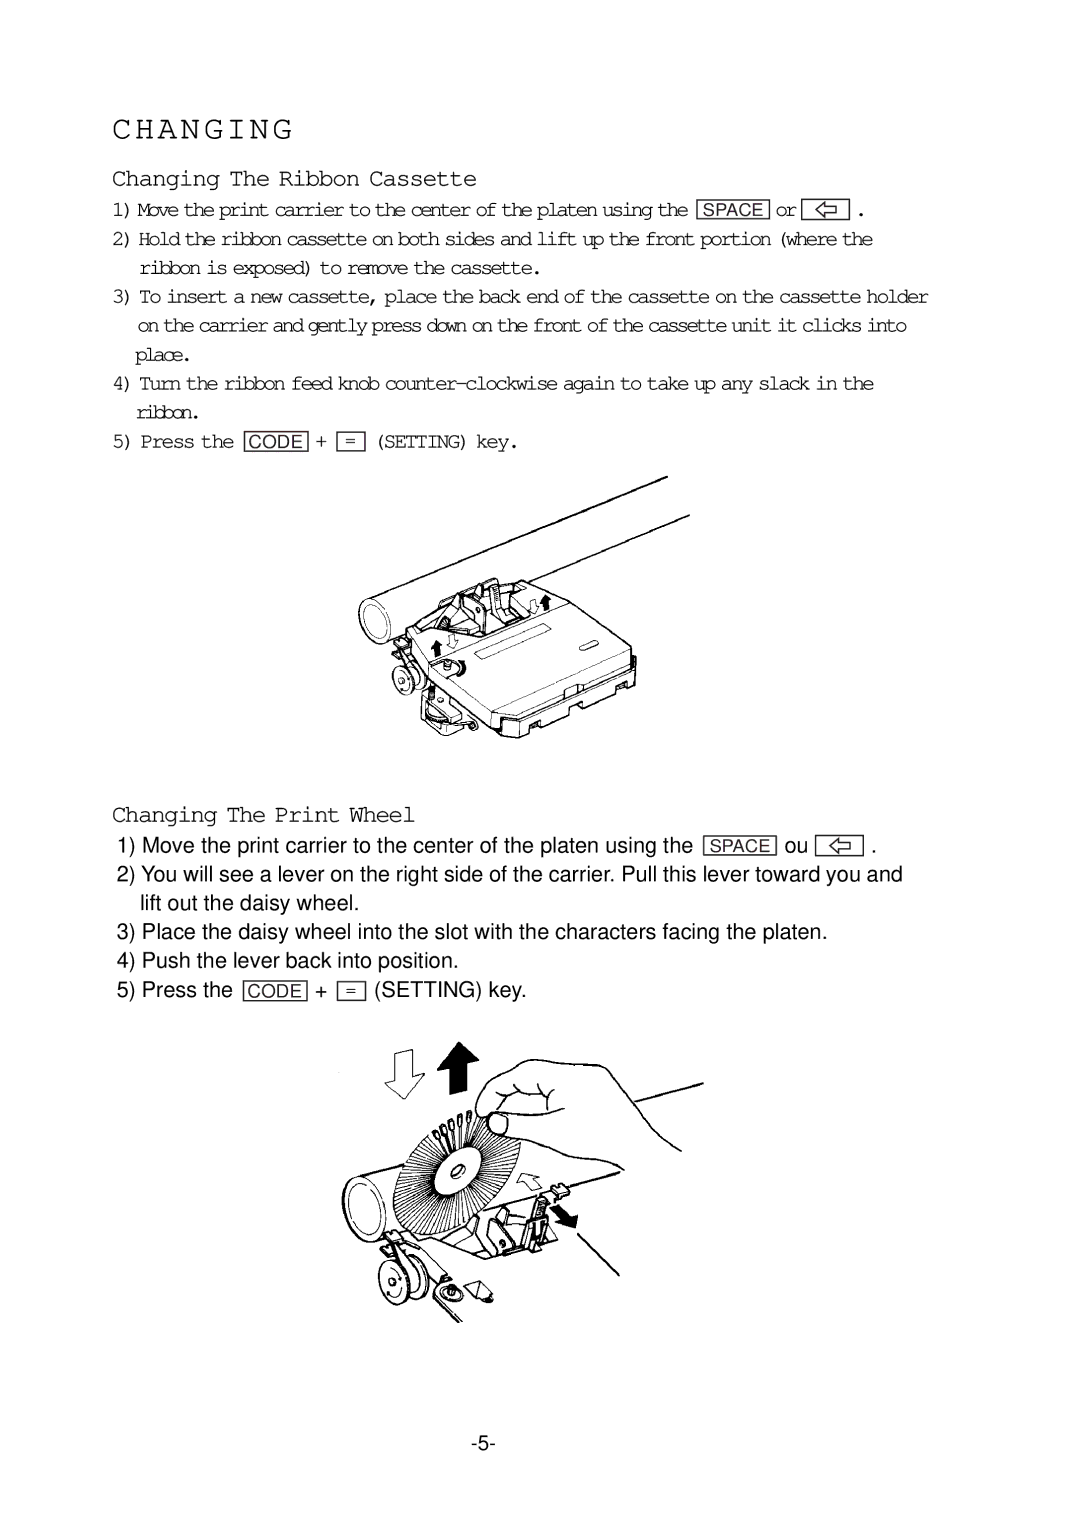
2)Hold the ribbon cassette on both sides and lift up the front portion (where the ribbon is exposed) to remove the cassette.
3)To insert a new cassette, place the back end of the cassette on the cassette holder on the carrier and gently press down on the front of the cassette unit it clicks into place.
4)Turn the ribbon feed knob
5)Press the CODE + = (SETTING) key.
Changing The Print Wheel
1) Move the print carrier to the center of the platen using the | SPACE | ou | . |
2)You will see a lever on the right side of the carrier. Pull this lever toward you and lift out the daisy wheel.
3)Place the daisy wheel into the slot with the characters facing the platen.
4)Push the lever back into position.
5)Press the CODE + = (SETTING) key.
