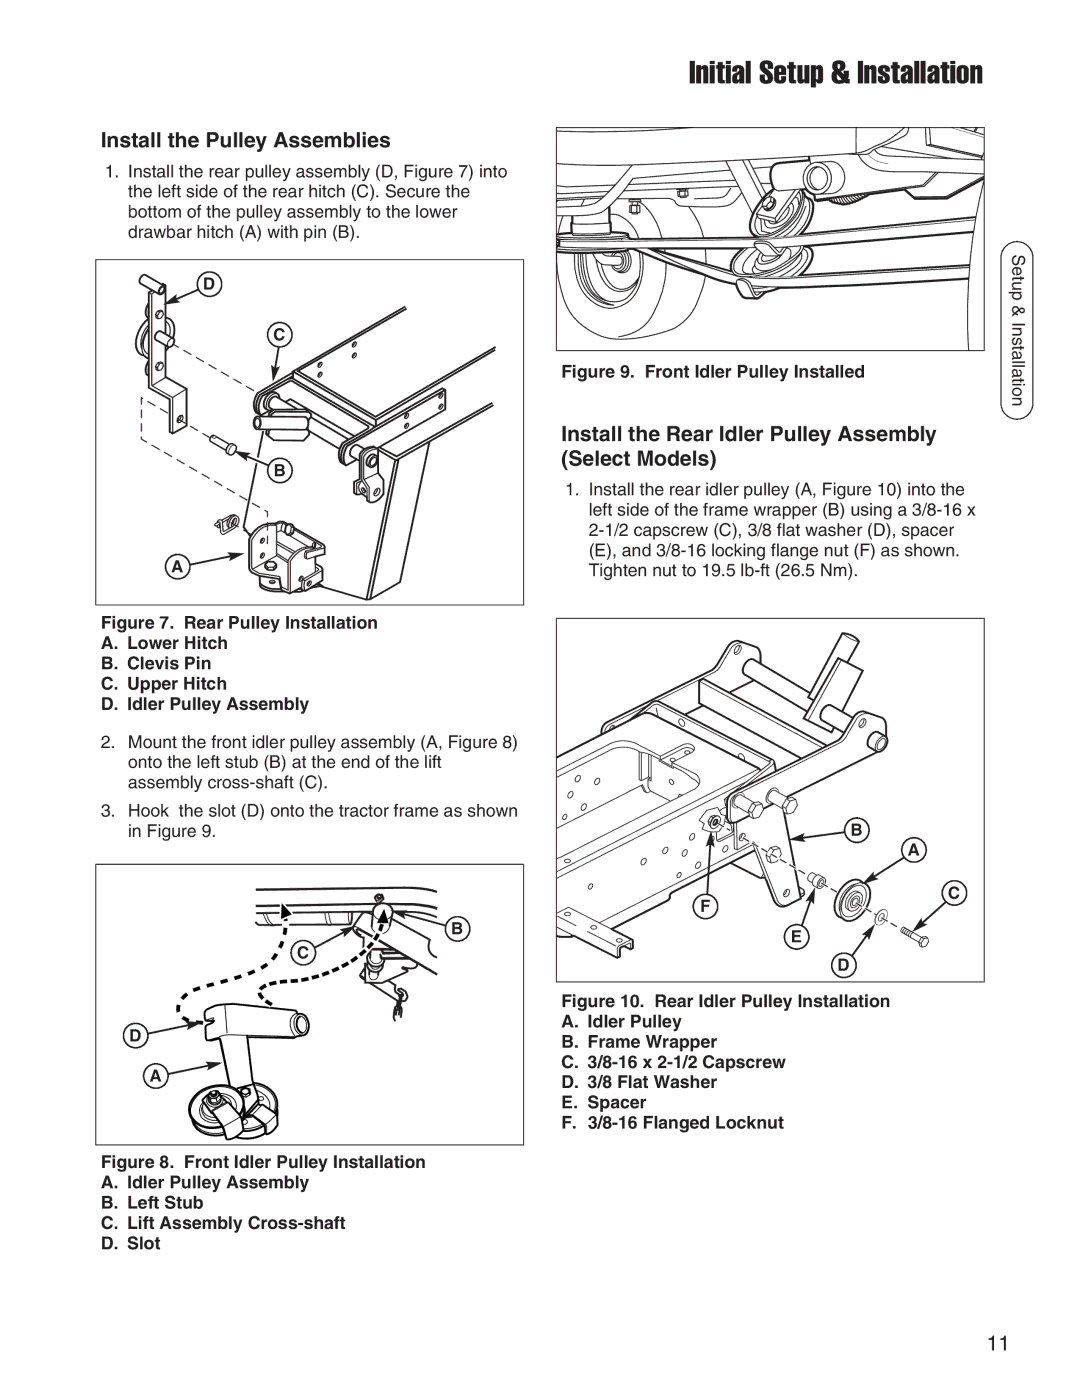
1694151, 1695419 specifications
Snapper 1694151 and 1695419 are two innovative models from Snapper, a brand synonymous with quality outdoor power equipment. These models are particularly designed to provide exceptional performance and reliability while being user-friendly and efficient, catering to both residential and commercial users.One of the standout features of Snapper 1694151 is its powerful engine, equipped with a robust propulsion system that ensures easy maneuverability across various terrains. It offers significant torque and speed, making it ideal for tackling demanding yard tasks efficiently. The engine is designed for low emissions, aligning with environmental standards while ensuring powerful performance.
In contrast, Snapper 1695419 comes with advanced technology that enhances user experience. One notable aspect is its enhanced cutting deck, which offers a larger cutting width compared to its predecessor. This feature enables quicker mowing sessions, significantly reducing the time spent on lawn maintenance. Additionally, the cutting system utilizes a unique design that improves grass collection and minimizes clumping, providing a cleaner cut.
Both models showcase Snapper's commitment to durability and ease of maintenance. They come equipped with all-season tires designed to provide excellent traction and stability, even in challenging conditions. The materials used in construction are heavy-duty yet lightweight, ensuring the longevity of the equipment without compromising on portability.
User comfort is another essential consideration in the design of Snapper 1694151 and 1695419. Both models offer an ergonomically designed handle that provides superior comfort and grip, reducing fatigue during extended use. Furthermore, they incorporate adjustable seat options, allowing users to find their ideal operating position for enhanced control and visibility.
In terms of technology, Snapper has integrated features such as electric start options, allowing for instant ignition without the need for manual starting. The models are also compatible with various attachments, expanding their functionality for multiple tasks, such as snow removal or leaf collection.
Ultimately, Snapper 1694151 and 1695419 stand out for their blend of power, efficiency, and user-friendliness. Designed for both weekend warriors and full-time landscape professionals, these models underscore Snapper's dedication to crafting reliable, high-performance outdoor equipment to meet a wide range of lawn care needs. These innovative machines are poised to meet the diverse demands of users looking for quality in every blade of grass they cut.

