Section 2 - OPERATING INSTRUCTIONS
WARNING
DO NOT attempt any maintenance, adjustments or service with engine and blade running. STOP engine and blade. Disconnect spark plug wire and secure away from spark plug. Engine and components are HOT. Avoid serious burns, allow sufficient time for all components to cool.
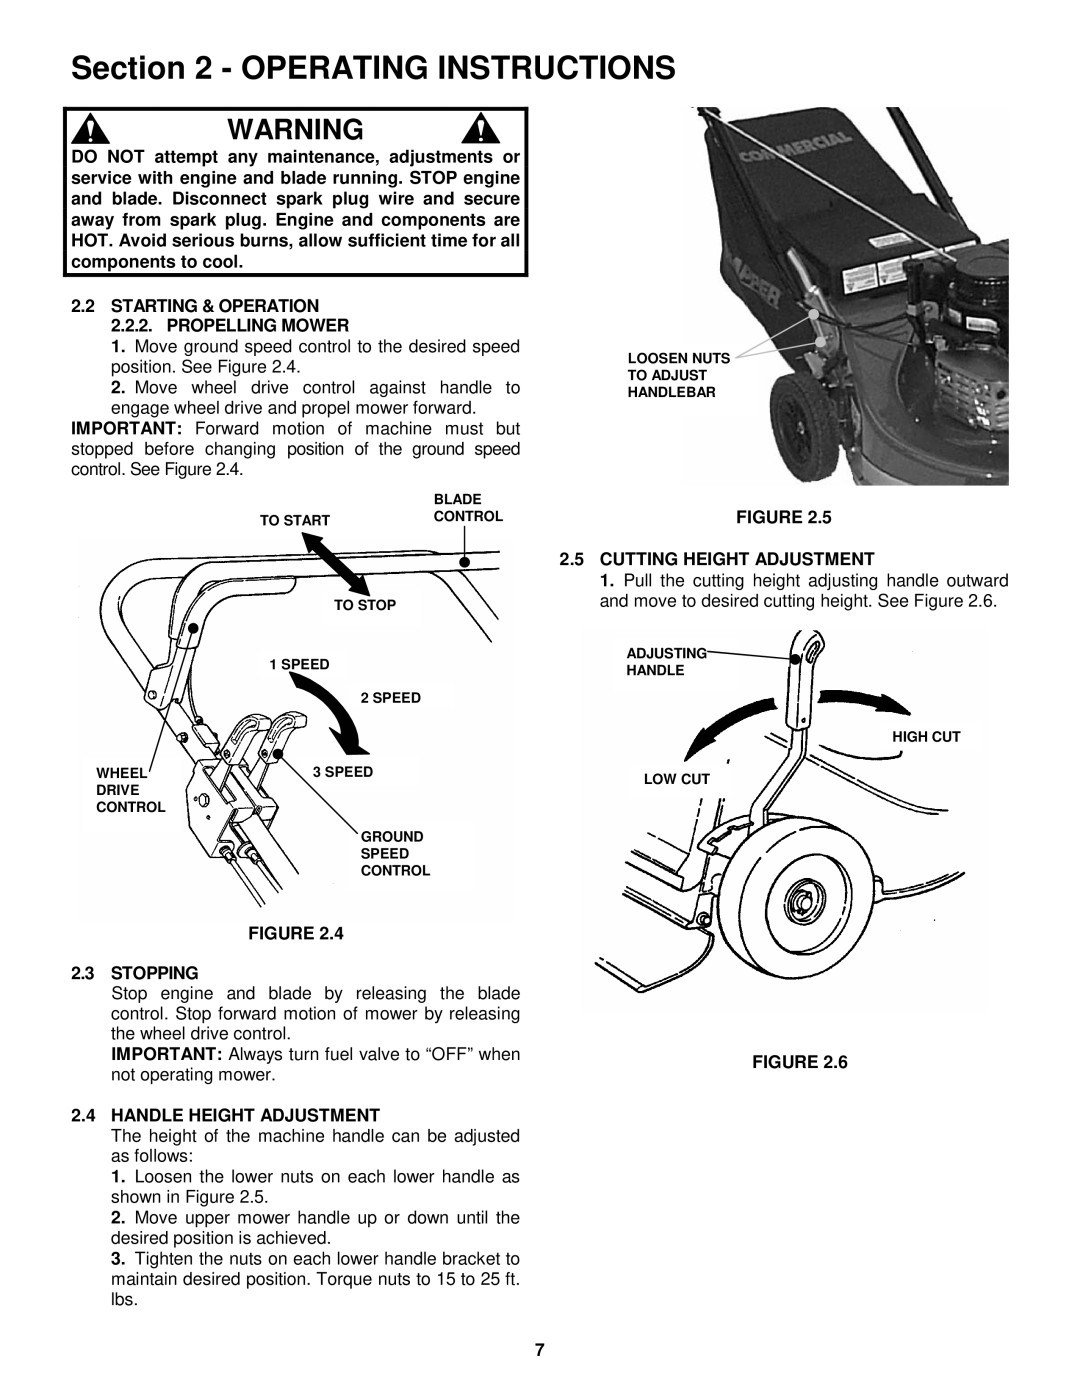
2.2STARTING & OPERATION 2.2.2. PROPELLING MOWER
1.Move ground speed control to the desired speed position. See Figure 2.4.
2.Move wheel drive control against handle to engage wheel drive and propel mower forward.
IMPORTANT: Forward motion of machine must but stopped before changing position of the ground speed control. See Figure 2.4.
| BLADE |
TO START | CONTROL |
| |
|
|
TO STOP
1 SPEED
2 SPEED
WHEEL | 3 SPEED |
DRIVE |
|
| |
CONTROL |
|
GROUND
SPEED
CONTROL
FIGURE 2.4
2.3STOPPING
Stop engine and blade by releasing the blade control. Stop forward motion of mower by releasing the wheel drive control.
IMPORTANT: Always turn fuel valve to “OFF” when not operating mower.
2.4HANDLE HEIGHT ADJUSTMENT
The height of the machine handle can be adjusted as follows:
1.Loosen the lower nuts on each lower handle as shown in Figure 2.5.
2.Move upper mower handle up or down until the desired position is achieved.
3.Tighten the nuts on each lower handle bracket to maintain desired position. Torque nuts to 15 to 25 ft. lbs.
LOOSEN NUTS
TO ADJUST
HANDLEBAR
FIGURE 2.5
2.5CUTTING HEIGHT ADJUSTMENT
1. Pull the cutting height adjusting handle outward and move to desired cutting height. See Figure 2.6.
ADJUSTING
HANDLE
HIGH CUT
LOW CUT
FIGURE 2.6
7
