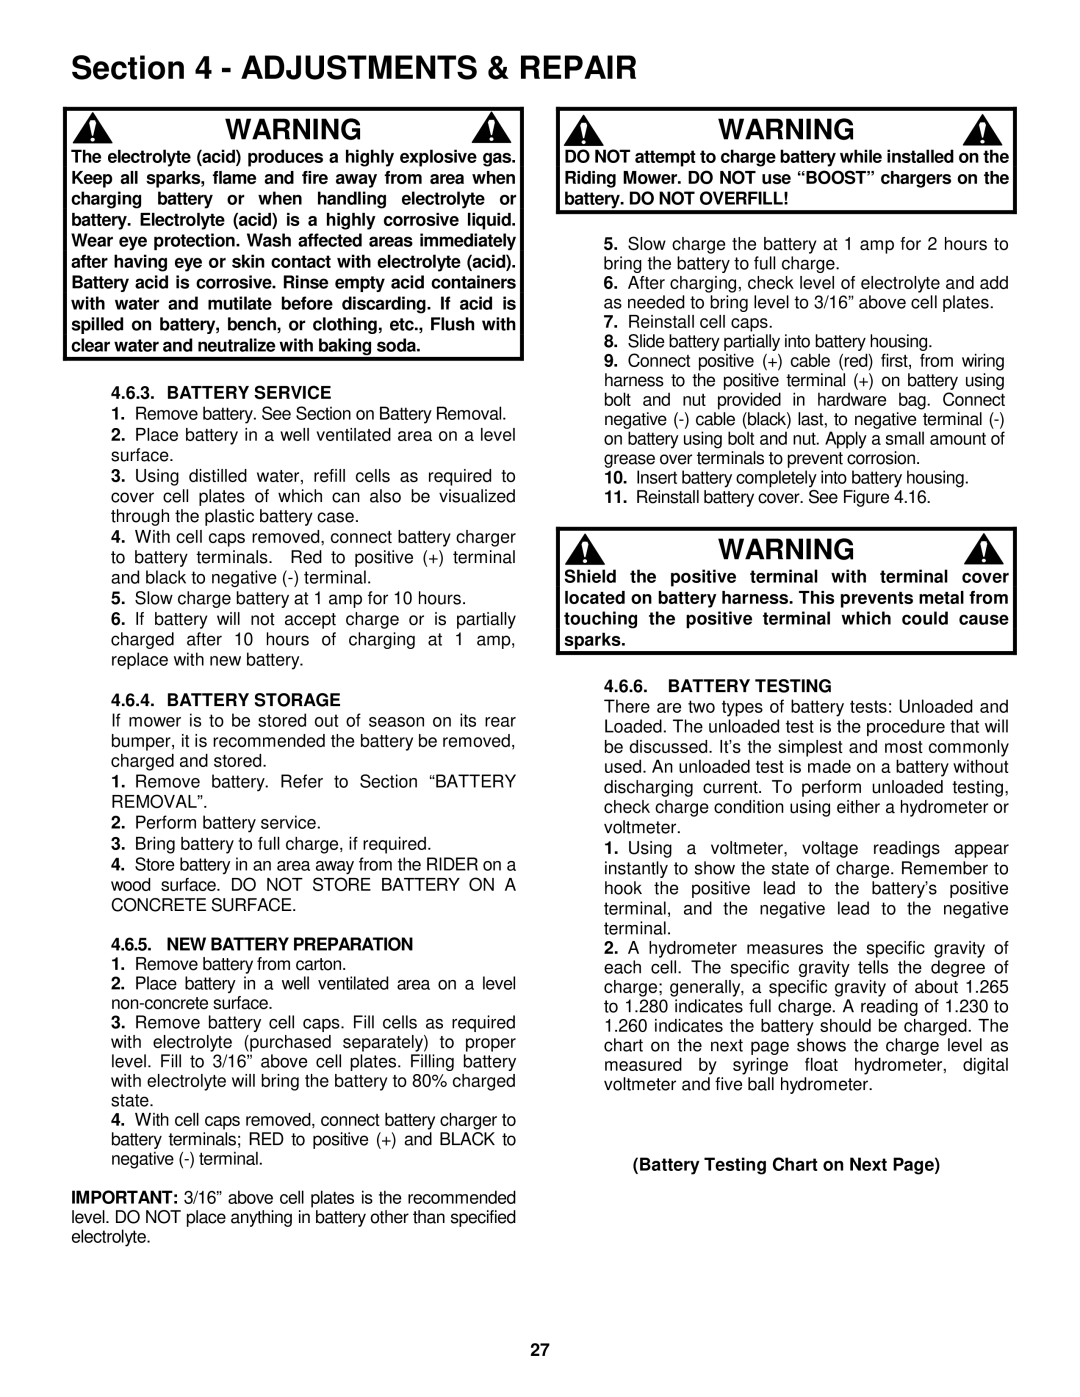
Snapper EM250819BE, EM281019BE Battery Service, Battery Storage, Battery Testing

Models: EM250819BE, EM281019BE

1 36
Download 36 pages 35.83 Kb
Page 27
Image 27

Section 4 - ADJUSTMENTS & REPAIR

WARNING

The electrolyte (acid) produces a highly explosive gas. Keep all sparks, flame and fire away from area when charging battery or when handling electrolyte or battery. Electrolyte (acid) is a highly corrosive liquid. Wear eye protection. Wash affected areas immediately after having eye or skin contact with electrolyte (acid). Battery acid is corrosive. Rinse empty acid containers with water and mutilate before discarding. If acid is spilled on battery, bench, or clothing, etc., Flush with clear water and neutralize with baking soda.

4.6.3. BATTERY SERVICE

1.Remove battery. See Section on Battery Removal.

2.Place battery in a well ventilated area on a level surface.

3.Using distilled water, refill cells as required to cover cell plates of which can also be visualized through the plastic battery case.

4.With cell caps removed, connect battery charger to battery terminals. Red to positive (+) terminal and black to negative (-) terminal.

5.Slow charge battery at 1 amp for 10 hours.

6.If battery will not accept charge or is partially charged after 10 hours of charging at 1 amp, replace with new battery.

4.6.4. BATTERY STORAGE

If mower is to be stored out of season on its rear bumper, it is recommended the battery be removed, charged and stored.

1.Remove battery. Refer to Section “BATTERY REMOVAL”.

2.Perform battery service.

3.Bring battery to full charge, if required.

4.Store battery in an area away from the RIDER on a wood surface. DO NOT STORE BATTERY ON A CONCRETE SURFACE.

4.6.5.NEW BATTERY PREPARATION 1. Remove battery from carton.

2. Place battery in a well ventilated area on a level non-concrete surface.

3. Remove battery cell caps. Fill cells as required with electrolyte (purchased separately) to proper level. Fill to 3/16” above cell plates. Filling battery with electrolyte will bring the battery to 80% charged state.

4. With cell caps removed, connect battery charger to battery terminals; RED to positive (+) and BLACK to negative (-) terminal.

IMPORTANT: 3/16” above cell plates is the recommended level. DO NOT place anything in battery other than specified electrolyte.

WARNING

DO NOT attempt to charge battery while installed on the Riding Mower. DO NOT use “BOOST” chargers on the battery. DO NOT OVERFILL!

5.Slow charge the battery at 1 amp for 2 hours to bring the battery to full charge.

6.After charging, check level of electrolyte and add as needed to bring level to 3/16” above cell plates.

7.Reinstall cell caps.

8.Slide battery partially into battery housing.

9.Connect positive (+) cable (red) first, from wiring harness to the positive terminal (+) on battery using bolt and nut provided in hardware bag. Connect negative (-) cable (black) last, to negative terminal (-) on battery using bolt and nut. Apply a small amount of grease over terminals to prevent corrosion.

10.Insert battery completely into battery housing.

11.Reinstall battery cover. See Figure 4.16.

WARNING

Shield the positive terminal with terminal cover located on battery harness. This prevents metal from touching the positive terminal which could cause sparks.

4.6.6.BATTERY TESTING

There are two types of battery tests: Unloaded and Loaded. The unloaded test is the procedure that will be discussed. It’s the simplest and most commonly used. An unloaded test is made on a battery without discharging current. To perform unloaded testing, check charge condition using either a hydrometer or voltmeter.

1.Using a voltmeter, voltage readings appear instantly to show the state of charge. Remember to hook the positive lead to the battery’s positive terminal, and the negative lead to the negative terminal.

2.A hydrometer measures the specific gravity of each cell. The specific gravity tells the degree of charge; generally, a specific gravity of about 1.265 to 1.280 indicates full charge. A reading of 1.230 to 1.260 indicates the battery should be charged. The chart on the next page shows the charge level as measured by syringe float hydrometer, digital voltmeter and five ball hydrometer.

(Battery Testing Chart on Next Page)

27

Page 27
Image 27
Snapper EM250819BE, EM281019BE Battery Service, Battery Storage, NEW Battery Preparation 1. Remove battery from carton

EM250819BE, EM281019BE specifications

The Snapper EM250819BE and EM281019BE are two advanced electric mowers that embody the latest innovations in outdoor power equipment. Aimed at both residential and commercial users, these models offer exceptional performance, efficiency, and user-friendly features to simplify lawn care.

The Snapper EM250819BE features a robust 20-inch cutting deck, providing the ideal balance between maneuverability and coverage. This mower is powered by a high-efficiency brushless motor, which not only extends the lifespan of the instrument but also delivers consistent power output, ensuring an even cut across various grass types. The EM250819BE offers multiple cutting height adjustments, allowing users to customize their lawn's appearance according to seasonal preferences and grass species.

Equipped with a 40V lithium-ion battery, the Snapper EM250819BE boasts an impressive runtime, enabling users to tackle larger yards without interruptions for recharging. The onboard LED battery indicator is particularly handy, allowing users to monitor battery levels easily and plan their mowing schedule without surprises. Additionally, the mower's lightweight design ensures easy maneuverability, making it less strenuous to operate for extended periods.

On the other hand, the Snapper EM281019BE brings a larger 28-inch cutting deck into play, perfect for those who need to cover wider areas quickly. Like its counterpart, this model features a brushless motor that ensures efficient operation and reduces maintenance needs. The EM281019BE also supports various cutting height settings for a tailored mowing experience.

One of the standout features of the EM281019BE is its self-propelled option, allowing users to navigate tougher terrains with minimal effort. This is complemented by enhanced traction control, making it ideal for slopes and uneven lawns. The model also includes a proprietary mulching feature, enabling grass clippings to be finely chopped and returned to the soil, thus promoting healthier lawn growth.

Both models are designed with user comfort and safety in mind. They come with ergonomic handles for better grip and reduced fatigue during extended use. Additionally, the easy-to-access safety features ensure that the mowers meet the highest standards of user protection.

In summary, the Snapper EM250819BE and EM281019BE represent a significant advancement in electric mowing technology, delivering performance, efficiency, and convenience in an environmentally friendly package. With their user-centric design and powerful features, they are excellent choices for anyone looking to achieve a beautiful lawn with less hassle.