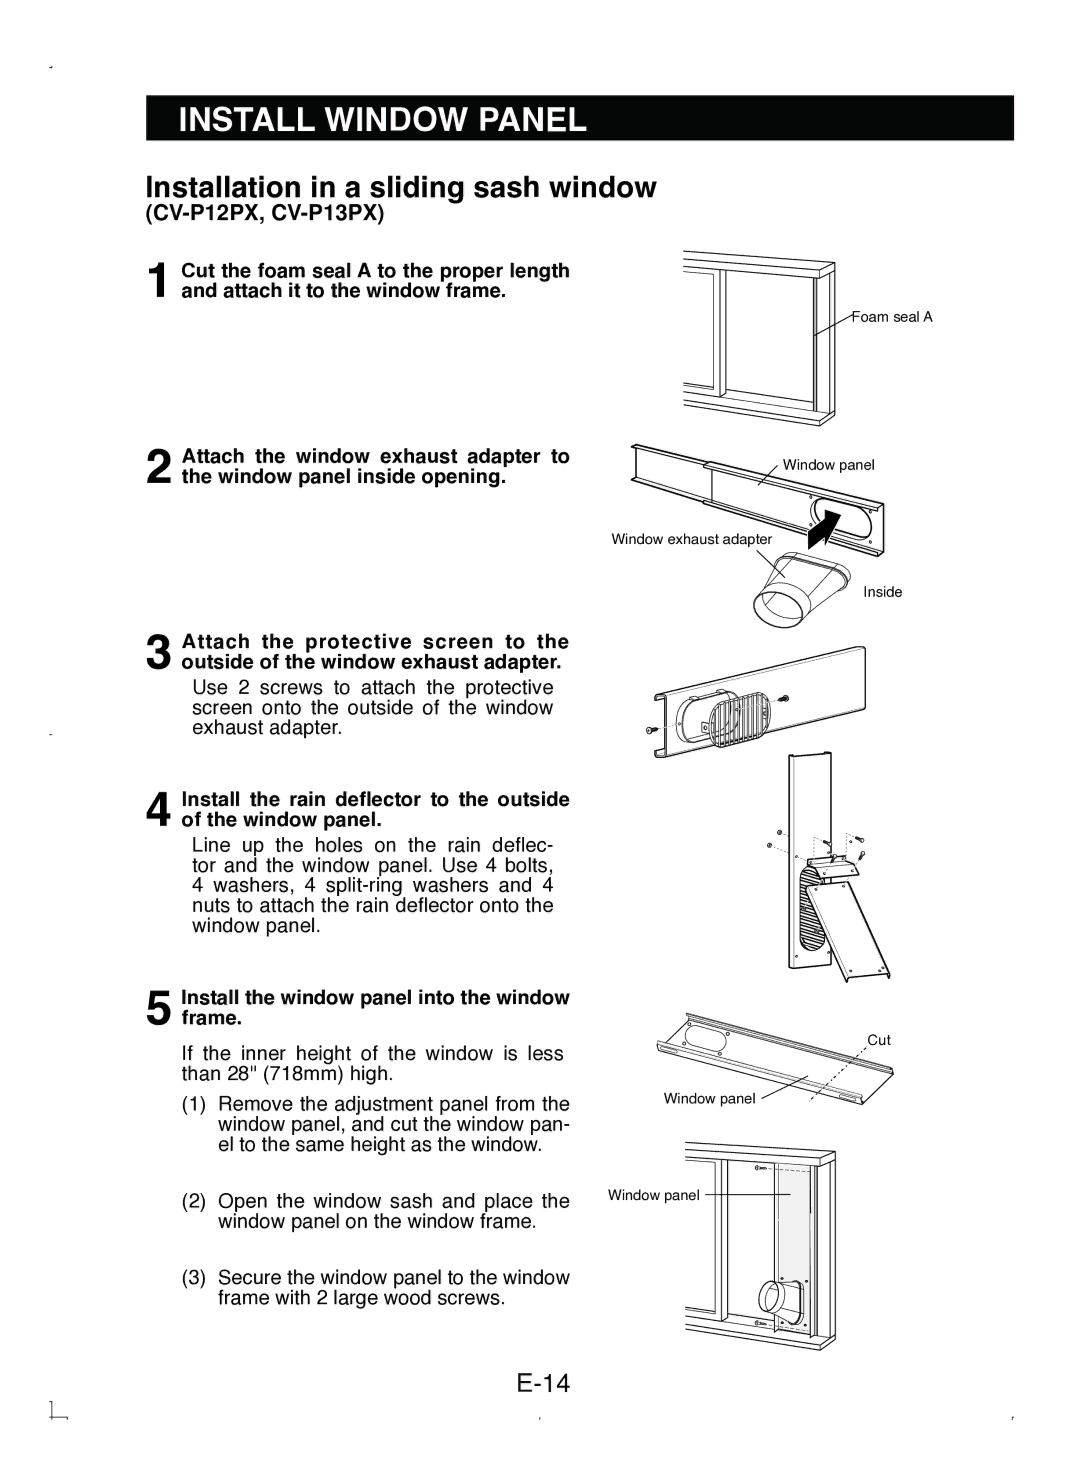
CV-P12PX specifications
The Sony CV-P12PX is a high-performance air purifier designed to enhance indoor air quality while exuding modern aesthetics suited for contemporary living spaces. Featuring an efficient HEPA filtration system, the CV-P12PX can capture up to 99.97% of airborne particles as small as 0.3 microns, including dust, pollen, smoke, and pet dander. This efficiency makes it an ideal choice for allergy sufferers or those looking to maintain a healthier environment at home.One of the standout features of the CV-P12PX is its advanced sensing technology. It utilizes a built-in air quality sensor that continuously monitors the surrounding air, automatically adjusting the purification level based on real-time data. With a user-friendly LED indicator, users can easily track the air quality status, ensuring peace of mind regarding their respiratory health.
The CV-P12PX also boasts a powerful yet whisper-quiet motor, allowing it to function effectively without disturbing daily activities. Its multi-speed fan system offers customizable airflow settings, so users can switch between low, medium, and high modes depending on their specific needs. The sleep mode feature is particularly useful for nighttime operations, optimizing the airflow and minimizing noise levels for a restful environment.
In terms of design, the CV-P12PX sports a sleek, compact form factor that makes it easy to integrate into various home decor styles. Its lightweight construction facilitates portability, allowing users to move it effortlessly from room to room. Additionally, the filter replacement indicator is a practical feature that reminds users when it’s time to change the HEPA filter, ensuring the device runs at peak efficiency.
Energy efficiency is another critical characteristic of the CV-P12PX. It is designed to consume minimal power while maximizing performance, making it a cost-effective option for long-term use. The eco-friendly approach is further complemented by the use of recyclable materials in its construction.
In summary, the Sony CV-P12PX air purifier combines cutting-edge technology with user-friendly features to deliver superior indoor air quality. Its HEPA filtration, real-time air quality monitoring, customizable settings, and energy-efficient design make it a commendable choice for those seeking to improve their home environment and promote overall well-being. Whether placed in a bedroom, living room, or office, the CV-P12PX stands out as a reliable and stylish solution for contemporary air purification needs.

