
DTC-A6 specifications
The Sony DTC-A6 is a high-quality digital audio tape (DAT) recorder that stands out for its advanced features and superior sound quality. Designed for professional use as well as for audiophiles looking to capture and play back audio with fidelity, the DTC-A6 integrates cutting-edge technology and user-friendly functionality.One of the defining characteristics of the DTC-A6 is its ability to record and play back audio at 48 kHz sampling rates with a resolution of 16-bit, providing stereo sound that rivals even that of compact discs. This precision makes the unit particularly appealing for professionals engaged in music production, broadcasting, and live event recording. The DAT format itself is known for its excellent dynamic range and low noise, which further enhances the audio output.
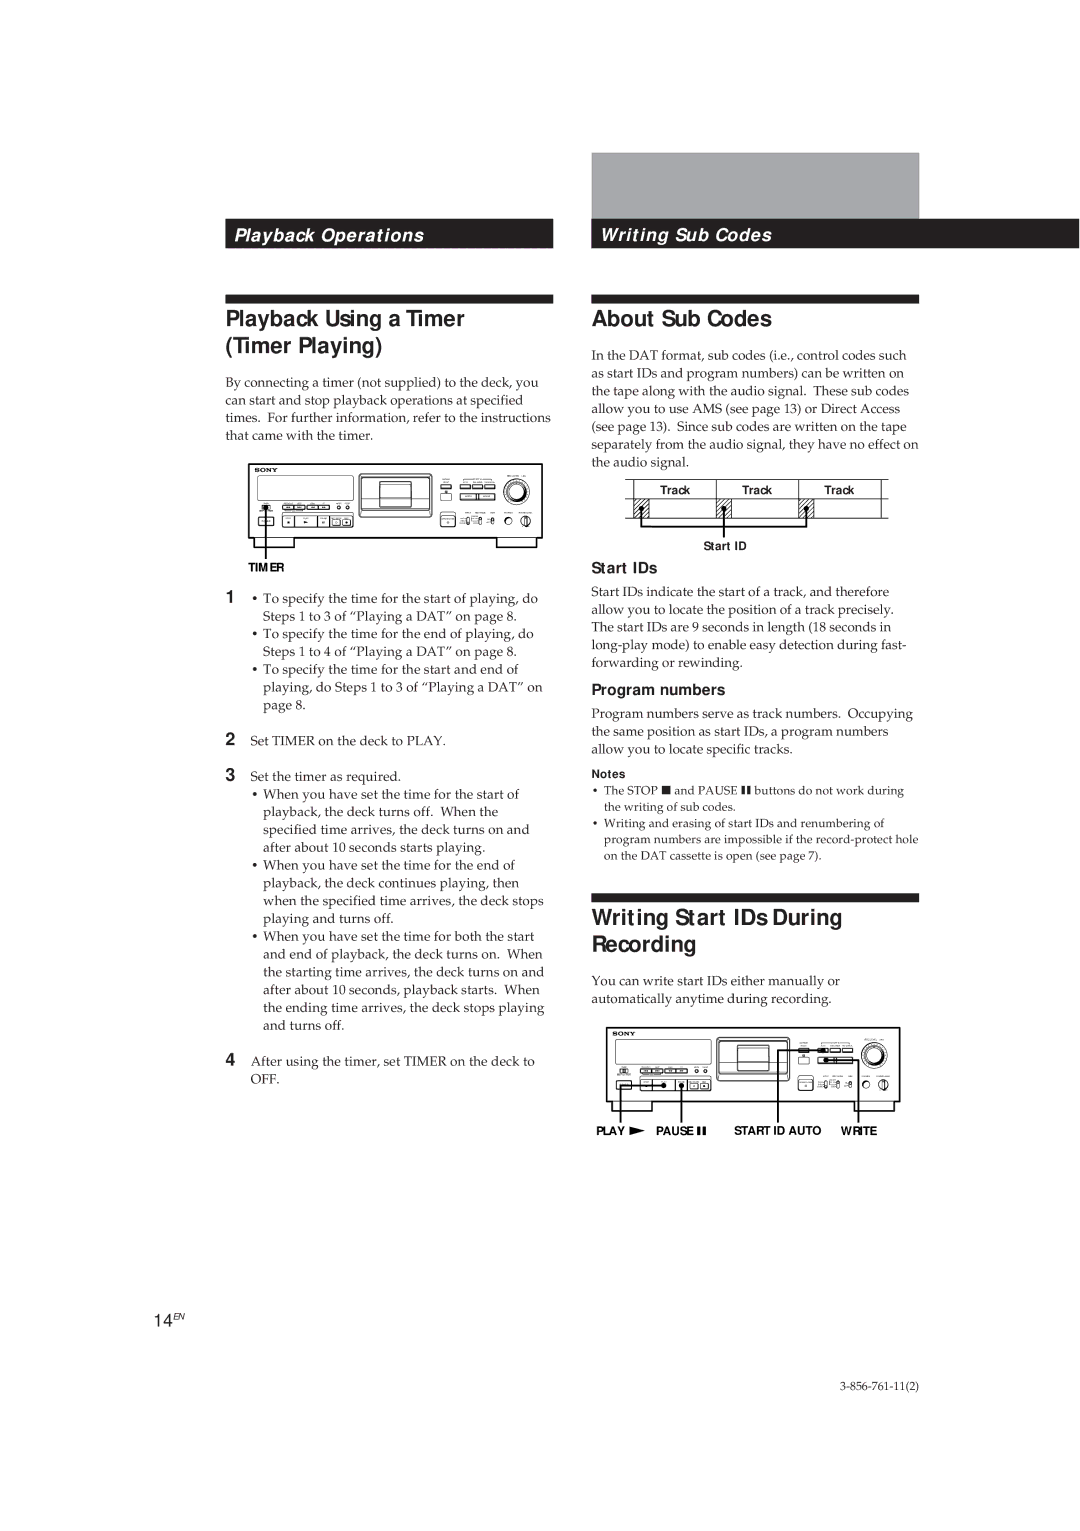
The DTC-A6 features an intuitive interface, making it accessible for both beginners and seasoned audio engineers. Its front panel includes essential controls alongside a clear digital display that shows tape transport status and audio levels. The unit offers a variety of recording modes, including PCM (Pulse Code Modulation) for uncompressed audio, as well as longer-play modes that allow users to stretch recording time without compromising quality.
Connectivity is another strong point for the DTC-A6. It offers multiple input and output options, including digital outputs like coaxial and optical, alongside traditional analog connections. This versatility allows users to integrate the DAT recorder seamlessly into various audio setups, whether in a studio or live environment.
The DTC-A6 uses advanced error correction technologies to minimize dropout and ensure consistent playback quality. Its ability to handle long-duration recordings is complemented by features like automatic track incrementing, making it easier to manage extensive audio sessions.
In conclusion, the Sony DTC-A6 is a robust digital audio tape recorder that combines superior sound quality, versatile connectivity options, and user-friendly features. Whether utilized in professional recordings or home audio systems, the DTC-A6 represents a commitment to high fidelity and reliability, appealing to both professionals and enthusiasts in the realm of digital audio. Its legacy continues to influence modern audio technology, highlighting Sony's dedication to innovation in sound reproduction.