Basic Operations
Repeat steps 4 and 5 to adjust other items.
6
4 Using + ×or – Ã, select the item you want to adjust and press OK.
5 Adjust the picture with + ×or – Ãand press OK.
With each press the vertical bars increase or decrease and the figure at the right margin changes to show the control level. (See the table on the next page.)
S e l e c t
a nd
p r e s s OK
8 0
5 0
5 0
0 0
PICTURE CONTROL
CONTRAST
COLOUR BRIGHTNESS HUE RESET
3 Move the cursor (z) to PICTURE CONTROL with + ×or – Ãand press OK. The PICTURE CONTROL menu appears.
S e l e c t
a nd p r e s s OK
Adjusting the picture displayed on the screen
1 Press MENU to display the main menu.
2 Move the cursor (z) to VISUAL MODE with + ×or – Ãand press OK. The VISUAL MODE menu appears.
VISUAL MODE
PICTURE CONTROL STANDARD MILD
MOVIE
OPC : ON
Press MENU to go back to the original screen.
4
Darker
e.g. when watching a movie
MILD
MOVIE
More contrast
Less contrast
PICTURE CONTROL
STANDARD
Picture effect
The adjusted picture control levels are stored. (See “Adjusting the picture displayed on the screen.”)
Setting
Effect of each setting
For the effect
3 Using + ×or – Ã, select the setting you want and press OK. of each setting, see the table below.
The selected setting is stored.
ON TIMER | MENU |
SLEEP | OK |
SHOW VIEW
1 2 3
ONCE
4 5 6
DAILY
7 8 9
WEEKLY
Ö 0
PROGR
TIMER ON TIMER REC
REC SCREEN ON/OFF CLEAR
QUICK | PAUSE | COUNTER | |
TIMER | RESET | ||
|
![]() PLAY
PLAY
REWFF
![]() STOP
STOP
Note
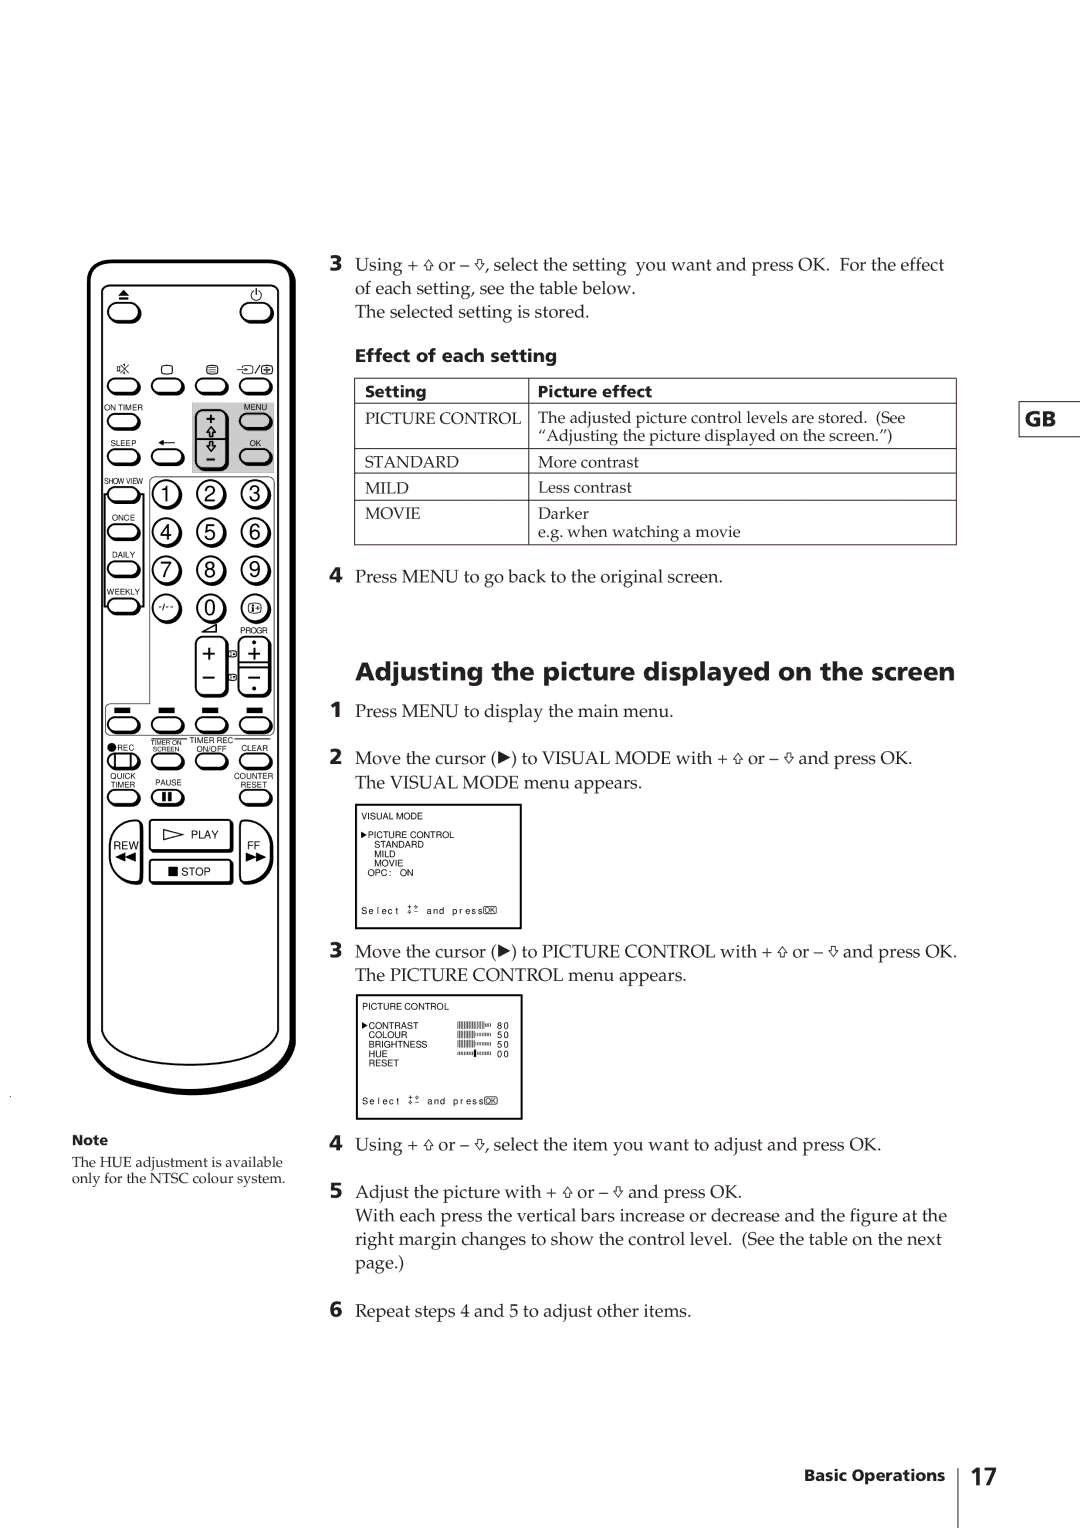
The HUE adjustment is available only for the NTSC colour system.
GB
17