Tip
When you connect a Sony MD deck, you can use the MD N, X, and x buttons on this unit’s remote to perform play, pause, and stop operations.
Note
If you cannot select “MD” even when you have pressed MD (VIDEO), press ?/1 while pressing MD (VIDEO) when the power is turned off. “VIDEO” will be switched to “MD”. To return to “VIDEO” do the same procedure. However, you cannot switch from MD to VIDEO or from VIDEO to MD when the system is in the Power Saving Mode (see page 9).
Connecting a VCR
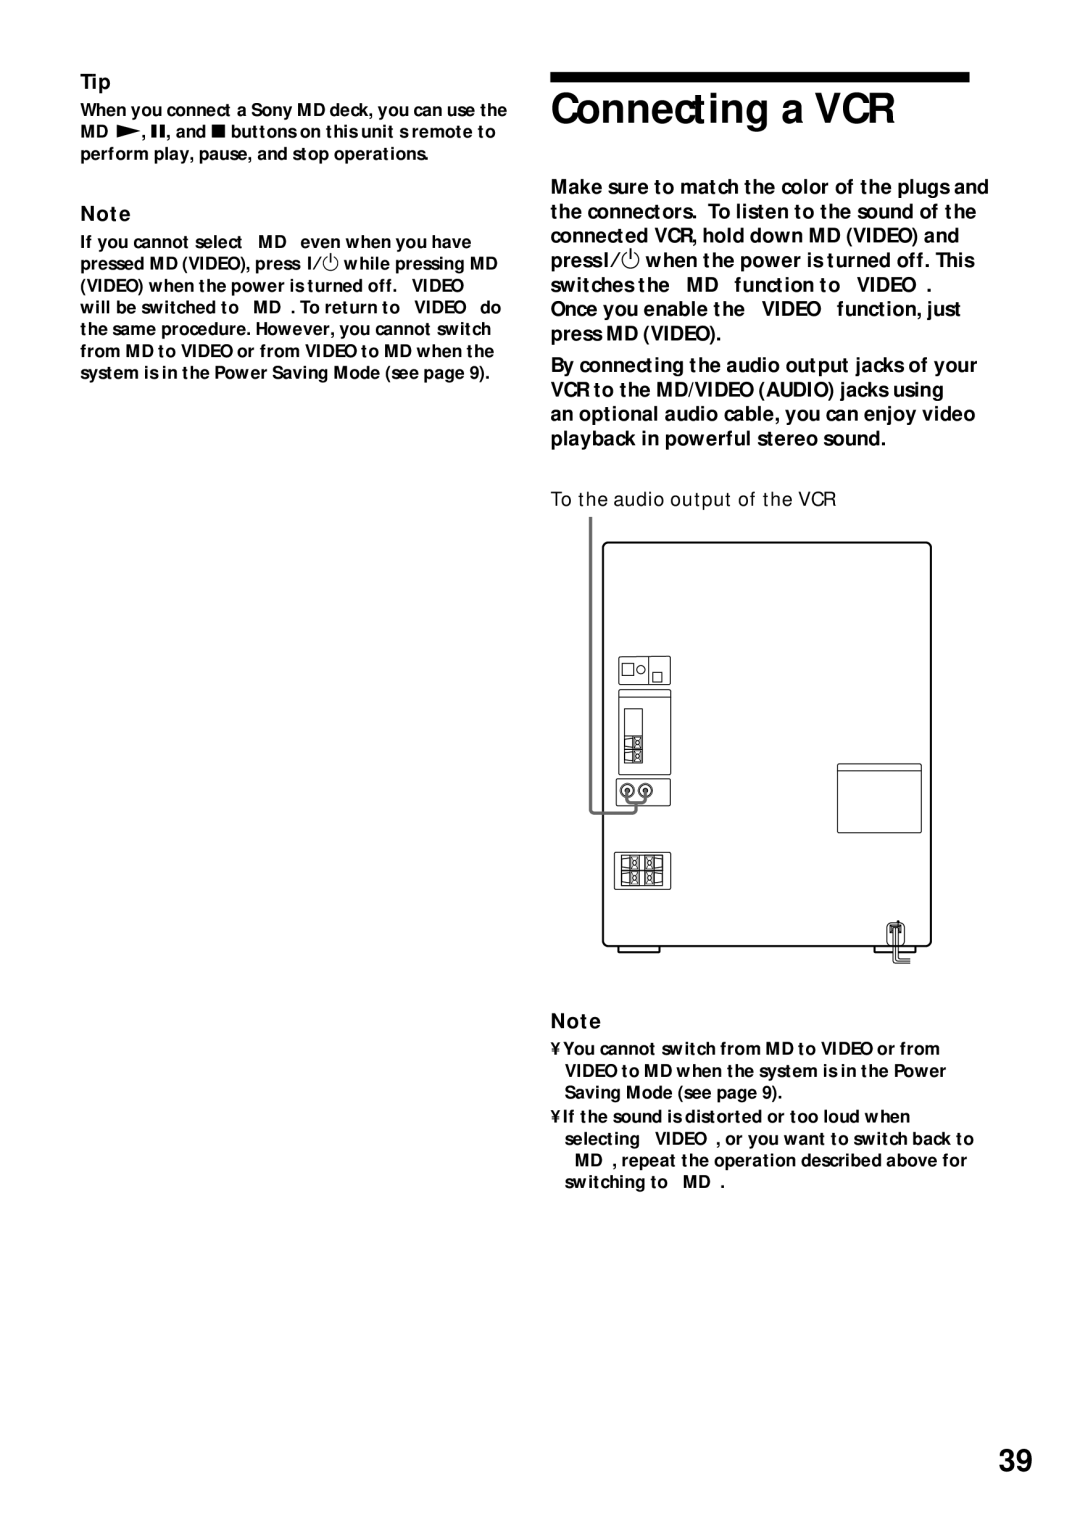
Make sure to match the color of the plugs and the connectors. To listen to the sound of the connected VCR, hold down MD (VIDEO) and press ?/1 when the power is turned off. This switches the “MD” function to “VIDEO”. Once you enable the “VIDEO” function, just press MD (VIDEO).
By connecting the audio output jacks of your VCR to the MD/VIDEO (AUDIO) jacks using an optional audio cable, you can enjoy video playback in powerful stereo sound.
To the audio output of the VCR
Note
•You cannot switch from MD to VIDEO or from VIDEO to MD when the system is in the Power Saving Mode (see page 9).
•If the sound is distorted or too loud when selecting “VIDEO”, or you want to switch back to “MD”, repeat the operation described above for switching to “MD”.
39