7Remote sensor*3
Receive the signal from the Remote Commander.
8Flash*2
Flashes when using the flash.
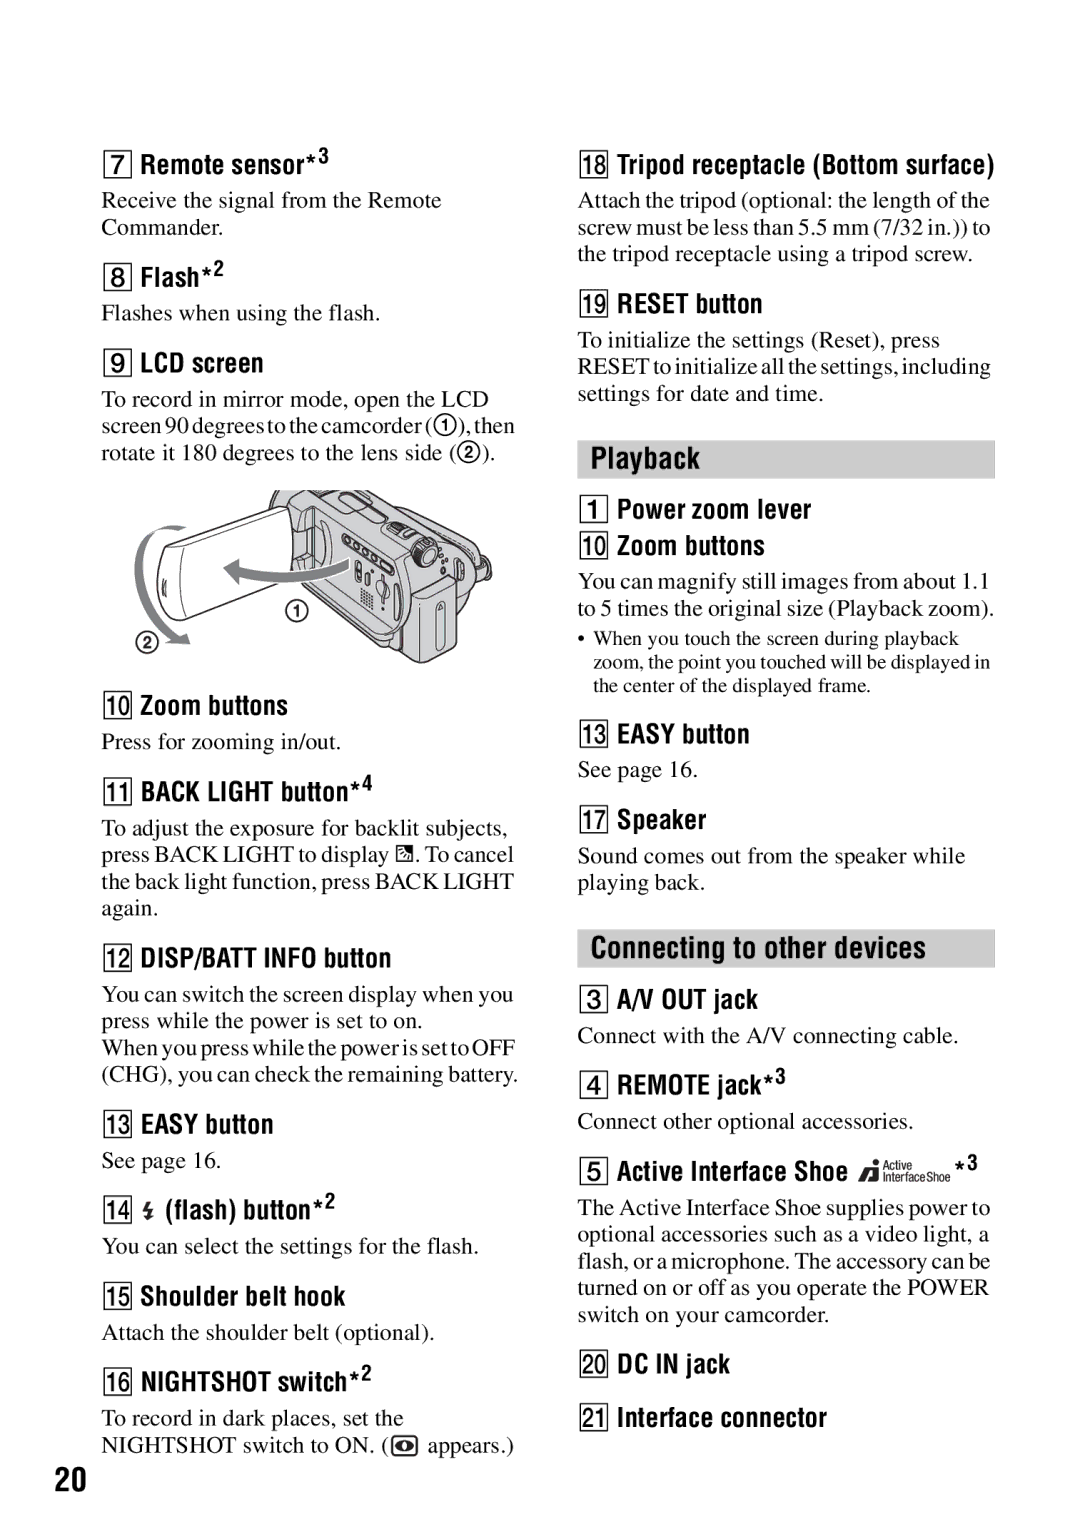
9LCD screen
To record in mirror mode, open the LCD screen 90 degrees to the camcorder (1), then rotate it 180 degrees to the lens side (2).
q; Zoom buttons
Press for zooming in/out.
qa BACK LIGHT button*4
To adjust the exposure for backlit subjects, press BACK LIGHT to display .. To cancel the back light function, press BACK LIGHT again.
qs DISP/BATT INFO button
You can switch the screen display when you press while the power is set to on.
When you press while the power is set to OFF (CHG), you can check the remaining battery.
qd EASY button
See page 16.
qf ![]() (flash) button*2
(flash) button*2
You can select the settings for the flash.
qg Shoulder belt hook
Attach the shoulder belt (optional).
qh NIGHTSHOT switch*2
To record in dark places, set the NIGHTSHOT switch to ON. (![]() appears.)
appears.)
qk Tripod receptacle (Bottom surface)
Attach the tripod (optional: the length of the screw must be less than 5.5 mm (7/32 in.)) to the tripod receptacle using a tripod screw.
ql RESET button
To initialize the settings (Reset), press RESET to initialize all the settings, including settings for date and time.
Playback
1Power zoom lever q; Zoom buttons
You can magnify still images from about 1.1 to 5 times the original size (Playback zoom).
•When you touch the screen during playback zoom, the point you touched will be displayed in the center of the displayed frame.
qd EASY button
See page 16.
qj Speaker
Sound comes out from the speaker while playing back.
Connecting to other devices
3A/V OUT jack
Connect with the A/V connecting cable.
4REMOTE jack*3
Connect other optional accessories.
5Active Interface Shoe 


 *3
*3
The Active Interface Shoe supplies power to optional accessories such as a video light, a flash, or a microphone. The accessory can be turned on or off as you operate the POWER switch on your camcorder.
w; DC IN jack
wa Interface connector
20
