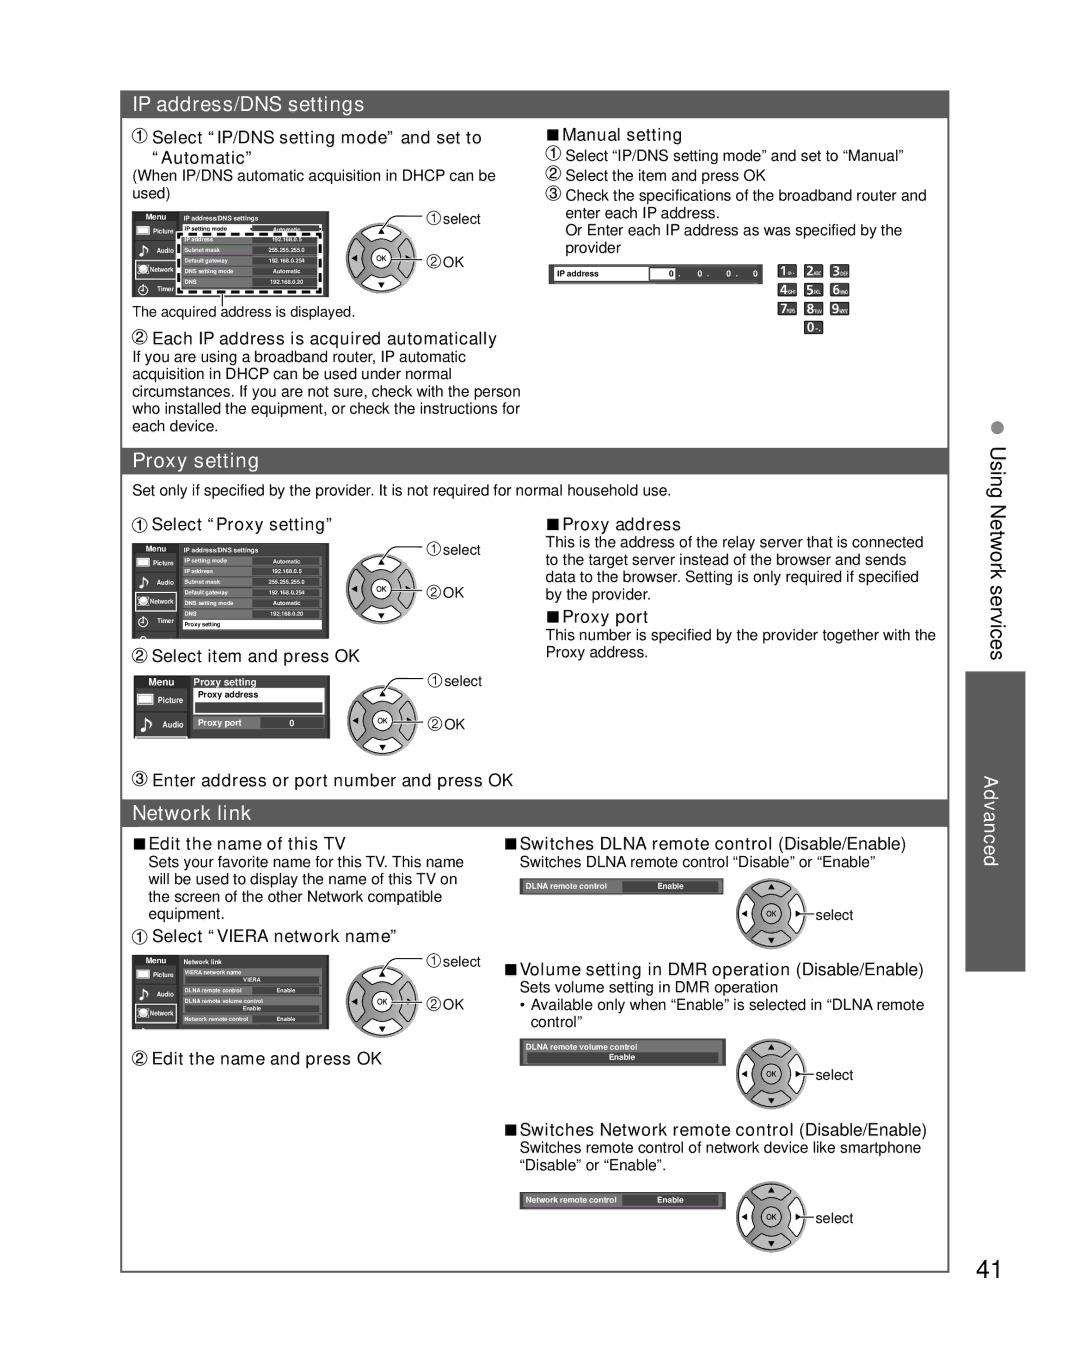
IP address/DNS settings
 Select “IP/DNS setting mode” and set to “Automatic”
(When IP/DNS automatic acquisition in DHCP can be used)
Menu | IP address/DNS settings |
| select |
Picture | IP setting mode | Automatic |
|
| IP address | 192.168.0.5 |
|
Audio | Subnet mask | 255.255.255.0 | OK |
| Default gateway | 192.168.0.254 | |
|
| ||
Network | DNS setting mode | Automatic |
|
Timer | DNS | 192.168.0.20 |
|
|
|
|
The acquired address is displayed.
■Manual setting
![]() Select “IP/DNS setting mode” and set to “Manual”
Select “IP/DNS setting mode” and set to “Manual”
![]() Select the item and press OK
Select the item and press OK
![]() Check the specifications of the broadband router and enter each IP address.
Check the specifications of the broadband router and enter each IP address.
Or Enter each IP address as was specified by the provider
IP address | 0 . | 0 . | 0 . | 0 | |
|
|
|
|
|
|
 Each IP address is acquired automatically
If you are using a broadband router, IP automatic acquisition in DHCP can be used under normal circumstances. If you are not sure, check with the person who installed the equipment, or check the instructions for each device.
Proxy setting
Set only if specified by the provider. It is not required for normal household use.
• Using
 Select “Proxy setting”
Menu | IP address/DNS settings |
| select |
Picture | IP setting mode | Automatic |
|
| IP address | 192.168.0.5 |
|
Audio | Subnet mask | 255.255.255.0 | OK |
| Default gateway | 192.168.0.254 | |
Network | DNS setting mode | Automatic |
|
Timer | DNS | 192.168.0.20 |
|
Proxy setting |
|
| |
|
|
| |
k |
|
|
|
Select item and press OK |
| ||
Menu | Proxy setting |
| select |
Picture | Proxy address |
|
|
|
|
| |
Audio | Proxy port | 0 | OK |
■Proxy address
This is the address of the relay server that is connected to the target server instead of the browser and sends data to the browser. Setting is only required if specified by the provider.
■Proxy port
This number is specified by the provider together with the Proxy address.
Network services
![]() Enter address or port number and press OK
Enter address or port number and press OK
Network link
■Edit the name of this TV | ■Switches DLNA remote control (Disable/Enable) | |||
Sets your favorite name for this TV. This name | Switches DLNA remote control “Disable” or “Enable” | |||
will be used to display the name of this TV on | DLNA remote control | Enable | ||
the screen of the other Network compatible |
|
|
|
|
equipment. |
|
|
| select |
|
|
| ||
![]() Select “VIERA network name”
Select “VIERA network name”
Advanced
Menu | Network link | select | |
Picture | VIERA network name |
| |
| VIERA |
| |
Audio | DLNA remote control | Enable | |
DLNA remote volume control | OK | ||
| |||
Network | Enable | ||
Network remote control | Enable | ||
|
![]() Edit the name and press OK
Edit the name and press OK
■Volume setting in DMR operation (Disable/Enable)
Sets volume setting in DMR operation
•Available only when “Enable” is selected in “DLNA remote control”
DLNA remote volume control
Enable
![]() select
select
■Switches Network remote control (Disable/Enable)
Switches remote control of network device like smartphone “Disable” or “Enable”.
Network remote control | Enable |
| select |
41