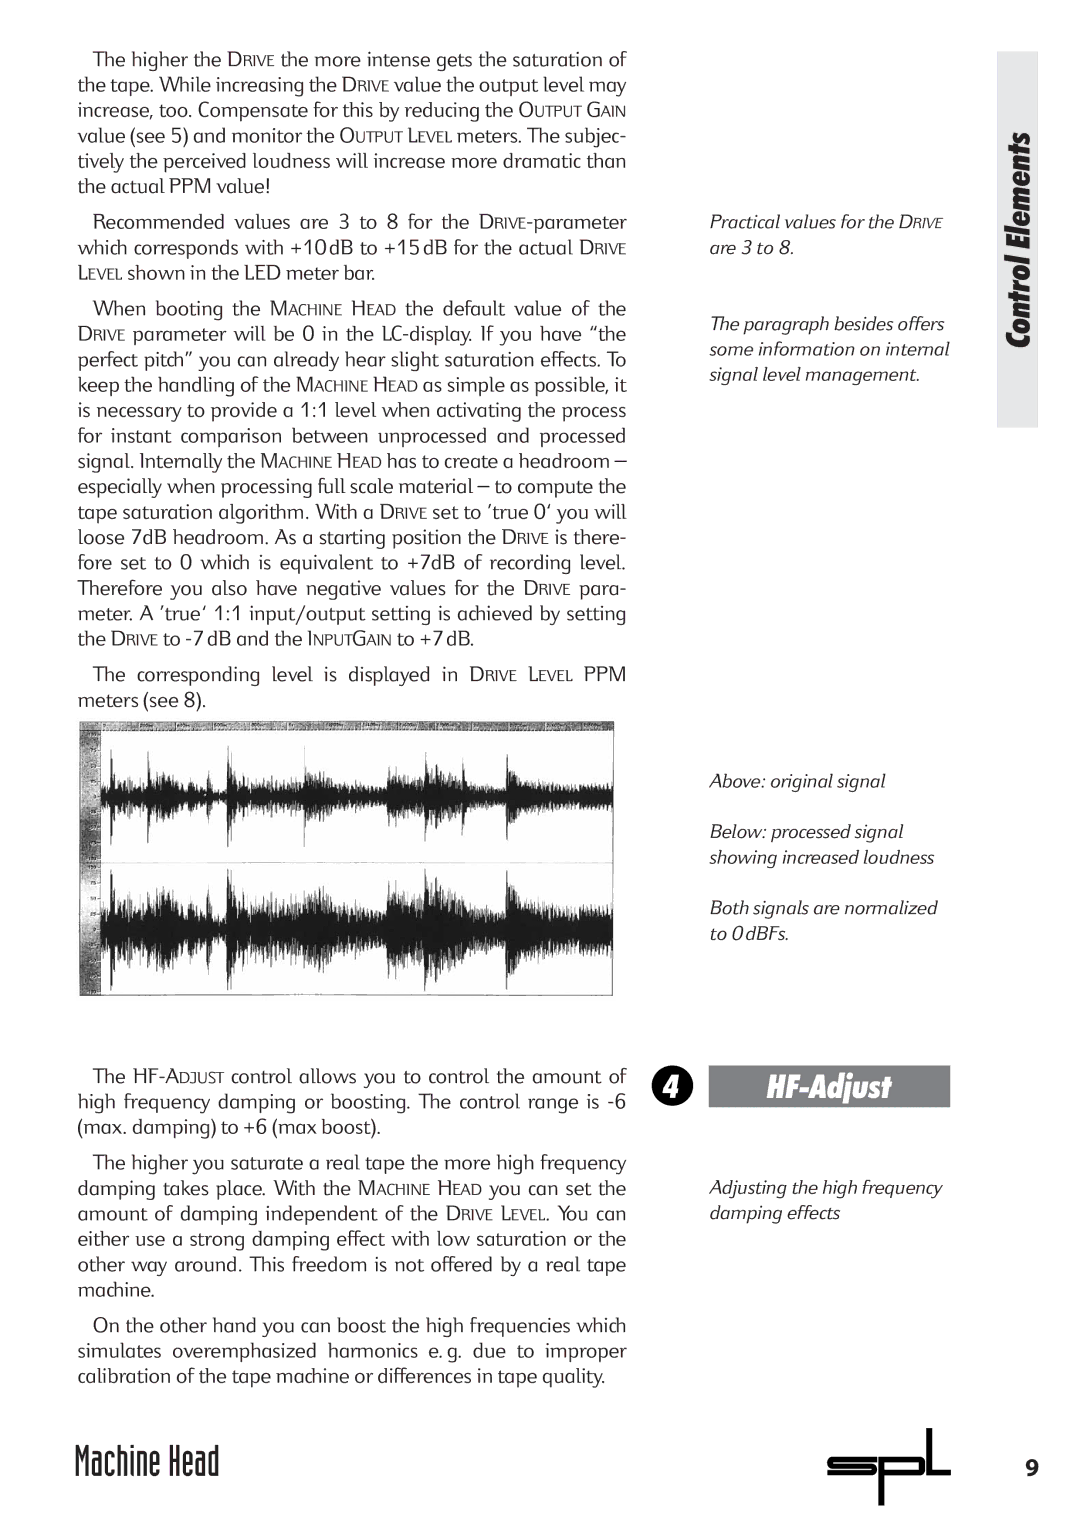
The higher the DRIVE the more intense gets the saturation of the tape. While increasing the DRIVE value the output level may increase, too. Compensate for this by reducing the OUTPUT GAIN value (see 5) and monitor the OUTPUT LEVEL meters. The subjec- tively the perceived loudness will increase more dramatic than the actual PPM value!
Recommended values are 3 to 8 for the
When booting the MACHINE HEAD the default value of the DRIVE parameter will be 0 in the
The corresponding level is displayed in DRIVE LEVEL PPM meters (see 8).
Practical values for the DRIVE are 3 to 8.
The paragraph besides offers some information on internal signal level management.
Above: original signal
Below: processed signal showing increased loudness
Both signals are normalized to 0dBFs.
Control Elements
The | 4 |
| |
high frequency damping or boosting. The control range is | |||
|
| ||
(max. damping) to +6 (max boost). |
|
| |
The higher you saturate a real tape the more high frequency |
|
| |
damping takes place. With the MACHINE HEAD you can set the |
| Adjusting the high frequency | |
amount of damping independent of the DRIVE LEVEL. You can |
| damping effects | |
either use a strong damping effect with low saturation or the |
|
| |
other way around. This freedom is not offered by a real tape |
|
| |
machine. |
|
|
On the other hand you can boost the high frequencies which simulates overemphasized harmonics e. g. due to improper calibration of the tape machine or differences in tape quality.
Machine Head | 9 |
