Mfg. Since 9/11 | I N S T R U C T I O N S | Model SB1263 |
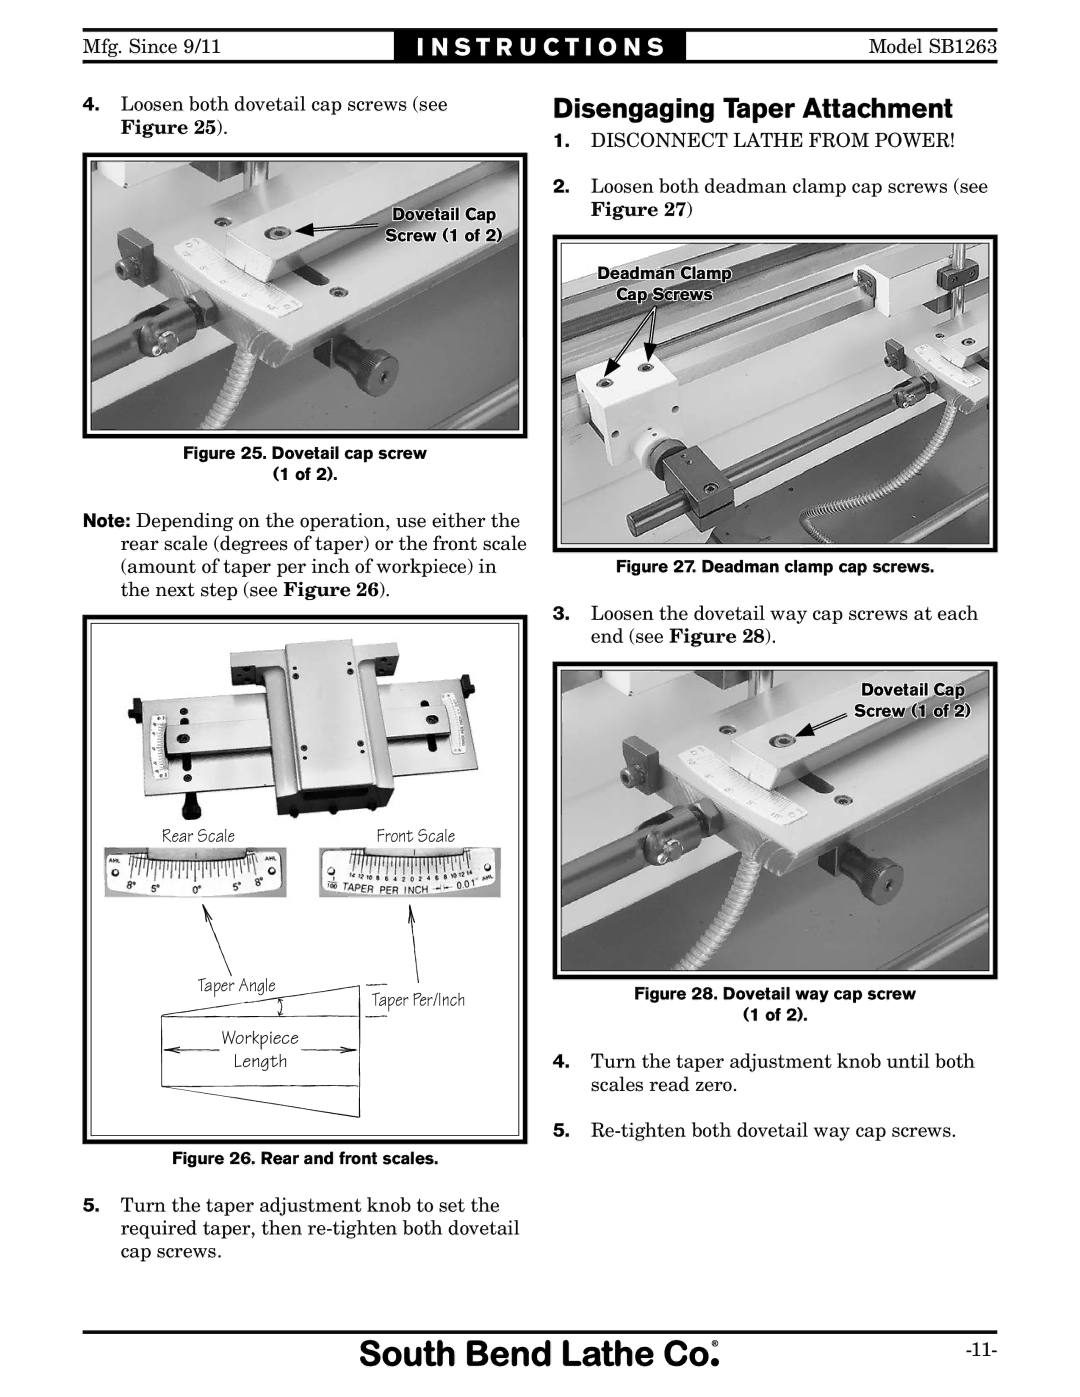
4.Loosen both dovetail cap screws (see Figure 25).
Dovetail Cap
![]() Screw (1 of 2)
Screw (1 of 2)
Figure 25. Dovetail cap screw
(1 of 2).
Note: Depending on the operation, use either the rear scale (degrees of taper) or the front scale (amount of taper per inch of workpiece) in the next step (see Figure 26).
Rear Scale | Front Scale |
Disengaging Taper Attachment
1.DISCONNECT LATHE FROM POWER!
2.Loosen both deadman clamp cap screws (see Figure 27)
Deadman Clamp
Cap Screws
Figure 27. Deadman clamp cap screws.
3.Loosen the dovetail way cap screws at each end (see Figure 28).
Dovetail Cap
Screw (1 of 2)
Taper Angle
Taper Per/Inch
Figure 28. Dovetail way cap screw
(1 of 2).
Workpiece
 Length
Figure 26. Rear and front scales.
5.Turn the taper adjustment knob to set the required taper, then
4.Turn the taper adjustment knob until both scales read zero.
5.