Easy Care and Maintenance
Monthly/Yearly Maint.
nWinterizing Your Machine
If needed, follow these steps to winterize your machine:
•With the machine power OFF, put 1/2 quart of
•Turn the Program Selector knob to Spin. Turn the power On. Let the machine spin for
•Turn the power OFF. Unplug the washer or disconnect power.
•Shut off both water faucets. Disconnect water inlet hoses from faucets and drain. DONE!
To Use Again:
•Flush water pipes.
•Reconnect water inlet hoses to the corresponding HOT and COLD faucets. Turn on both water faucets.
•Plug in washer or reconnect power.
•Run the washer through the Express cycle with 1/2 tablespoon of powder detergent (or liquid equiv.) to clean out antifreeze. DONE!
nOptional RV Winterization:
If currently pumping antifreeze through the fresh water system, follow these steps to winterize your machine:
•With the machine power OFF, turn the Wash Temp. knob to WARM.
•Turn the Program Selector knob to Regular wash (located in the Cotton Heavy Duty section of the dial.) Turn the power ON.
•When you see antifreeze in the drum, turn the power OFF. Now advance the Program Selector knob to Spin.
•Turn the power ON. Allow the drum to spin for 30 seconds.
•Turn the power OFF. DONE!
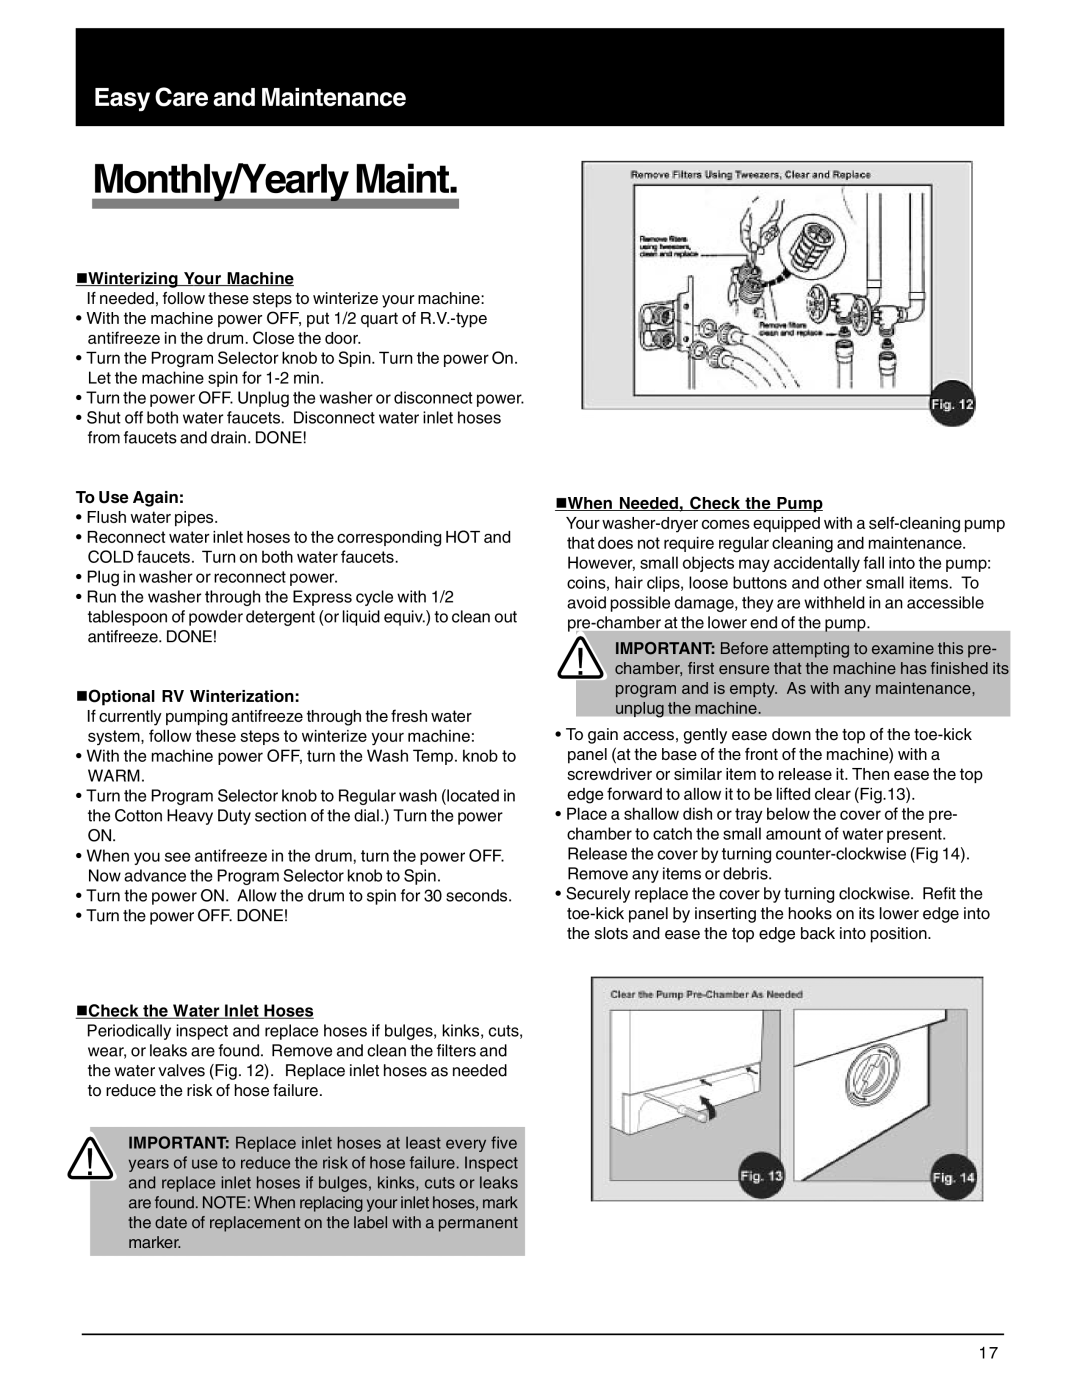
nCheck the Water Inlet Hoses
Periodically inspect and replace hoses if bulges, kinks, cuts, wear, or leaks are found. Remove and clean the filters and the water valves (Fig. 12). Replace inlet hoses as needed to reduce the risk of hose failure.
IMPORTANT: Replace inlet hoses at least every five
!years of use to reduce the risk of hose failure. Inspect and replace inlet hoses if bulges, kinks, cuts or leaks are found. NOTE: When replacing your inlet hoses, mark the date of replacement on the label with a permanent marker.
nWhen Needed, Check the Pump
Your
!chamber, first ensure that the machine has finished its program and is empty. As with any maintenance, unplug the machine.
•To gain access, gently ease down the top of the
•Place a shallow dish or tray below the cover of the pre- chamber to catch the small amount of water present. Release the cover by turning
•Securely replace the cover by turning clockwise. Refit the
17
