Installation Instructions
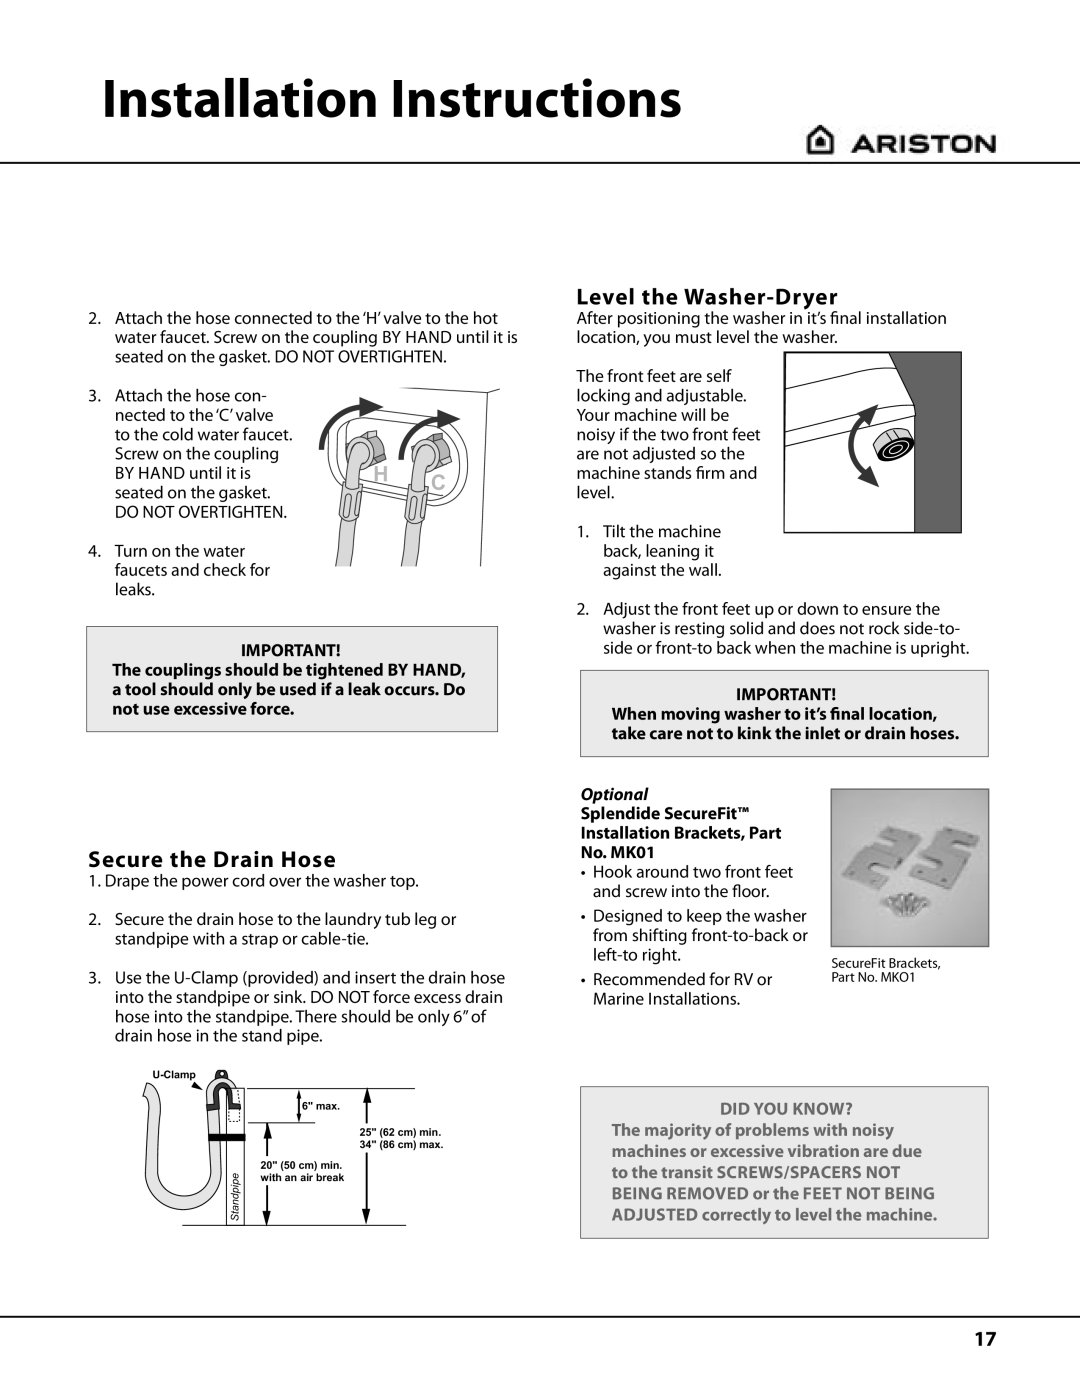
2.Attach the hose connected to the ‘H’ valve to the hot water faucet. Screw on the coupling BY HAND until it is seated on the gasket. DO NOT OVERTIGHTEN.
3.Attach the hose con-
nected to the ‘C’ valve |
|
|
to the cold water faucet. |
|
|
Screw on the coupling | H |
|
BY HAND until it is | C | |
seated on the gasket. |
| |
|
| |
DO NOT OVERTIGHTEN. |
|
|
4.Turn on the water faucets and check for leaks.
IMPORTANT!
The couplings should be tightened BY HAND, a tool should only be used if a leak occurs. Do not use excessive force.
Level the Washer-Dryer
After positioning the washer in it’s final installation location, you must level the washer.
The front feet are self locking and adjustable. Your machine will be noisy if the two front feet are not adjusted so the machine stands firm and level.
1.Tilt the machine back, leaning it against the wall.
2.Adjust the front feet up or down to ensure the washer is resting solid and does not rock
IMPORTANT!
When moving washer to it’s final location, take care not to kink the inlet or drain hoses.
Secure the Drain Hose
1.Drape the power cord over the washer top.
2.Secure the drain hose to the laundry tub leg or standpipe with a strap or
3.Use the
Optional
Splendide SecureFit™
Installation Brackets, Part
No. MK01
•Hook around two front feet and screw into the floor.
•Designed to keep the washer from shifting
•Recommended for RV or Marine Installations.
SecureFit Brackets, Part No. MKO1
Standpipe |
6" max.
20" (50 cm) min. with an air break
25" (62 cm) min. 34" (86 cm) max.
DID YOU KNOW?
The majority of problems with noisy machines or excessive vibration are due to the transit SCREWS/SPACERS NOT BEING REMOVED or the FEET NOT BEING ADJUSTED correctly to level the machine.
17