
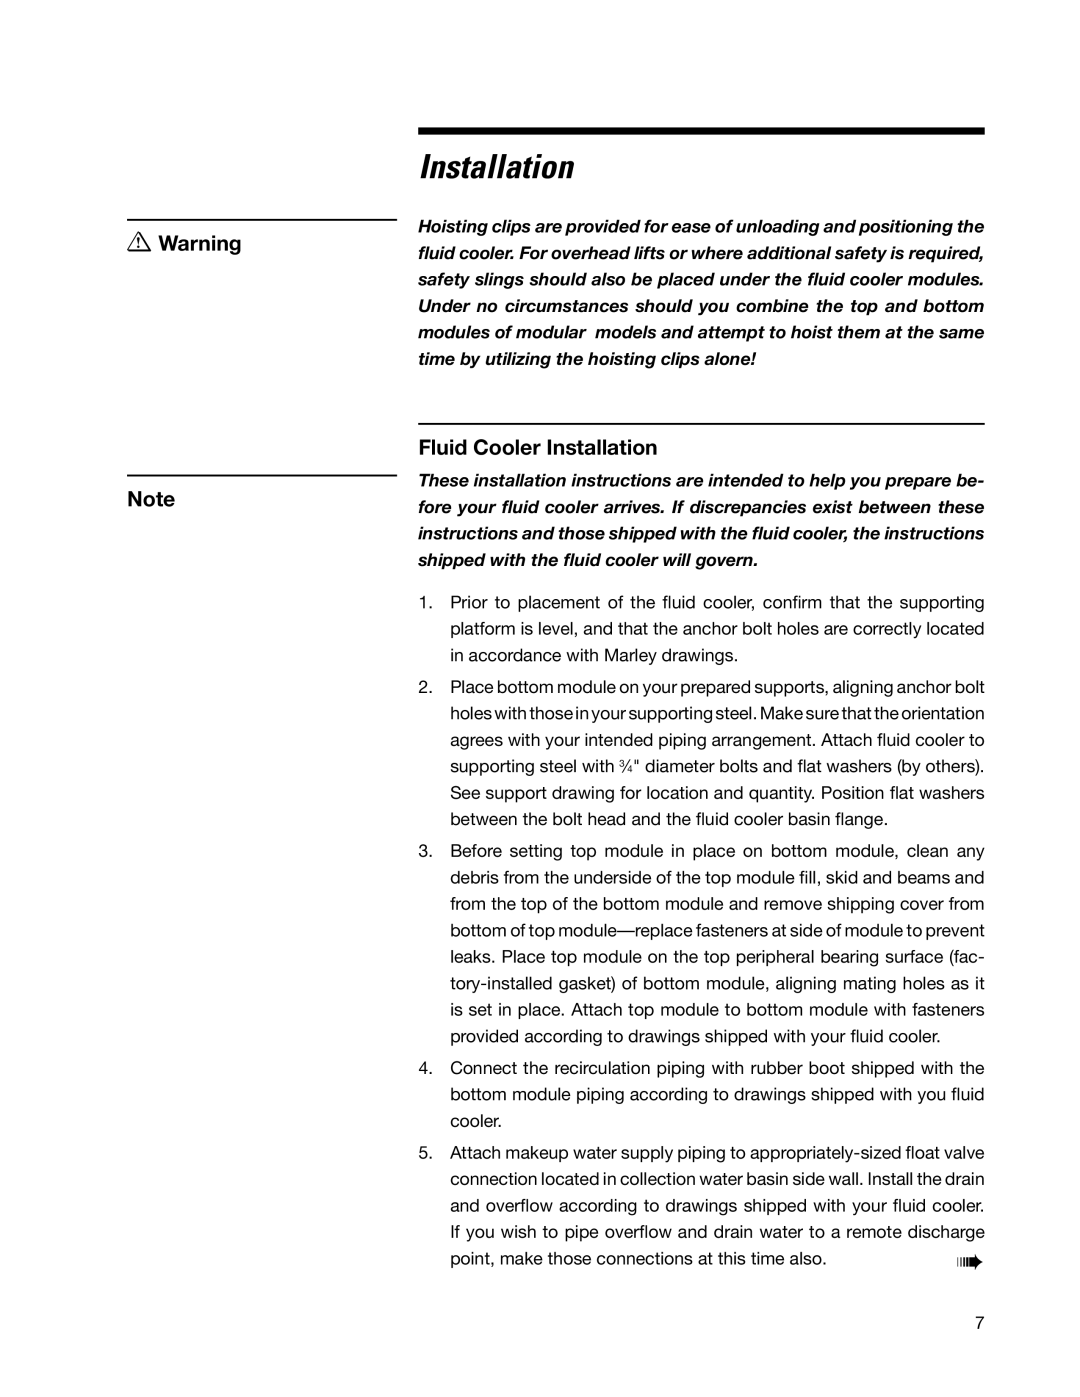
Marley MH Fluid Cooler specifications
The SPX Cooling Technologies Marley MH Fluid Cooler is a leading-edge solution designed to efficiently manage heat in various industrial applications. Renowned for its performance and reliability, the Marley MH series has become a preferred choice among engineers and facility managers seeking to optimize their cooling processes.One of the standout features of the Marley MH Fluid Cooler is its innovative design, which emphasizes both energy efficiency and minimal water usage. This closed-circuit cooler employs a unique counterflow design that ensures optimal heat exchange. By allowing the fluid to flow in the opposite direction to the air movement, this system maximizes cooling capacity while minimizing the environmental footprint.
The Marley MH Fluid Cooler is equipped with advanced technologies that enhance its operational efficiency. Its high-efficiency fans are designed for low power consumption, providing significant energy savings over traditional cooling solutions. Additionally, the cooler is constructed with corrosion-resistant materials, ensuring longevity and reducing maintenance costs. The robust design also allows for seamless operation in varying environmental conditions, making it suitable for a wide range of applications, including power generation, manufacturing, and chemical processing.
Another key characteristic of the Marley MH Fluid Cooler is its modular construction, which facilitates ease of installation and adaptability to different setup configurations. This scalability makes it a versatile choice for projects of varying sizes. The unit can be custom-engineered to meet specific cooling requirements, ensuring that users get the precise performance needed for their operations.
Moreover, the Marley MH Fluid Cooler includes a user-friendly control interface that allows for easy monitoring and adjustment of operational parameters. This feature not only enhances user experience but also helps in optimizing performance by enabling real-time performance tracking and adjustments based on system demand.
In summary, the SPX Cooling Technologies Marley MH Fluid Cooler represents a perfect blend of efficiency, durability, and flexibility. With its advanced design, energy-efficient operation, and user-friendly controls, it stands out as a top-tier choice for any industrial cooling application in today's competitive market. Whether for large-scale industrial plants or smaller setups, the Marley MH series is engineered to deliver reliable performance while helping to maintain environmental sustainability.