CP300, CP180, CP180I, CP500, CPV550 specifications
Standard Horizon is well known for its innovative marine electronics, particularly its line of chart plotters and multifunction displays. Among its popular products are the CPV550, CP500, CP180I, CP180, and CP300 models, each designed to enhance navigational experience for boaters and sailors.The Standard Horizon CPV550 is a cutting-edge chart plotter that features a bright, high-resolution 5.5-inch color display. This model supports Navionics and C-MAP charts, ensuring users have access to high-quality cartography. Its built-in GPS receiver offers exceptional accuracy and fast position fixes, while its user-friendly interface allows for easy navigation through menus and functions. The CPV550 is equipped with a variety of connectivity options, including NMEA 0183, allowing for seamless integration with other onboard electronics.
The CP500 is another robust option, featuring a 5-inch display and advanced GPS technology. This model is designed for ease of use, with a straightforward interface that appeals to both novice and experienced users. It offers real-time tracking and position monitoring, making it ideal for coastal cruising and fishing. The CP500 supports various cartography formats, providing flexibility for users who prefer different map sources.
Moving on, the CP180I model stands out with its innovative integrated design, packing a 7-inch display and multiple advanced features into a compact unit. It includes built-in Wi-Fi, allowing users to connect their mobile devices and access updates or weather information directly from the display. The CP180I is also compatible with a wide range of NMEA 2000 devices, offering greater customization options for boaters looking to expand their electronic setups.
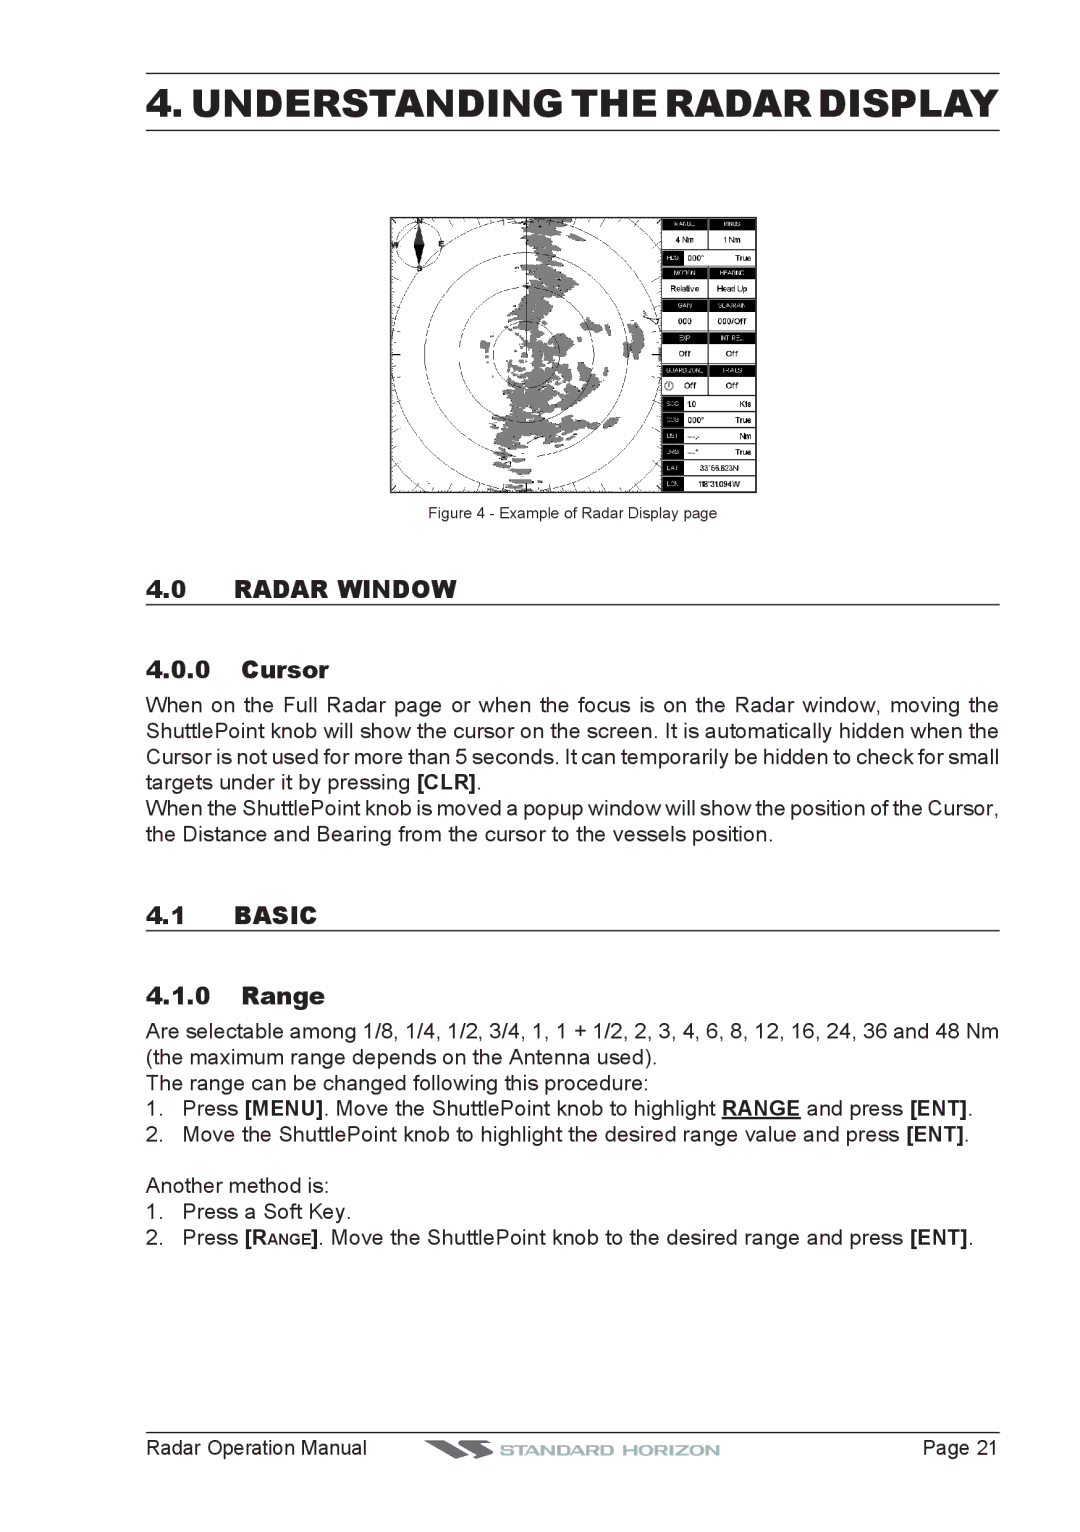
The CP180 offers similar capabilities but focuses on a slightly larger 8-inch screen. This model enhances visibility and provides an intuitive experience with its touch-screen interface. It supports various navigation modes and features such as AIS overlay and radar integration, which significantly improve situational awareness on the water.
Finally, the Standard Horizon CP300 is a versatile chart plotter that combines advanced features with exceptional user-friendliness. This model features a 9-inch display that offers crisp visuals and enhanced readability even in bright sunlight. It also stands out for its robust integration capabilities with other marine instruments. The CP300 includes built-in Bluetooth and Wi-Fi, allowing for wireless data sharing and connectivity with smart devices.
Overall, the Standard Horizon line of chart plotters, including the CPV550, CP500, CP180I, CP180, and CP300, offers advanced technological features, reliable performance, and user-friendly interfaces, making them excellent choices for both leisure and professional mariners alike. With a focus on connectivity, visibility, and customizable options, these devices enhance the navigation experience on the water.

