40
Chapter 5: Using the Printer with Windows 3.1
This chapter contains specific information you need to know when using the printer with Microsoft Windows 3.1 or later. It also tells you how to install the printer driver on your computer so that it can control the printer correctly. In this chapter, you will learn:
❏How to set up for printing with Microsoft Windows 3.1
❏How to prepare for printing
❏How to print a document
❏How to install TrueType fonts
❏How to select fonts from within an application
Setting up for printing with Microsoft Windows 3.1
This printer is designed to work best with computers running Microsoft Windows 3.1. If you are running an earlier version of Windows, we recommend that you upgrade to 3.1.
Before you can use the printer with Windows, you must first use the procedure outlined below to install the printer driver that is supplied on the 3.5” floppy disk that comes with the printer. This procedure assumes that you are using a mouse and that you are familiar with common mouse operations like click and
❏Insert the disk that contains the printer driver into one of your computer’s disk drives. This explanation assumes you are using a drive named “A:”, but you could use any drive. Just remember to change the “A:” in the following steps to the name of the drive you are using.
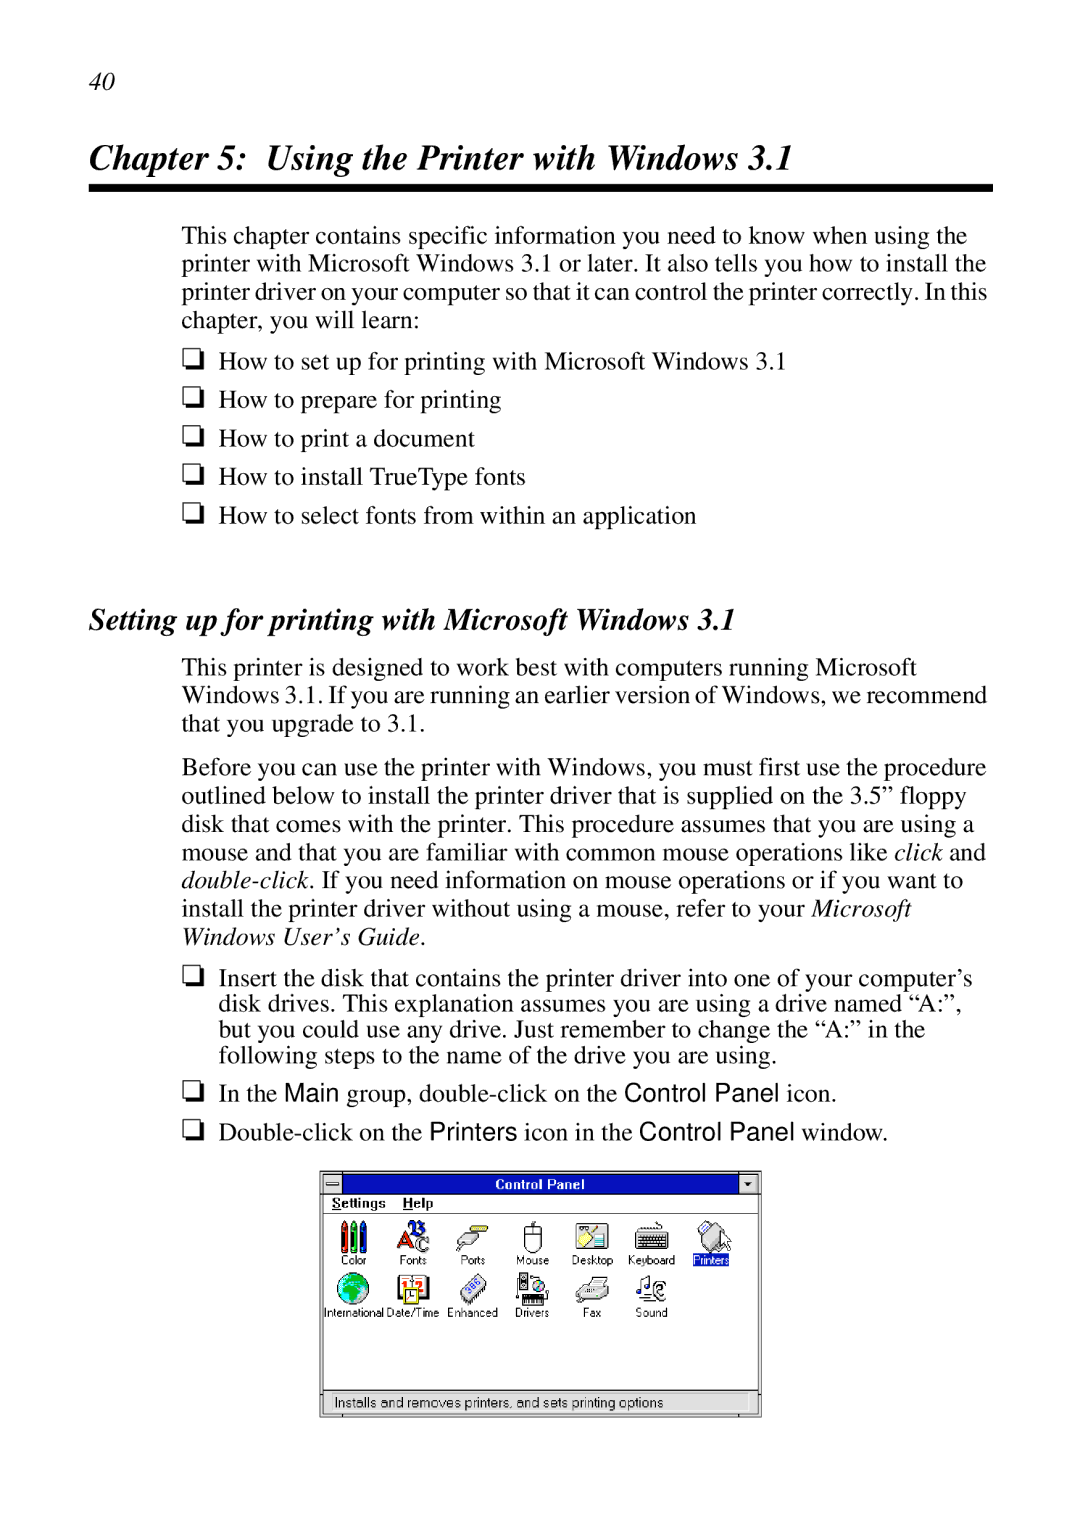
❏In the Main group,
❏