50Using the printer with Windows 95
❏
❏Click on the Printer menu.
❏To set the printer as the default printer, click on the Set As Default command so that a tick mark appears in the check box. This denotes that the selected printer is the default printer.
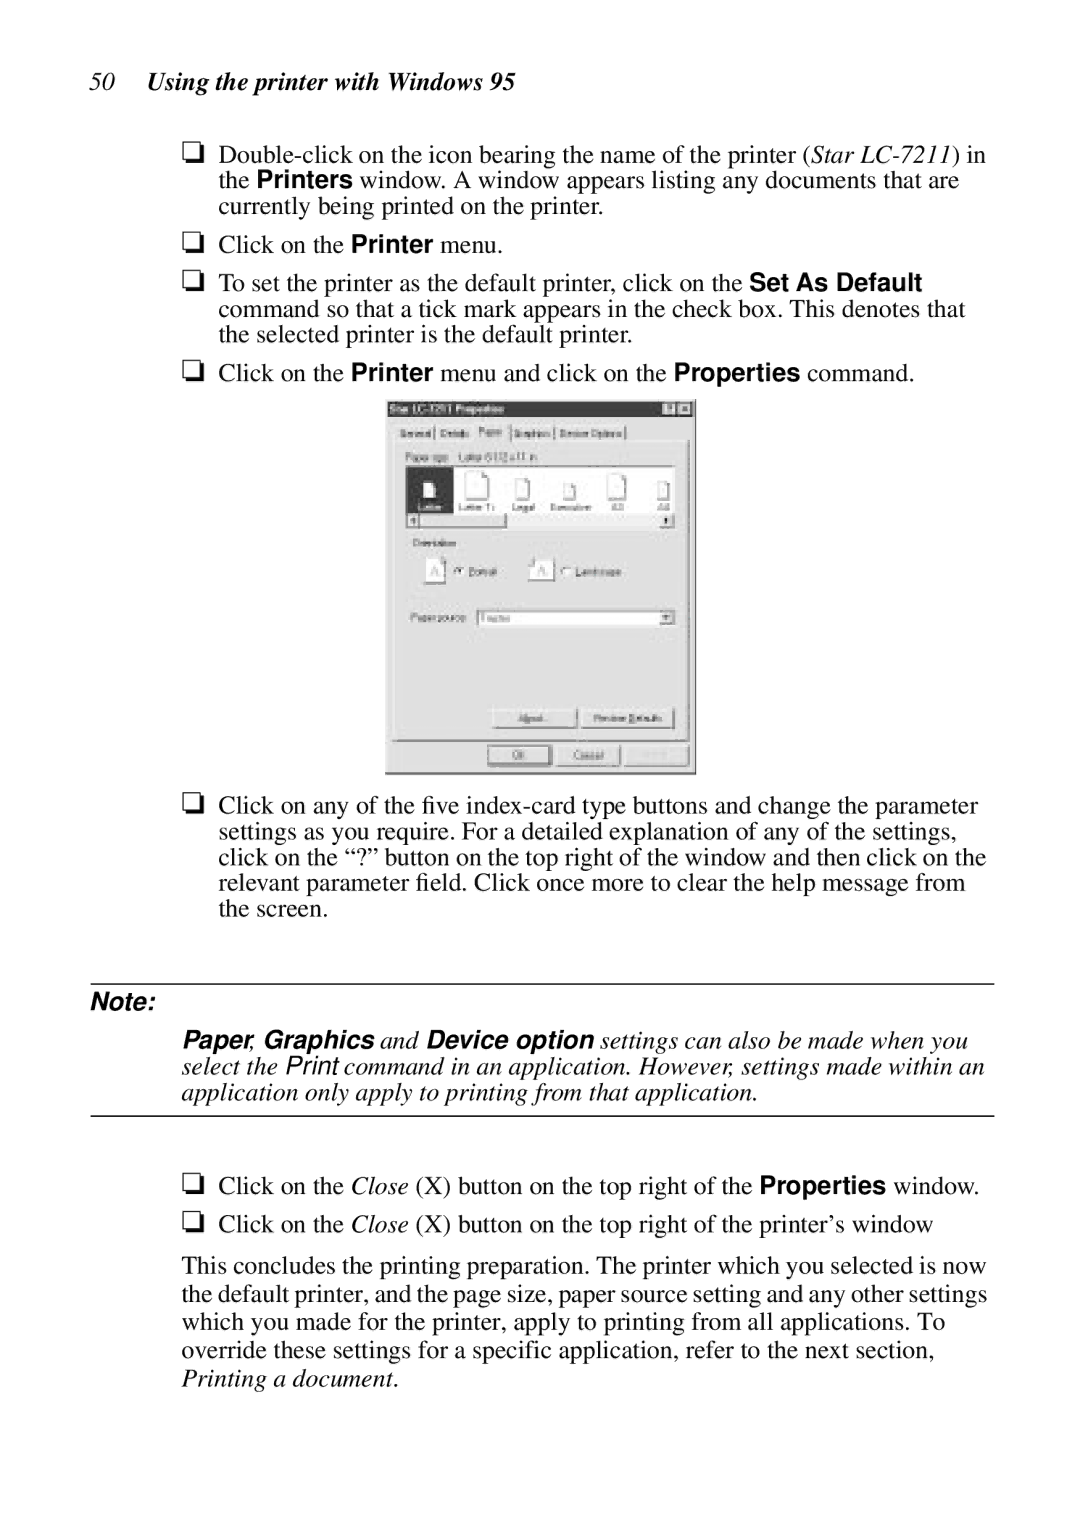
❏Click on the Printer menu and click on the Properties command.
❏Click on any of the five
Note:
Paper, Graphics and Device option settings can also be made when you select the Print command in an application. However, settings made within an application only apply to printing from that application.
❏Click on the Close (X) button on the top right of the Properties window.
❏Click on the Close (X) button on the top right of the printer’s window
This concludes the printing preparation. The printer which you selected is now the default printer, and the page size, paper source setting and any other settings which you made for the printer, apply to printing from all applications. To override these settings for a specific application, refer to the next section,
