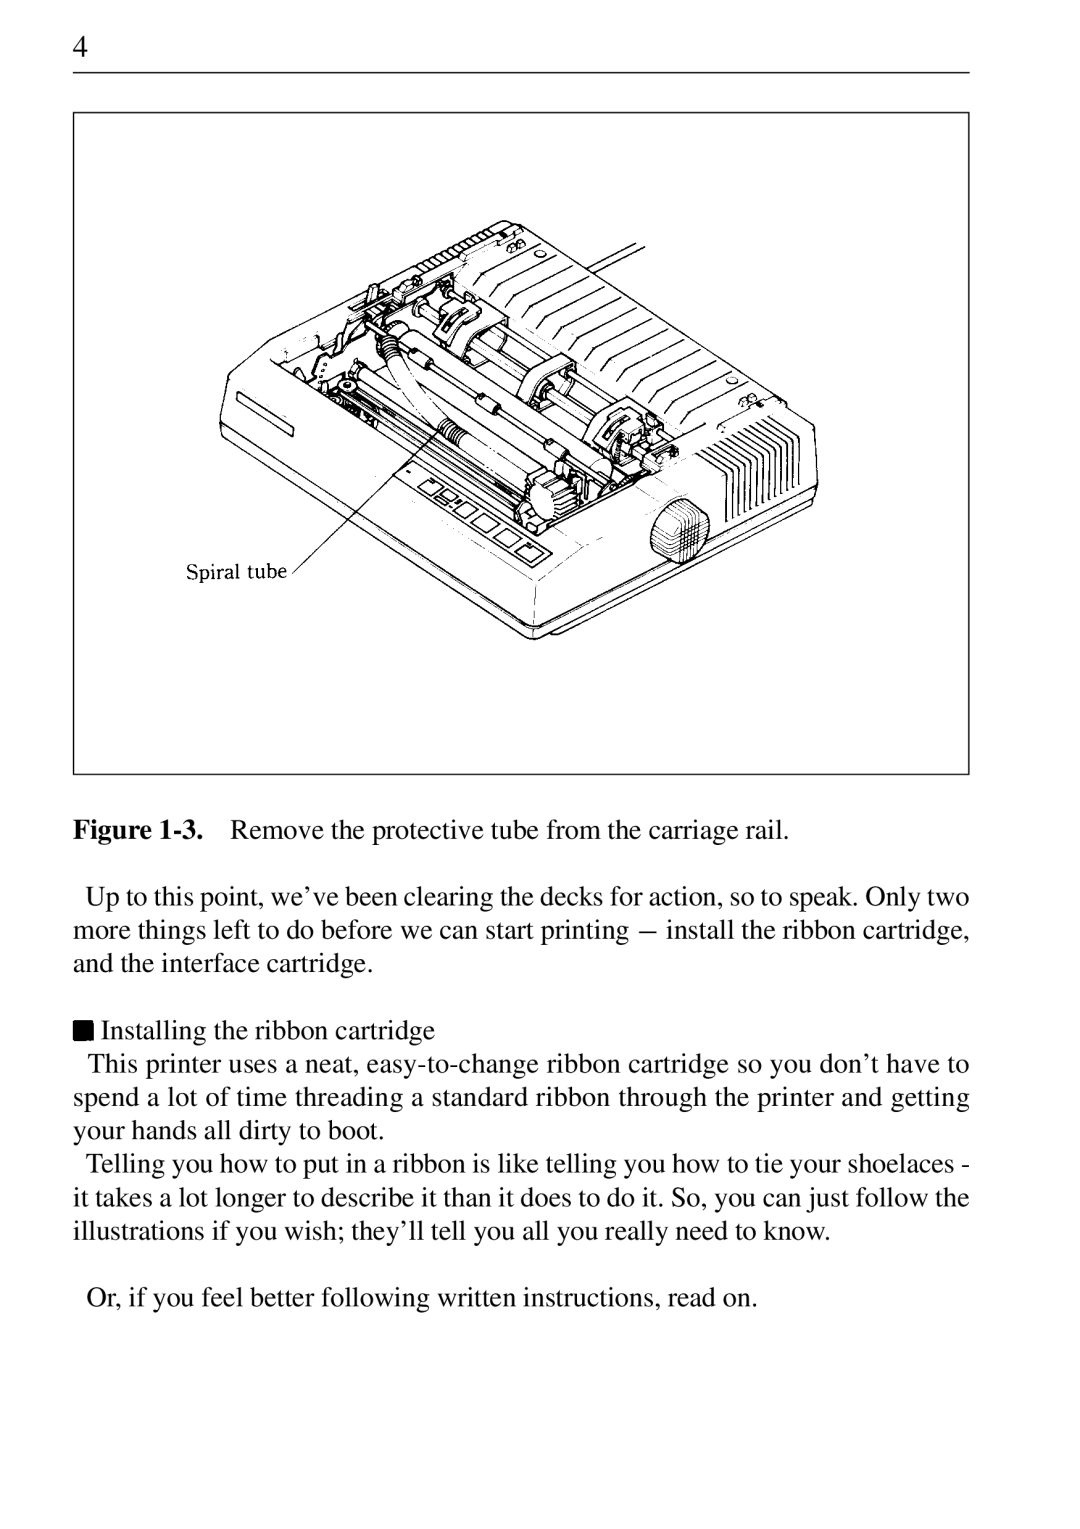
Figure 1-3.Remove the protective tube from the carriage rail.
Up to this point, we’ve been clearing the decks for action, so to speak. Only two more things left to do before we can start printing - install the ribbon cartridge, and the interface cartridge.
Installing the ribbon cartridge
This printer uses a neat, easy-to-change ribbon cartridge so you don’t have to spend a lot of time threading a standard ribbon through the printer and getting your hands all dirty to boot.
Telling you how to put in a ribbon is like telling you how to tie your shoelaces - it takes a lot longer to describe it than it does to do it. So, you can just follow the illustrations if you wish; they’ll tell you all you really need to know.
Or, if you feel better following written instructions, read on.