How to Use Virtual iSO
Initial Setup
NOTE: For ISO functionality The File System on the Hard Drive must be NTFS. ISO function is supported on Mac and Linux based operating systems. However, the NTFS requirement limits the ISO creation to Windows based computer systems.
1.Connect the enclosure to a host computer using the included USB 3.0 cable. The native external Hard Drive drivers will be automatically installed.
2.Press the “<Mode” button to toggle and light the LED next to HDD.
3.Once the system has completed hard drive installation, Open Windows Explorer and access the Root Directory on the External Hard Drive.
Click Start -> Computer -> Select Hard Drive
4.On the main directory of the Hard Drive, create 1 new folder for each ISO file you would like to add (up to 3).
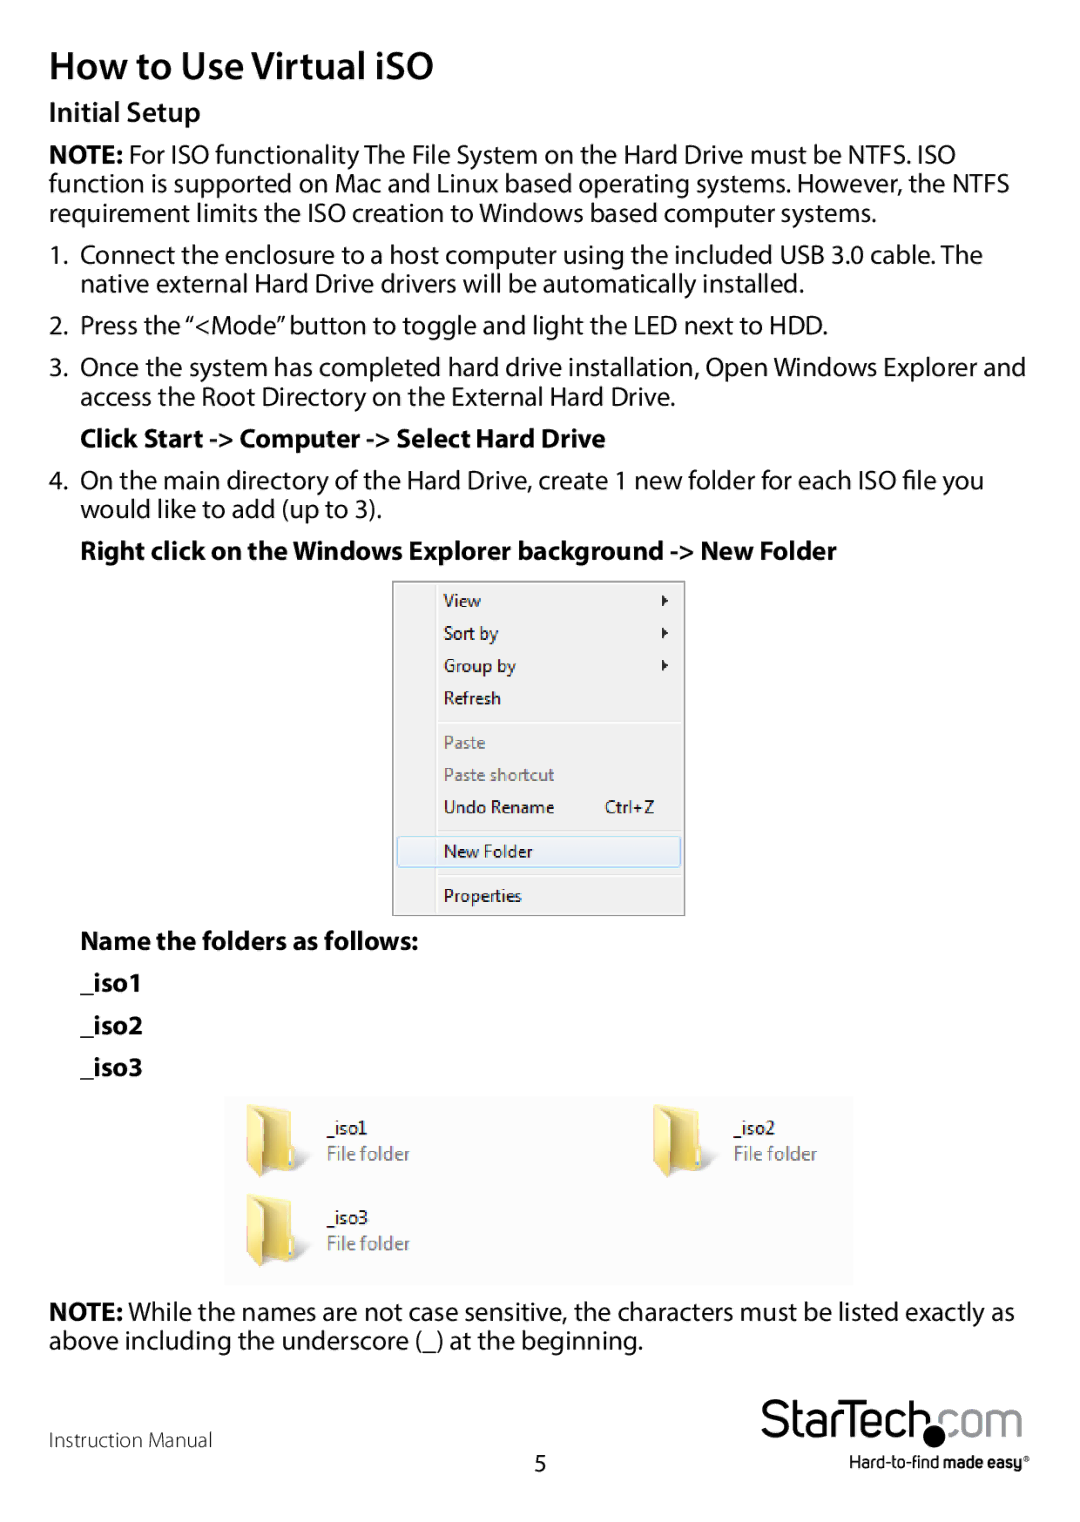
Right click on the Windows Explorer background
Name the folders as follows: _iso1
_iso2 _iso3
NOTE: While the names are not case sensitive, the characters must be listed exactly as above including the underscore (_) at the beginning.
Instruction Manual
5