
4WD specifications
The Stiga 4WD represents a significant advancement in the realm of garden care machinery, designed specifically for those looking for a robust and efficient way to maintain their garden spaces. With a powerful four-wheel-drive system, this innovative machine ensures enhanced traction and stability, making it ideal for various terrains, including slopes, uneven ground, and challenging gardening conditions.One of the main features of the Stiga 4WD is its exceptional cutting system. Equipped with a high-performance mower deck, the machine delivers a clean and precise cut, allowing for efficient grass management. The adjustable cutting height provides users with the flexibility to tailor their lawn to their desired length, ensuring a well-kept appearance throughout the growing season.
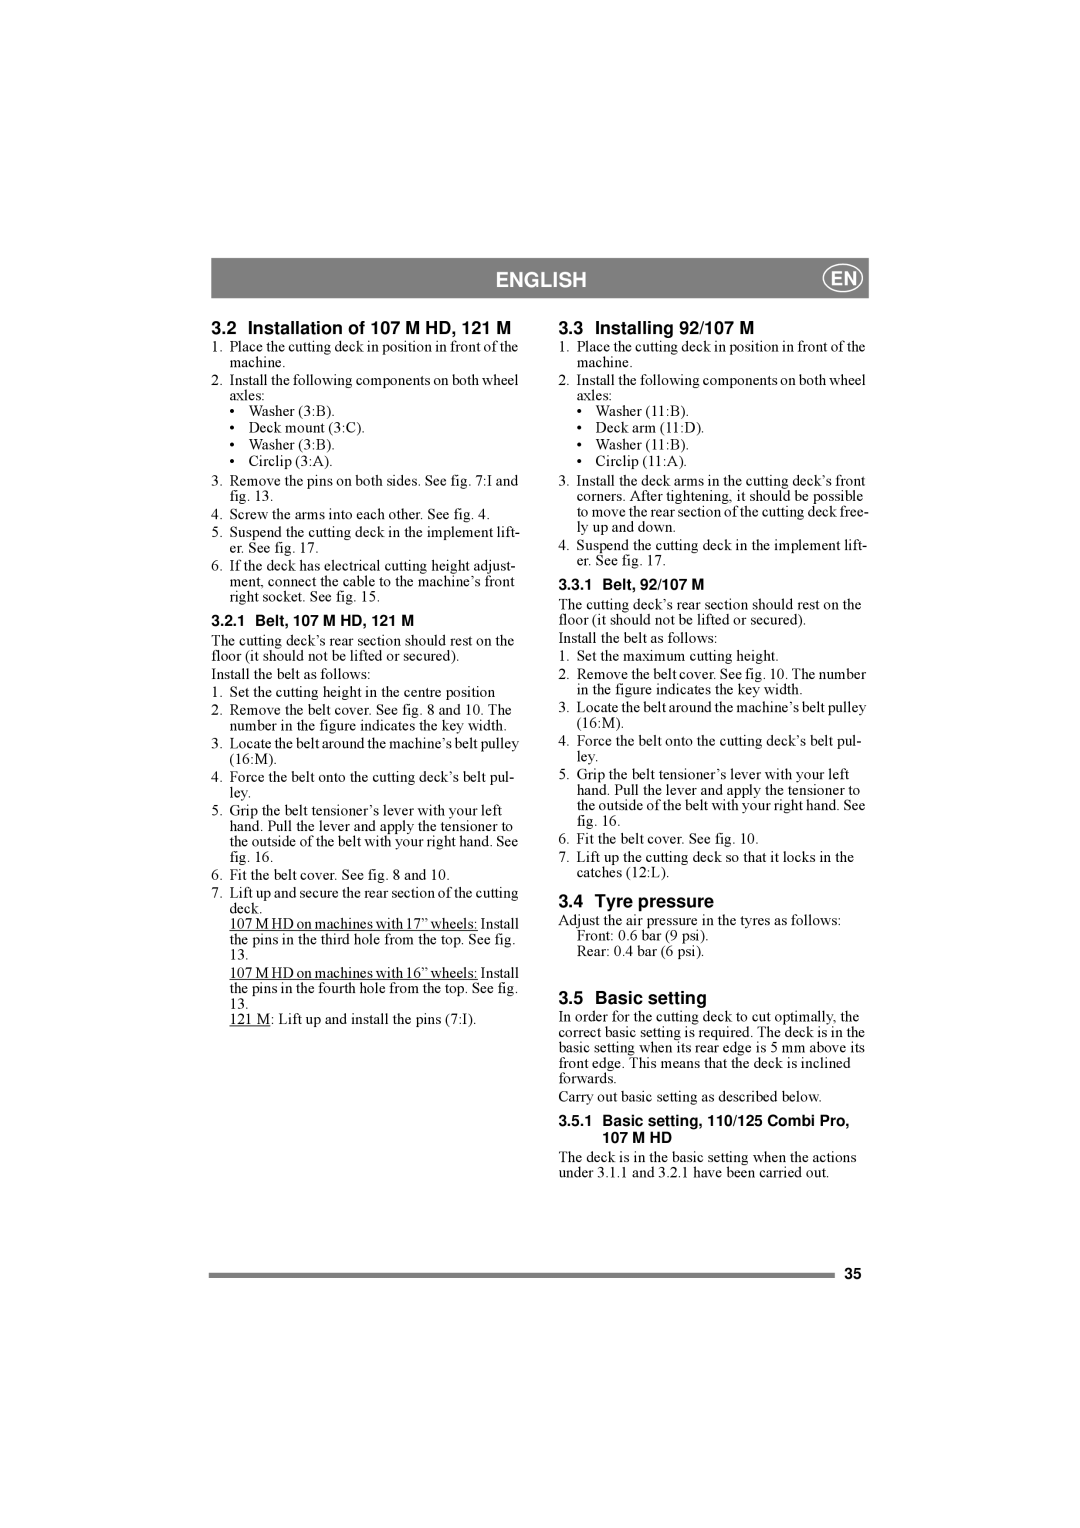
Incorporating cutting-edge technologies, the Stiga 4WD features a user-friendly dashboard that provides essential information at a glance. The intuitive control panel includes indicators for fuel levels, engine temperature, and battery status, allowing operators to monitor performance easily. This high level of accessibility enhances user experience and ensures that operators can drive the machine efficiently.
The Stiga 4WD is also designed with comfort in mind. Its ergonomic seating and adjustable steering wheel provide optimal comfort for extended periods of use. The machine is equipped with a smooth hydrostatic transmission that enables seamless acceleration and deceleration, making it easy to navigate tight spots and obstacle-rich areas.
Furthermore, versatility is one of the standout characteristics of the Stiga 4WD. With the ability to attach a range of accessories, this machine can serve multiple functions beyond just mowing. Users can easily change attachments for snow clearing, leaf collection, or even transporting materials, turning the Stiga 4WD into a multi-purpose tool for year-round garden care.
Durability is ensured with high-quality construction materials, designed to withstand the rigors of outdoor use. These features, combined with powerful performance, make the Stiga 4WD an ideal choice for homeowners and professional landscapers alike.
In summary, the Stiga 4WD is a powerful, versatile, and user-friendly garden care solution that incorporates advanced cutting technologies and ergonomic design, making it a top choice for anyone looking to maintain their outdoor spaces with ease.