INSTALLATION INSTRUCTIONS
INSTALLATION
4.CONTROL UPGRADE
4.1Your fire is fitted with a control valve that can be easily upgraded to battery powered remote control. This upgrade can be fitted by anyone capable of simple DIY jobs and requires no special training. This upgrade can be obtained through your local GAZCO stockist.
4.2STANDARD REMOTE CONTROL This remote control can control the fire after the pilot has been lit. It can turn the main burner on and regulate it from low through to high and back again. It can turn the main burner off leaving the pilot burning. GAZCO PART NUMBER 8455.
4.3The remote control receiver box is supplied with a 0.8 metre lead which attaches to the control valve. The receiver must be located in a position that will receive a signal from the handset and may be attached using the adhesive pads supplied in the instruction kit. The receiver must not be located on any surface which may become hot when the fire is in use.
4.4IMPORTANT - there is a thermostatic version of the upgrade but this is NOT SUITABLE for open flame fires.
5.ARRANGEMENT OF FUEL BED
COMPONENTS
NOTE: CERAMIC PARTS ARE FRAGILE.
5.1General
5.1.1Your fire will be supplied either with a ceramic Coal, Log, Pebble or Driftwood effect This will have been specified at the time of ordering. With pebble fires follow coal layouts. With driftwood fires follow log layouts.
5.1.2Positioning of ceramic parts is important, not only for the flame effect, but also for optimum performance of the appliance.
5.1.3It is important that the ceramic fuel effect pieces are placed so that there are gaps around each for the flames to pass through.
5.1.4Ceramic components must only touch each other at single points, avoid whole sides touching.
5.1.5Do not use any more ceramic components than those shown, extra parts supplied are spares and should be kept for future use.
5.1.6The ceramic components should last about 2 years in normal use at which time it is recommended to replace them. Replacement parts can be bought from any stockist who supplies GAZCO fires, always state the model number found on the databadge.
5.1.7The parts are supplied in various quantities depending on the size of the fire delivered. Check your coals, pebbles, driftwood and logs. If any are damaged, contact your Gazco stockist for replacements. Always ask for genuine Gazco parts.
5.1.8Depending on the fuel effect that you have been supplied with, follow the correct section.
5.2Glass Granules
5.2.1If you have chosen the glass granular fuel effect, open the bag of glass granules and fill the fire to the top ensuring the granules finish level with the top of the tray.
5.2.2Firmly pat the granules down to ensure that there are no voids below the surface. It is important to ensure that the granules fill all the gaps around the burner, and that the granules finish level with the top of the tray.
5.3Firebeads
5.3.1If you have chosen any other of the fuel effects (coal, pebble or log), it will be necessary to fill the tray with firebeads.
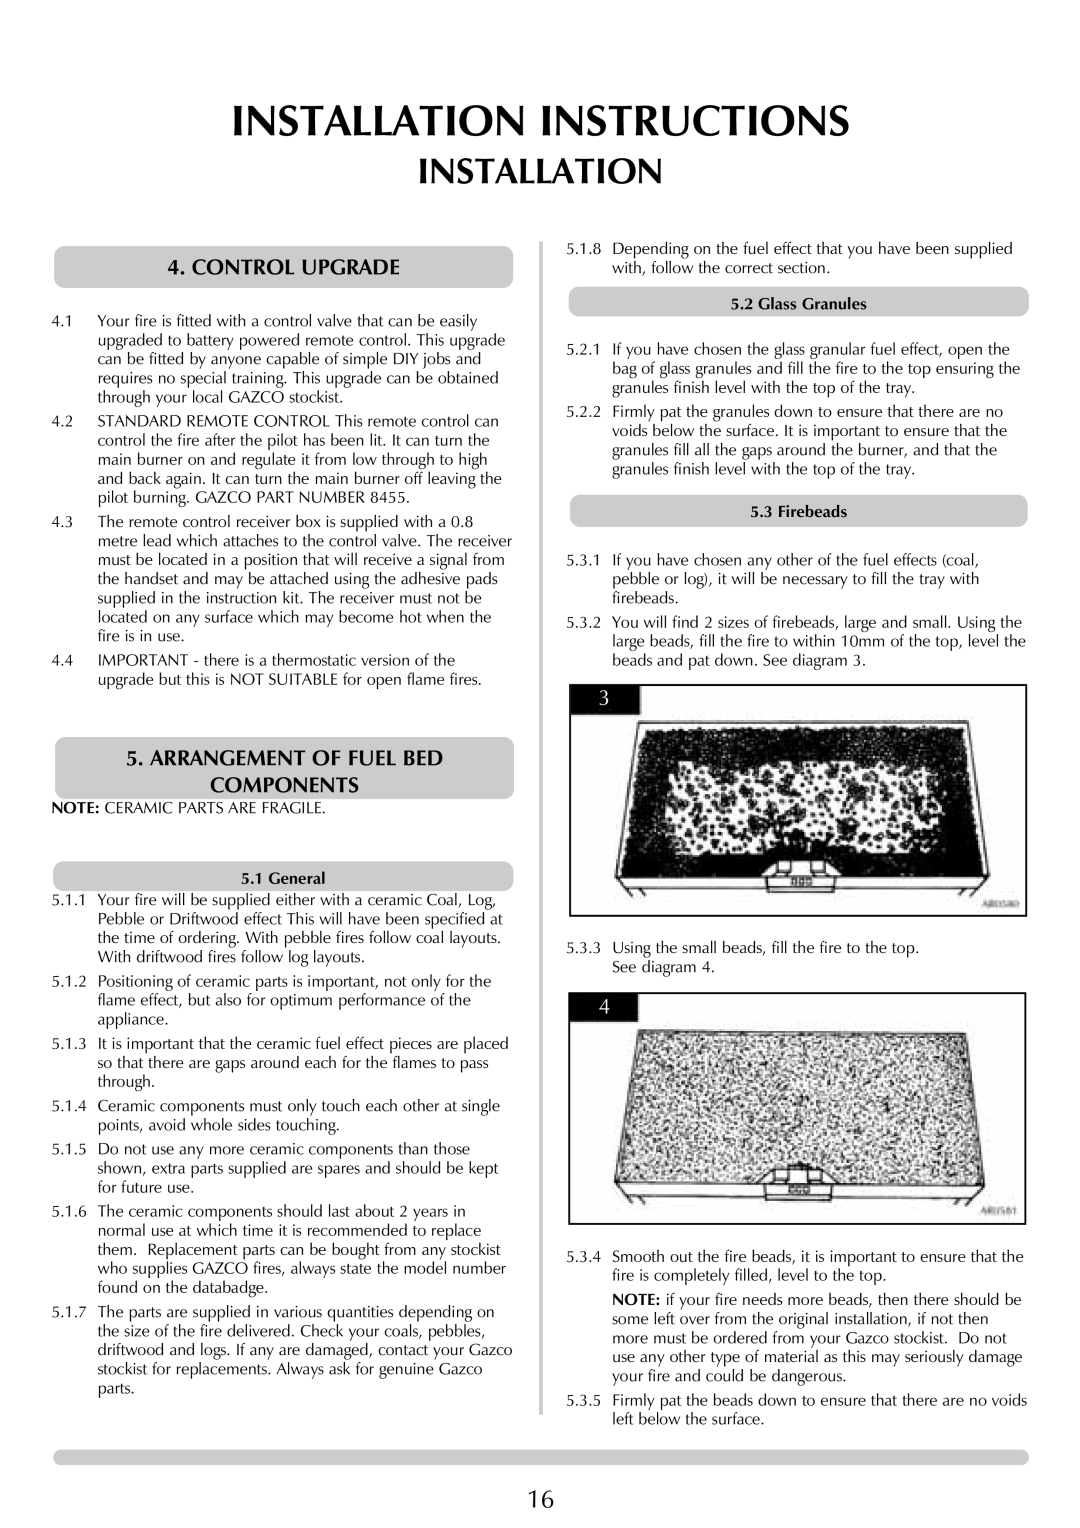
5.3.2You will find 2 sizes of firebeads, large and small. Using the large beads, fill the fire to within 10mm of the top, level the beads and pat down. See diagram 3.
3
5.3.3Using the small beads, fill the fire to the top. See diagram 4.
4
5.3.4Smooth out the fire beads, it is important to ensure that the fire is completely filled, level to the top.
NOTE: if your fire needs more beads, then there should be some left over from the original installation, if not then more must be ordered from your Gazco stockist. Do not use any other type of material as this may seriously damage your fire and could be dangerous.
5.3.5Firmly pat the beads down to ensure that there are no voids left below the surface.
16