SHS62A CUT-OFF SAW — BLADE INSTALLATION INSTRUCTIONS
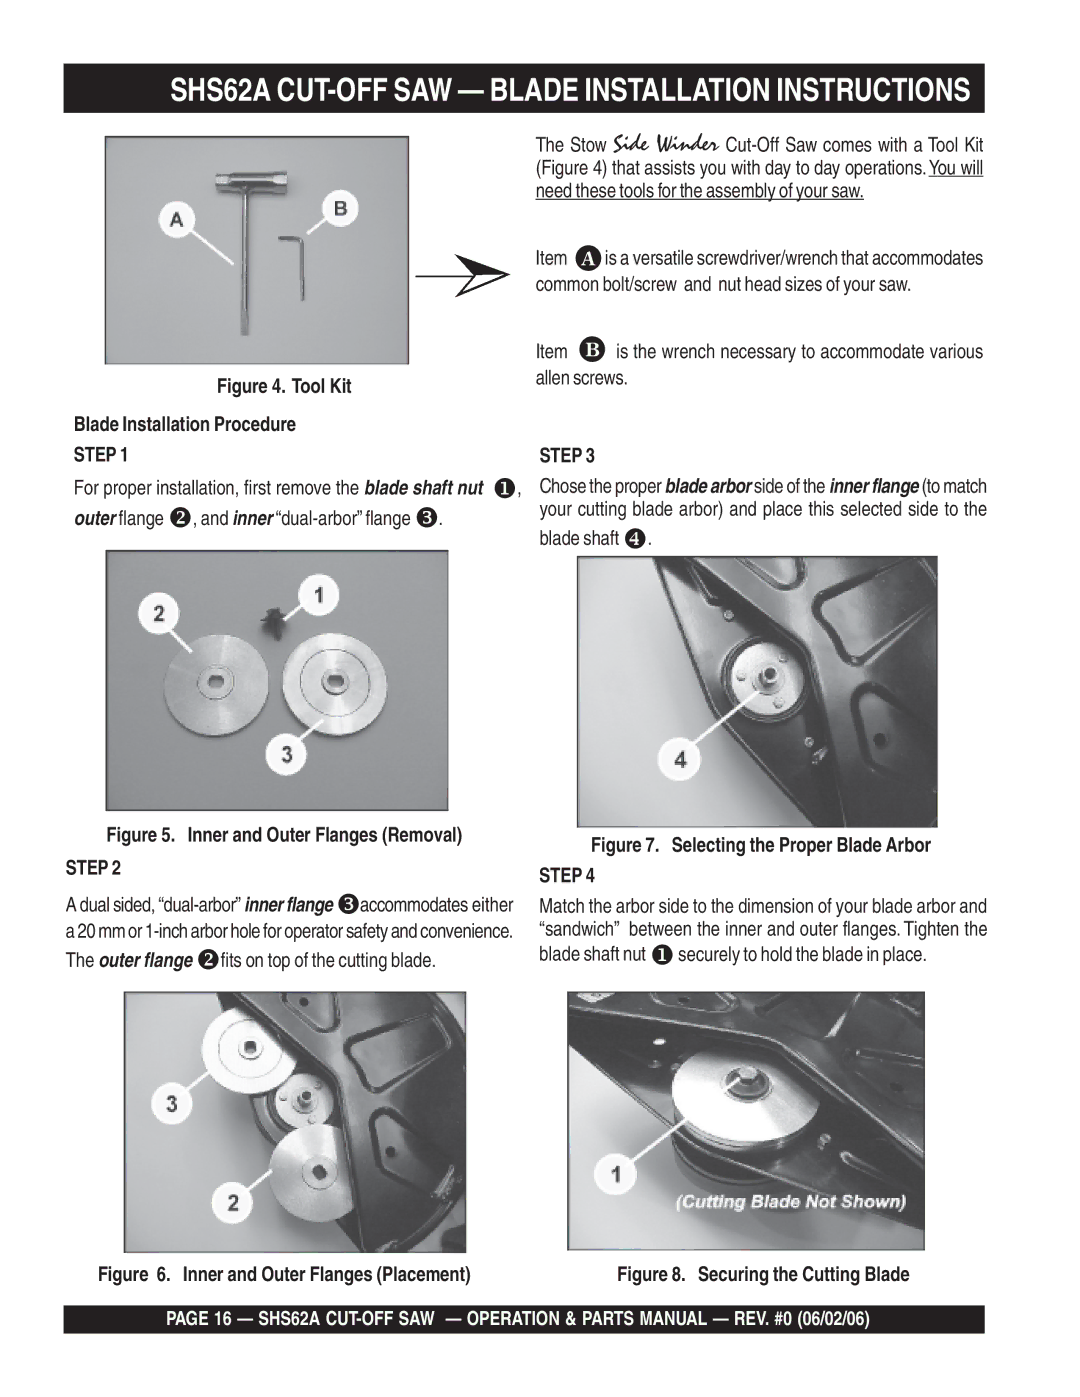
Figure 4. Tool Kit
Blade Installation Procedure
STEP 1
For proper installation, first remove the blade shaft nut X, outer flange Y, and inner
Figure 5. Inner and Outer Flanges (Removal) STEP 2
A dual sided,
The Stow Side Winder
Item Gis a versatile screwdriver/wrench that accommodates common bolt/screw and nut head sizes of your saw.
Item H is the wrench necessary to accommodate various allen screws.
STEP 3
Chose the proper blade arbor side of the inner flange (to match your cutting blade arbor) and place this selected side to the
blade shaft [.
Figure 7. Selecting the Proper Blade Arbor
STEP 4
Match the arbor side to the dimension of your blade arbor and “sandwich” between the inner and outer flanges. Tighten the blade shaft nut Xsecurely to hold the blade in place.
Figure 6. Inner and Outer Flanges (Placement) | Figure 8. Securing the Cutting Blade |
PAGE 16 — SHS62A