PRÉPARATION EN VUE DE L’UTILISATION

Avant de commencer à préparer le batteur pour l’employer, assurez-vous que le variateur de vitesse soit à la position OFF (arrêt) et que le cordon d’alimentation soit débranché. Lavez bien sûr les bols et les accessoires avant la toute première utilisation.

LEVÉE ET BAISSÉE DE LA TÊTE

Appuyez sur le bouton de dégagement (au haut du pied du socle du MixMaster®). Alors que le bouton est enfoncé, saisissez la poignée (1) et tirez la tête basculante du MixMaster® en arrière. La tête du MixMaster® se bloquera à cette position d’inclinaison (2). Pour abaisser la tête, appuyez sur le bouton, saisissez la poignée (2) puis abaissez la tête du MixMaster® (1). Vous entendrez un «clic» quand la tête se bloque en position.

MONTAGE DES ACCESSOIRES (FOUETS ET CROCHETS PÉTRISSEURS)


10


EATERB

EATERB


QUARES

ONEC


.place in it pushing to prior position in it engage to


slightly attachment beater the twist to need may you


place, in firmly click attachments both sure Be :OTEN


.bowl the of center the


nearest socket the into (B) attachment Insert


.(B) attachment as illustrated – top the around

B

A


band colored white a has that attachment other the Take


.it beside dot red a by identified is socket The .bowl the


of side the nearest mixer the of side the on socket the into


(A) attachment Insert .(A) attachment as illustrated – top


the around band colored red a has that attachment the Take


recommendations) for 12 Page on Guide Mixing (See .job


mixing your for suited best attachments of pair the Select

)HOOKS OUGHD

OR ,HISKSW IREW ,EATERS(B TTACHMENTS

THE NSTALLING


A

I


.position into locked has

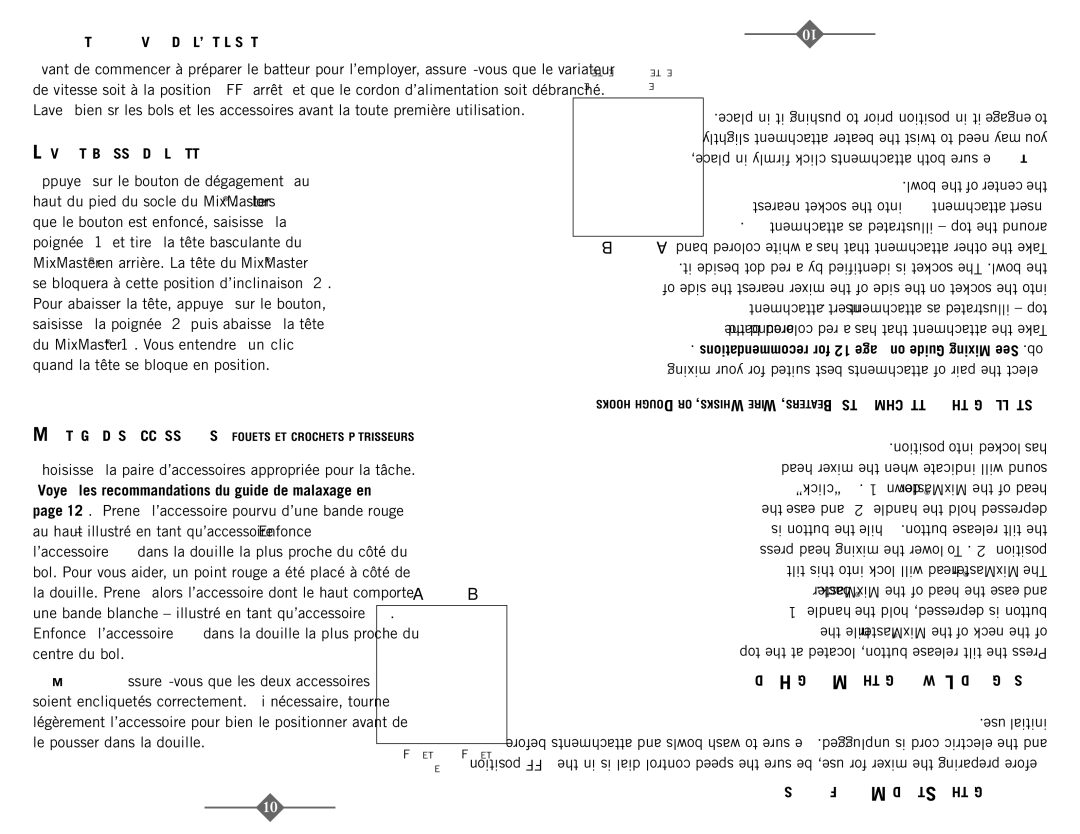
Choisissez la paire d’accessoires appropriée pour la tâche. (Voyez les recommandations du guide de malaxage en page 12). Prenez l’accessoire pourvu d’une bande rouge au haut – illustré en tant qu’accessoire (A). Enfoncez l’accessoire (A) dans la douille la plus proche du côté du bol. Pour vous aider, un point rouge a été placé à côté de la douille. Prenez alors l’accessoire dont le haut comporte une bande blanche – illustré en tant qu’accessoire (B). Enfoncez l’accessoire (B) dans la douille la plus proche du centre du bol.

REMARQUE : Assurez-vous que les deux accessoires soient encliquetés correctement. Si nécessaire, tournez légèrement l’accessoire pour bien le positionner avant de le pousser dans la douille.

A B

FOUET FOUET

CONIQUE CARRÉ

head mixer the when indicate will sound

“click” A .(1) down ®MixMaster the of head

the ease and (2) handle the hold depressed

is button the While .button release tilt the

press head mixing the lower To .(2) position

tilt this into lock will head ®MixMaster The

.back ®MixMaster the of head the ease and

(1) handle the hold depressed, is button

the While .®MixMaster the of neck the of

top the at located button, release tilt the Press

EADH IXINGM THE OWERINGL AND AISINGR

.use initial

before attachments and bowls wash to sure Be .unplugged is cord electric the and

position OFF the in is dial control speed the sure be use, for mixer the preparing Before

SEU FOR IXERM TANDS THE REPARINGP

10

Page 10
Image 10
Sunbeam 2347, 2349 Préparation EN VUE DE L’UTILISATION, Levée ET Baissée DE LA Tête, Click a .1 down MixMaster the of head

2348, 2346, 2349, 2347 specifications

The Sunbeam 2347, 2349, 2346, and 2348 appliances represent a line of innovative kitchen devices, each designed to enhance culinary experiences with a unique blend of features, technologies, and characteristics. These models are revered for their efficiency and multi-functionality, catering to the needs of modern households.

The Sunbeam 2347 is particularly noted for its versatile cooking capabilities. With a powerful heating element, it ensures that meals are prepared quickly and evenly. This model features adjustable temperature settings, allowing users to customize their cooking experience. In addition to its efficiency, the 2347 is engineered with easy-to-clean surfaces, making maintenance a breeze for busy individuals.

On the other hand, the Sunbeam 2349 stands out with its advanced digital control system. This model integrates smart technology to provide precise cooking times and temperatures, ensuring that every dish is cooked to perfection. The user-friendly interface allows for easy operation, making it an ideal choice for novice cooks as well as seasoned chefs. Moreover, the 2349 comes equipped with a delay timer, enabling users to set it ahead of time for added convenience.

The Sunbeam 2346 is designed for those who prioritize speed. This model offers rapid heating capabilities, allowing it to significantly reduce cooking time. With its compact design, the 2346 is perfect for smaller kitchens or for situations where space is limited. It complements its functionality with safety features such as automatic shutoff and thermal protection, ensuring user safety during operation.

Lastly, the Sunbeam 2348 emphasizes durability and design. Crafted with high-quality materials, this model promises longevity without compromising on aesthetics. It is equipped with non-stick cooking surfaces, which facilitate effortless food release and easy cleanup. Additionally, the 2348 incorporates energy-efficient technologies, making it an environmentally-friendly choice for energy-conscious consumers.

In summary, the Sunbeam 2347, 2349, 2346, and 2348 models each offer distinct advantages tailored to various cooking needs. From versatile cooking options and advanced digital controls to rapid heating capabilities and durable designs, these appliances highlight Sunbeam's commitment to enhancing the cooking experience. Each model represents a fusion of practicality and innovation, making them essential additions to any modern kitchen.