Using your Sunbeam Oskar 400 (cont).
10.Continue firmly pushing on the food pusher for better results (13).
(13)
Note: Always keep fingers away from the continuous flow chute when the food processor is in operation.
11.When slicing/shredding is complete, turn the continuous flow attachment to the right (clockwise); this will stop the food processor (14).
Horizontal ![]()
![]()
![]()
![]()
![]()
![]() slot
slot ![]()
Large locking tab
(14)
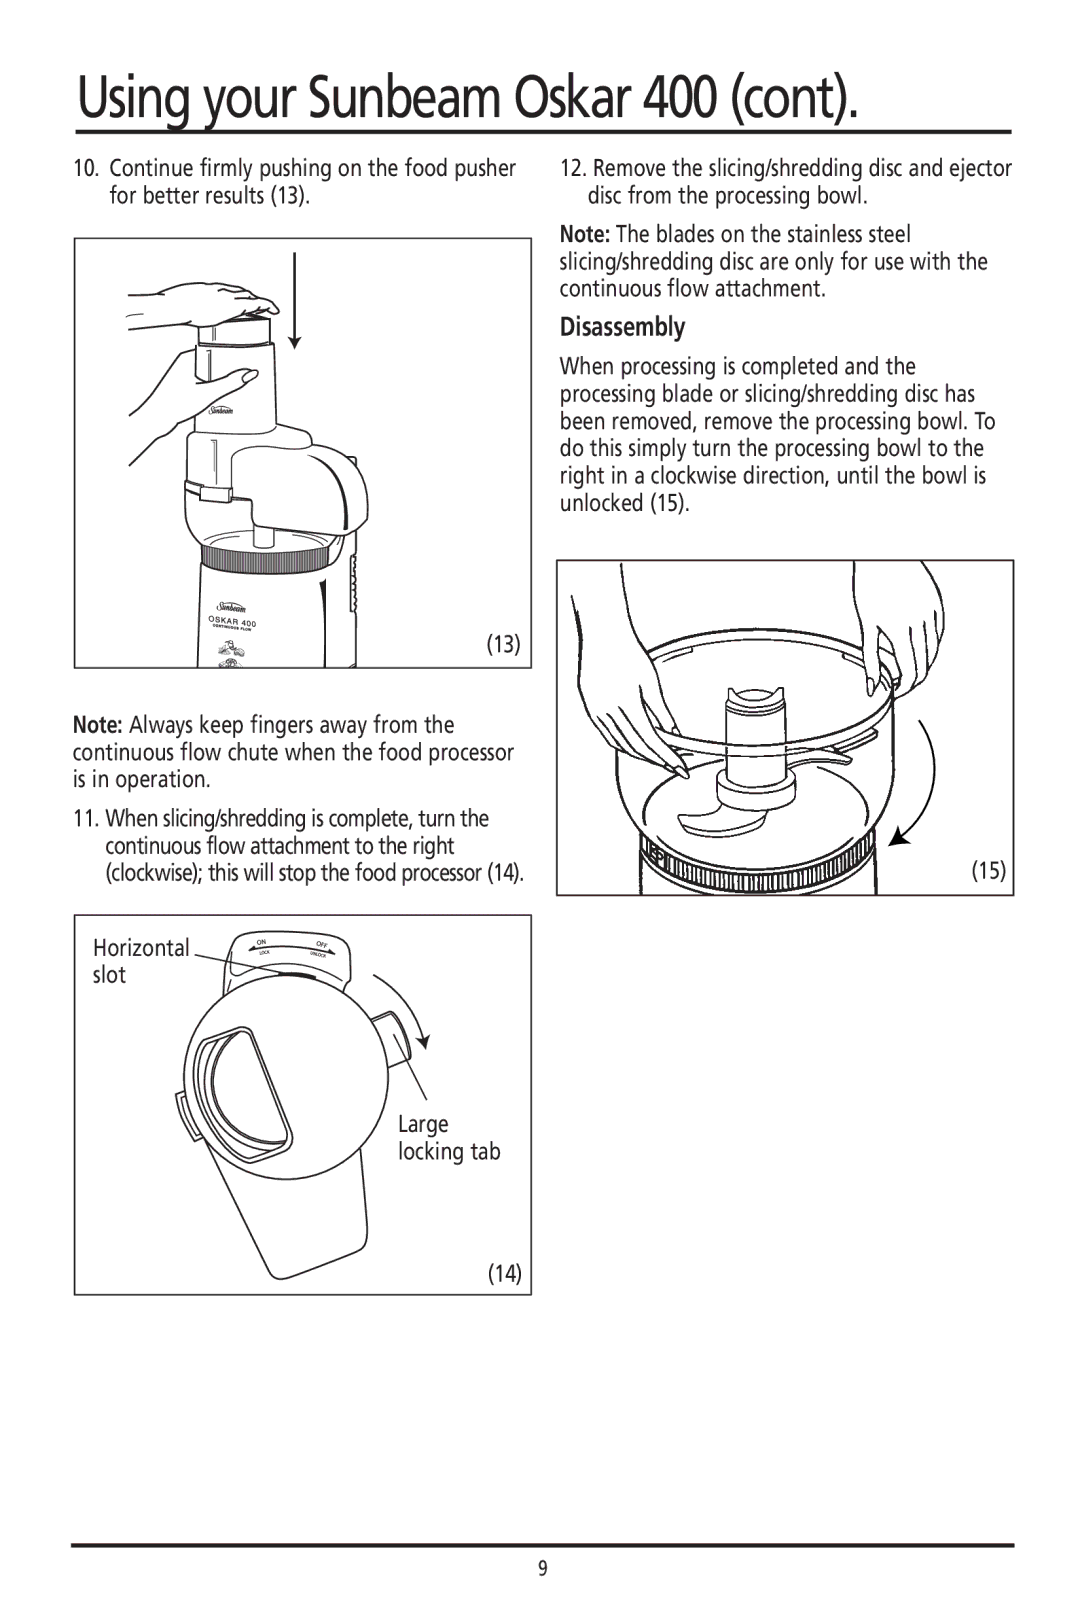
12.Remove the slicing/shredding disc and ejector disc from the processing bowl.
Note: The blades on the stainless steel slicing/shredding disc are only for use with the continuous flow attachment.
Disassembly
When processing is completed and the processing blade or slicing/shredding disc has been removed, remove the processing bowl. To do this simply turn the processing bowl to the right in a clockwise direction, until the bowl is unlocked (15).
(15)
9