![]() V I I .
V I I .
O p e r a t i n g
I n s t r u c t i o n s
![]()
![]()
![]()
![]()
![]()
![]()
![]()
![]()
![]() 19
19
5.Torque all four front nylock nuts to 8 N/M (71 in/lbs).
6.Continue on to rear transit bracket installation.
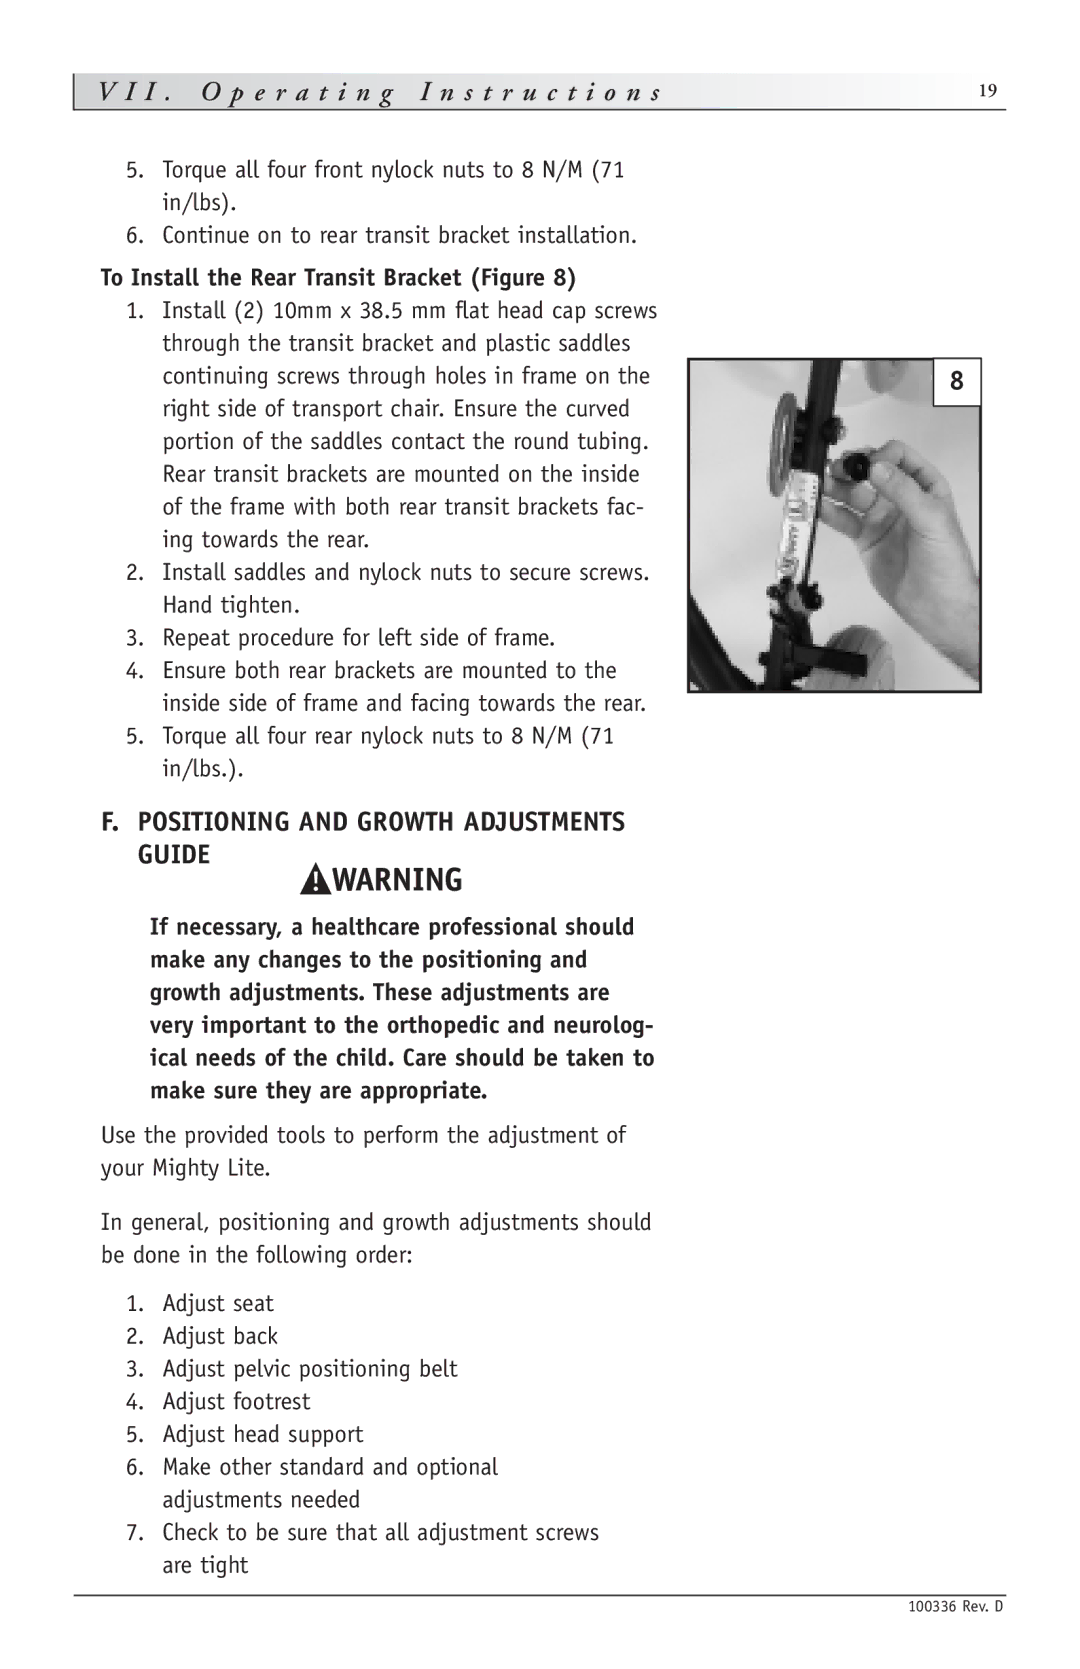
To Install the Rear Transit Bracket (Figure 8)
1.Install (2) 10mm x 38.5 mm flat head cap screws through the transit bracket and plastic saddles continuing screws through holes in frame on the right side of transport chair. Ensure the curved portion of the saddles contact the round tubing. Rear transit brackets are mounted on the inside of the frame with both rear transit brackets fac- ing towards the rear.
2.Install saddles and nylock nuts to secure screws. Hand tighten.
3.Repeat procedure for left side of frame.
4.Ensure both rear brackets are mounted to the inside side of frame and facing towards the rear.
5.Torque all four rear nylock nuts to 8 N/M (71 in/lbs.).
8
F.POSITIONING AND GROWTH ADJUSTMENTS GUIDE
If necessary, a healthcare professional should make any changes to the positioning and growth adjustments. These adjustments are very important to the orthopedic and neurolog- ical needs of the child. Care should be taken to make sure they are appropriate.
Use the provided tools to perform the adjustment of your Mighty Lite.
In general, positioning and growth adjustments should be done in the following order:
1.Adjust seat
2.Adjust back
3.Adjust pelvic positioning belt
4.Adjust footrest
5.Adjust head support
6.Make other standard and optional adjustments needed
7.Check to be sure that all adjustment screws are tight
100336 Rev. D