Basic Operation

GETTING STARTED

Before using the DVR, please have a HDD installed ready, or it will function as 4 CH multiplexer (refer to Appendix #1 and Appendix #2 for installation or removal of a HDD).

1.Connect the AC power cord and plug into an electrical outlet. The Red LED indicator light will be ON and the DVR is in Standby mode.

2.Press the Power button. The POWER LED will turn from red to orange, and other red LED indicators will turn ON. It takes approximately 5 to 15 seconds to boot the system with the message : “ HDD Detecting ”. Once connected, the POWER LED will change to green color, and the Alarm LED will be ON.

3.Before operating the DVR, sets the system time first. (refer to page.11).

NOTE : 1.If the HDD is not installed correctly or not installed, the “HDD not found” message will appear for 3 seconds and then return to 4 CH Multiplexer display mode.

2.To switch the system, you need to turn off the power and pull out the AC power cord, before you reconnect the power, press “POWER” + “FF” to NTSC system or “POWER” + “REW” to PAL system and then reconnect the AC power cord, the DVR will be auto-detecting.

OPERATION

RECORDING

The DVR offers 4 recording modes, variety of recording modes. Refer P.25 for advanced setting of recording speed and resolution. Under the recording status, if power is off accidentally, recorded video will still be stored in the HDD. DVR will return to original recording setting after power restores again.

On the screen, you will find the date, time, HDD recording type, the available space of HDD (in GB) left and the symbol

” represents the recording mode.

NOTE : 1. Under O/W Recording mode, previously recorded files will be


2002 – JAN –01 01:02:03


automatically overwritten without further warning notices, when the


OW


HDD is full.


(OW : HDD Overwrite)

2. If the HDD capacity is only 5 GB left, it will display “5 GB” on the up-right


screen and shows orange color, and it will buzz for seconds; so as in 4GB, 3GB, 2GB and 1GB. If the

O/W Recording mode (NOTE 1) is on, it won’t have the warning buzzer.


There are 4 recording modes: Alarm, Motion, Timer and Manual Recording.


1. ALARM RECORDING


DVR is triggered by an alarm input. symbol will be shown on the triggered channel. (refer to page13)

2. MOTION TRIGGER RECORDING

Recording is triggered by motion detection. symbol will be shown on the triggered channel. (refer to page14)

3. TIMER RECORDING

Recording is scheduled by a Timer. It will indicate by the symbol . (refer to page11)

4. MANUAL RECORDING

Recording is initiated manually by pressing the REC button. Symbol

will be shown.

8

Page 9
Image 9
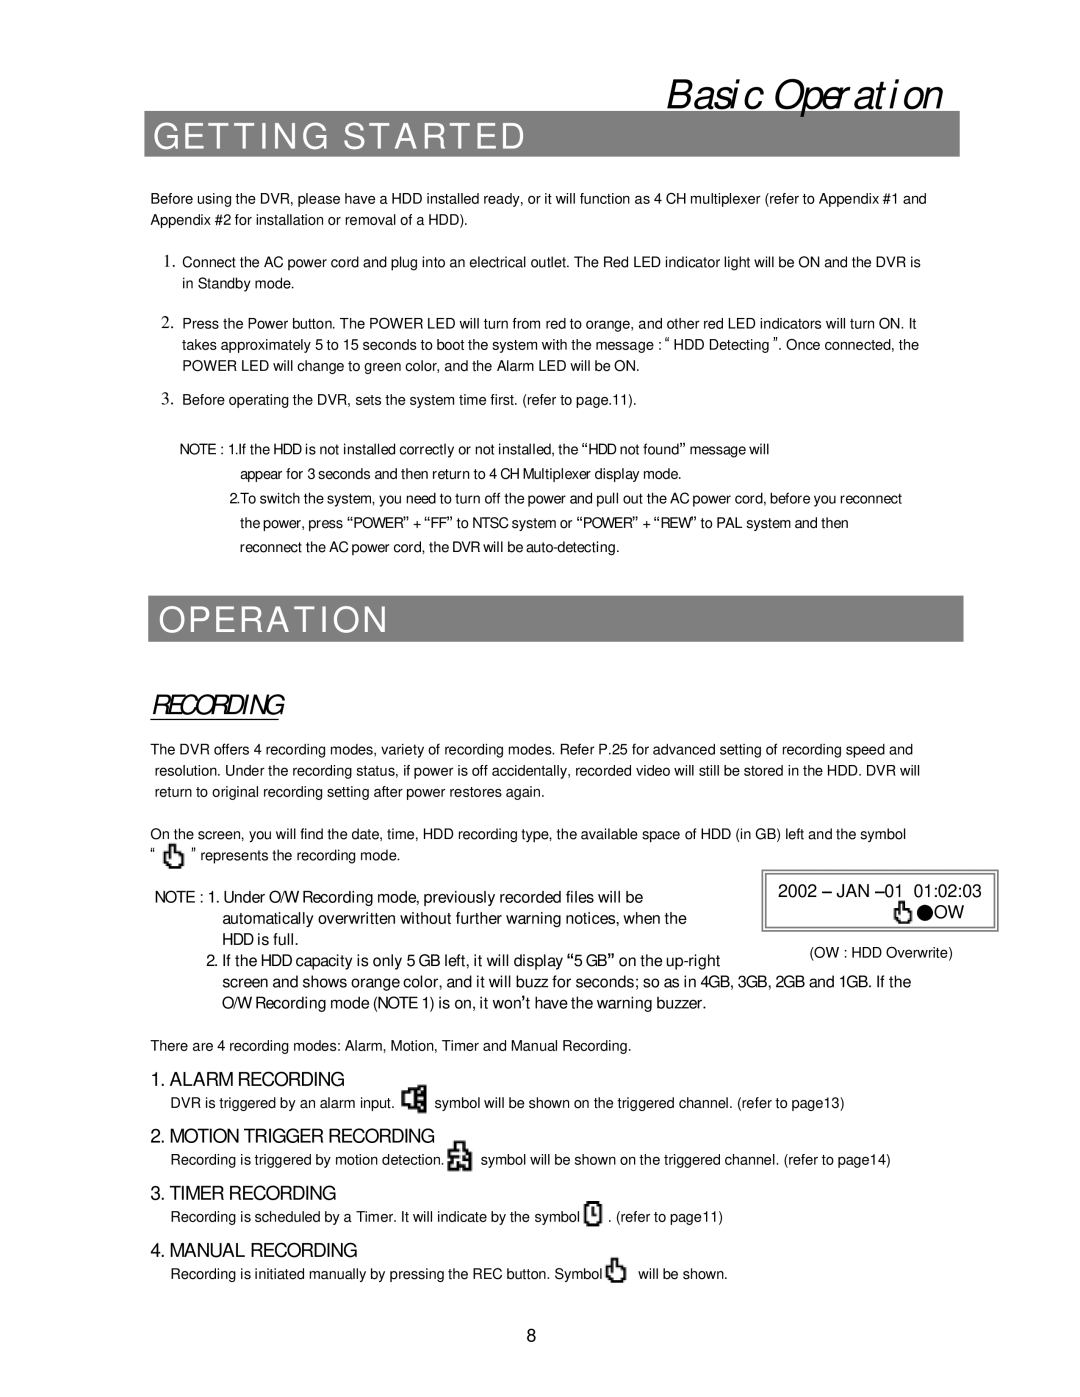
Swann 4 CH Digital Video Recorder user manual Getting Started, Operation, Recording

4 CH Digital Video Recorder specifications

The Swann 4 CH Digital Video Recorder (DVR) is a cutting-edge surveillance solution designed for both home and business security. This DVR is widely recognized for its combination of advanced technology, user-friendly features, and versatile capabilities.

One of the primary features of the Swann 4 CH DVR is its ability to support up to four camera inputs, allowing users to monitor multiple areas simultaneously. This multi-channel functionality provides flexibility in camera placement, ensuring comprehensive coverage of key locations.

The device offers high-definition video recording, with resolutions up to 1080p provided by compatible cameras. This clarity makes it easy to identify faces, license plates, and other critical details, enhancing overall surveillance effectiveness. The DVR supports both analog and HD cameras, catering to various setups and existing equipment.

Storage is a significant consideration in any surveillance system, and the Swann DVR excels with its built-in hard drive. Depending on the model, users can obtain varying capacities, enabling extensive recording times. The device employs smart recording technology, which optimizes storage by adjusting the video quality based on activity levels, ensuring that essential footage is retained while minimizing unnecessary data.

Remote access is another standout feature of the Swann 4 CH DVR. It is equipped with Swann’s innovative software, allowing users to view live feeds and recorded footage from their smartphones, tablets, or computers. This remote capability ensures that users can monitor their property in real-time, regardless of their location.

The DVR also boasts advanced motion detection technology. Users can program the device to send alerts via email or push notifications when movement is detected in specified areas. This proactive approach to security allows users to respond promptly to potential threats.

Additionally, the Swann DVR comes with user-friendly setup and navigation. The easy-to-use interface and included remote control simplify system configuration and operation, making it accessible even for those who may not be tech-savvy.

With versatile connectivity options, including HDMI and VGA outputs, the Swann 4 CH DVR can easily connect to various displays for easy viewing of live and recorded footage. This flexibility ensures that users can integrate the DVR into their existing systems seamlessly.

Overall, the Swann 4 CH Digital Video Recorder is a robust surveillance option, combining comprehensive monitoring capabilities, advanced features, and user-friendly operation, making it a reliable choice for securing any property.