User Manual
5.6 Record Quality
There are three levels of recording quality: High, Normal, and Low. Higher quality records the best images but uses more hard drive space.
Record frame rate, record quality and available hard drive space will affect the total recording time of the DVR system.
5.7 Schedule Set
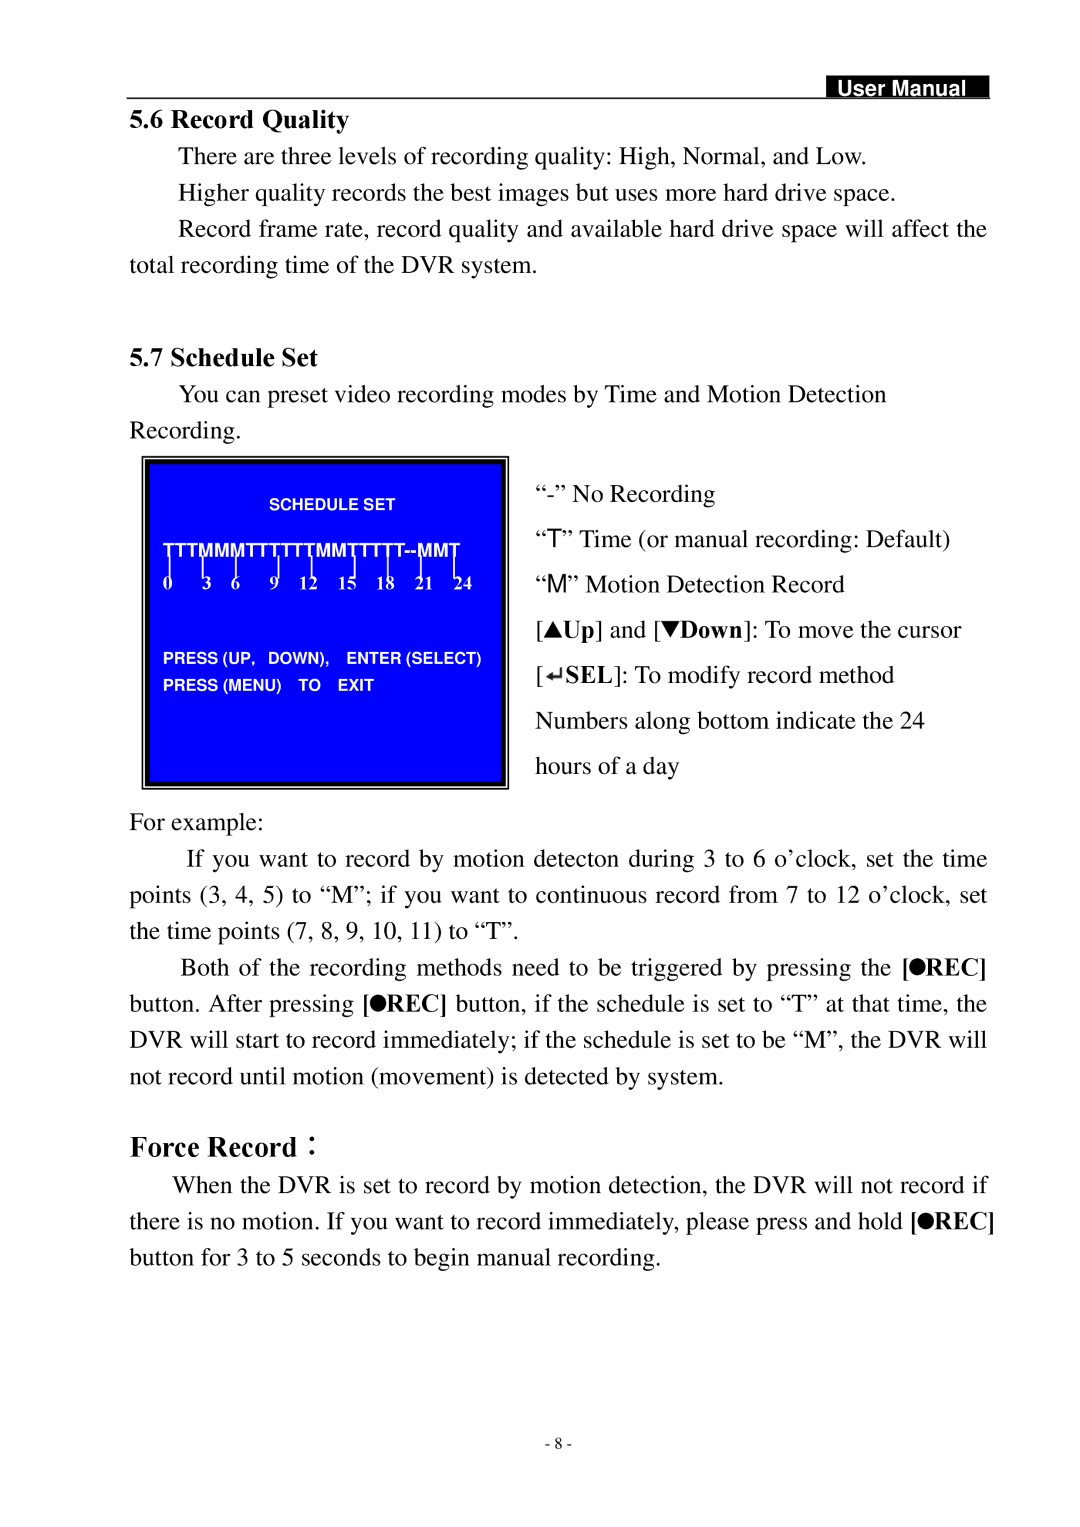
You can preset video recording modes by Time and Motion Detection Recording.
SCHEDULE SET
│ │ │ │ │ │ │ │ │
0 3 6 9 12 15 18 21 24
PRESS (UP,DOWN), ENTER (SELECT)
PRESS (MENU) TO EXIT
“T” Time (or manual recording: Default)
“M” Motion Detection Record
[![]() Up] and [ Down]: To move the cursor
Up] and [ Down]: To move the cursor
[![]() SEL]: To modify record method
SEL]: To modify record method
Numbers along bottom indicate the 24
hours of a day
For example:
If you want to record by motion detecton during 3 to 6 o’clock, set the time points (3, 4, 5) to “M”; if you want to continuous record from 7 to 12 o’clock, set the time points (7, 8, 9, 10, 11) to “T”.
Both of the recording methods need to be triggered by pressing the [![]() REC] button. After pressing [
REC] button. After pressing [![]() REC] button, if the schedule is set to “T” at that time, the DVR will start to record immediately; if the schedule is set to be “M”, the DVR will not record until motion (movement) is detected by system.
REC] button, if the schedule is set to “T” at that time, the DVR will start to record immediately; if the schedule is set to be “M”, the DVR will not record until motion (movement) is detected by system.
Force Record:
When the DVR is set to record by motion detection, the DVR will not record if there is no motion. If you want to record immediately, please press and hold [![]() REC] button for 3 to 5 seconds to begin manual recording.
REC] button for 3 to 5 seconds to begin manual recording.
- 8 -