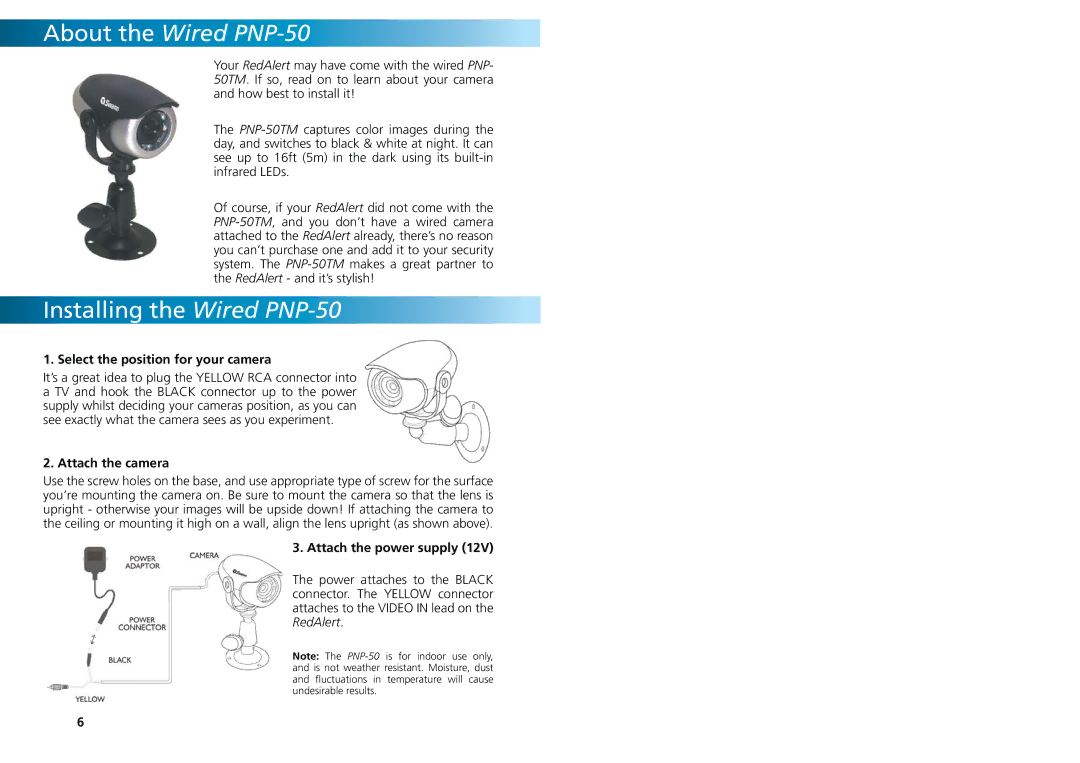
SW242-WDV, SW242-WRA, SW244-WDS, SW244-WDW specifications
The Swann SW242-WDV is a sophisticated security camera that exemplifies modern surveillance technology, designed to provide robust monitoring solutions for both residential and commercial environments. With an array of impressive features, the SW242-WDV stands out for its user-friendly design and reliability.One of the main features of the SW242-WDV is its high-resolution video capture, offering 1080p Full HD recording quality. This clarity ensures that users can easily identify faces, license plates, and other critical details in the monitored areas. The camera is equipped with a wide-angle lens, typically offering a field of view around 90 degrees, enabling it to cover large areas without the need for multiple units.
The SW242-WDV also integrates night vision capabilities, thanks to its infrared technology. This allows the camera to maintain optimal visibility even in low-light conditions, ensuring 24/7 surveillance without compromising image quality. Users can rely on this feature to monitor their property effectively around the clock.
Another key characteristic is its weatherproof design, making the SW242-WDV suitable for both indoor and outdoor installations. With an IP66 rating, this camera is resistant to dust and capable of withstanding harsh weather conditions such as rain and snow, thereby ensuring its longevity and uninterrupted functionality.
For connectivity, the SW242-WDV supports Wi-Fi and can be easily integrated into existing home or office networks. This connectivity allows for seamless remote viewing through a compatible smartphone app, giving users the freedom to monitor their properties in real time from virtually anywhere in the world. The camera also supports motion detection, sending push notifications to users' devices upon detecting movement, which enhances its security features.
Additionally, the camera can be paired with various storage options, such as cloud storage or local storage through SD cards, ensuring that recorded footage is preserved and easily accessible when needed. The device’s compatibility with digital video recorders (DVRs) further enhances its utility, allowing users to set up comprehensive video surveillance systems.
In summary, the Swann SW242-WDV is a reliable and versatile security camera, offering high-definition video, night vision capabilities, rugged weatherproof design, and flexible connectivity options. These features make it an excellent choice for anyone looking to bolster their security measures efficiently and effectively.

