Using the Menus
When you open the Main Menu, you will see the following four categories, each containing several options. Here’s a quick rundown of what you’ll see.
Pairing
This is where you pair cameras with channels in the receiver. See page 7 for more details.
Record
•
•Alarm Record Time: The amount of time after a motion/alarm event that the receiver will continue to record for. You can set this time between 3 seconds and 10 minutes.
•Time Stamp: When Time Stamp is set to on the time and date of a recording will be overlaid on the video. We suggest leaving this set to on, as recording the time and date of an event typically makes the footage more useful.
•Format: Formats the SD card in the receiver. Formatting removes all data and
•Playback: Enter playback mode (see pages 14 - 15).
Schedule
•You can set a start and end time for the period that you want the receiver to record each day.
•Only one recording period can be defined each day. For the duration of the programmed schedule, the receiver will record continuously, regardless of whether there is movement in the camera’s line of sight.
•For more information about Scheduled Recording, see page 11.
Setting
Here you can access and set many of the settings in the receiver. You’ll be able to adjust the date and time, your display settings, and alarm settings. For more details, see pages 12 - 13.
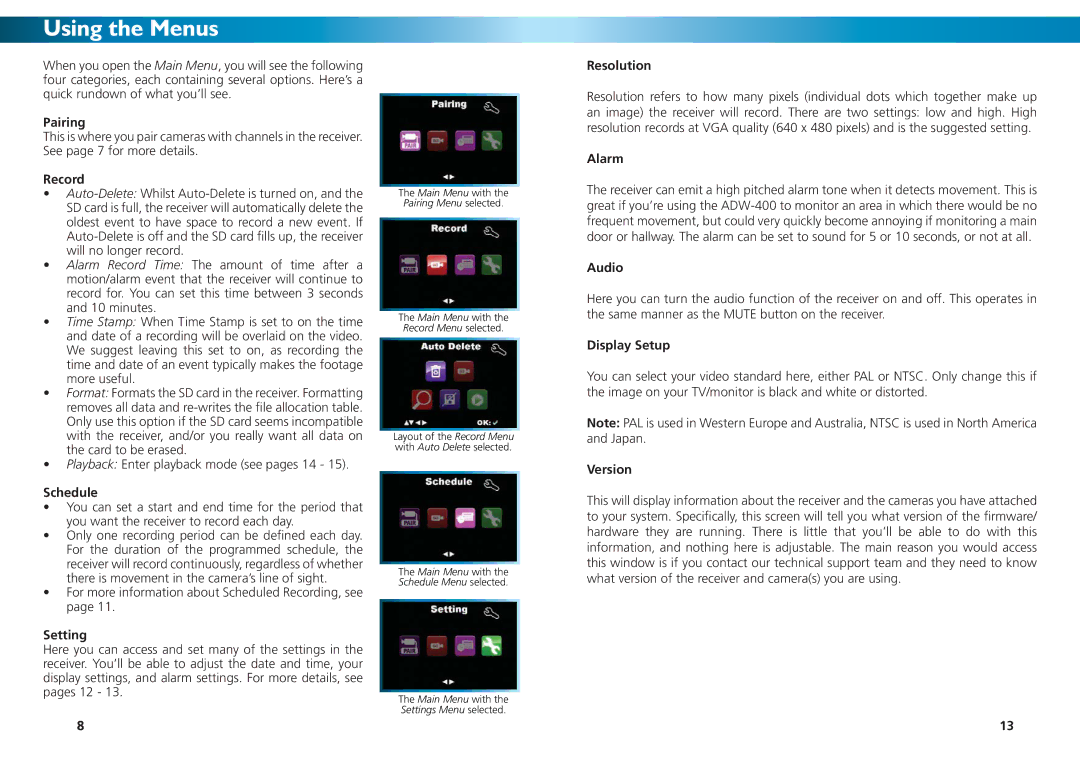
The Main Menu with the Pairing Menu selected.
The Main Menu with the Record Menu selected.
Layout of the Record Menu with Auto Delete selected.
The Main Menu with the Schedule Menu selected.
The Main Menu with the Settings Menu selected.
Resolution
Resolution refers to how many pixels (individual dots which together make up an image) the receiver will record. There are two settings: low and high. High resolution records at VGA quality (640 x 480 pixels) and is the suggested setting.
Alarm
The receiver can emit a high pitched alarm tone when it detects movement. This is great if you’re using the
Audio
Here you can turn the audio function of the receiver on and off. This operates in the same manner as the MUTE button on the receiver.
Display Setup
You can select your video standard here, either PAL or NTSC. Only change this if the image on your TV/monitor is black and white or distorted.
Note: PAL is used in Western Europe and Australia, NTSC is used in North America and Japan.
Version
This will display information about the receiver and the cameras you have attached to your system. Specifically, this screen will tell you what version of the firmware/ hardware they are running. There is little that you’ll be able to do with this information, and nothing here is adjustable. The main reason you would access this window is if you contact our technical support team and they need to know what version of the receiver and camera(s) you are using.
8 | 13 |