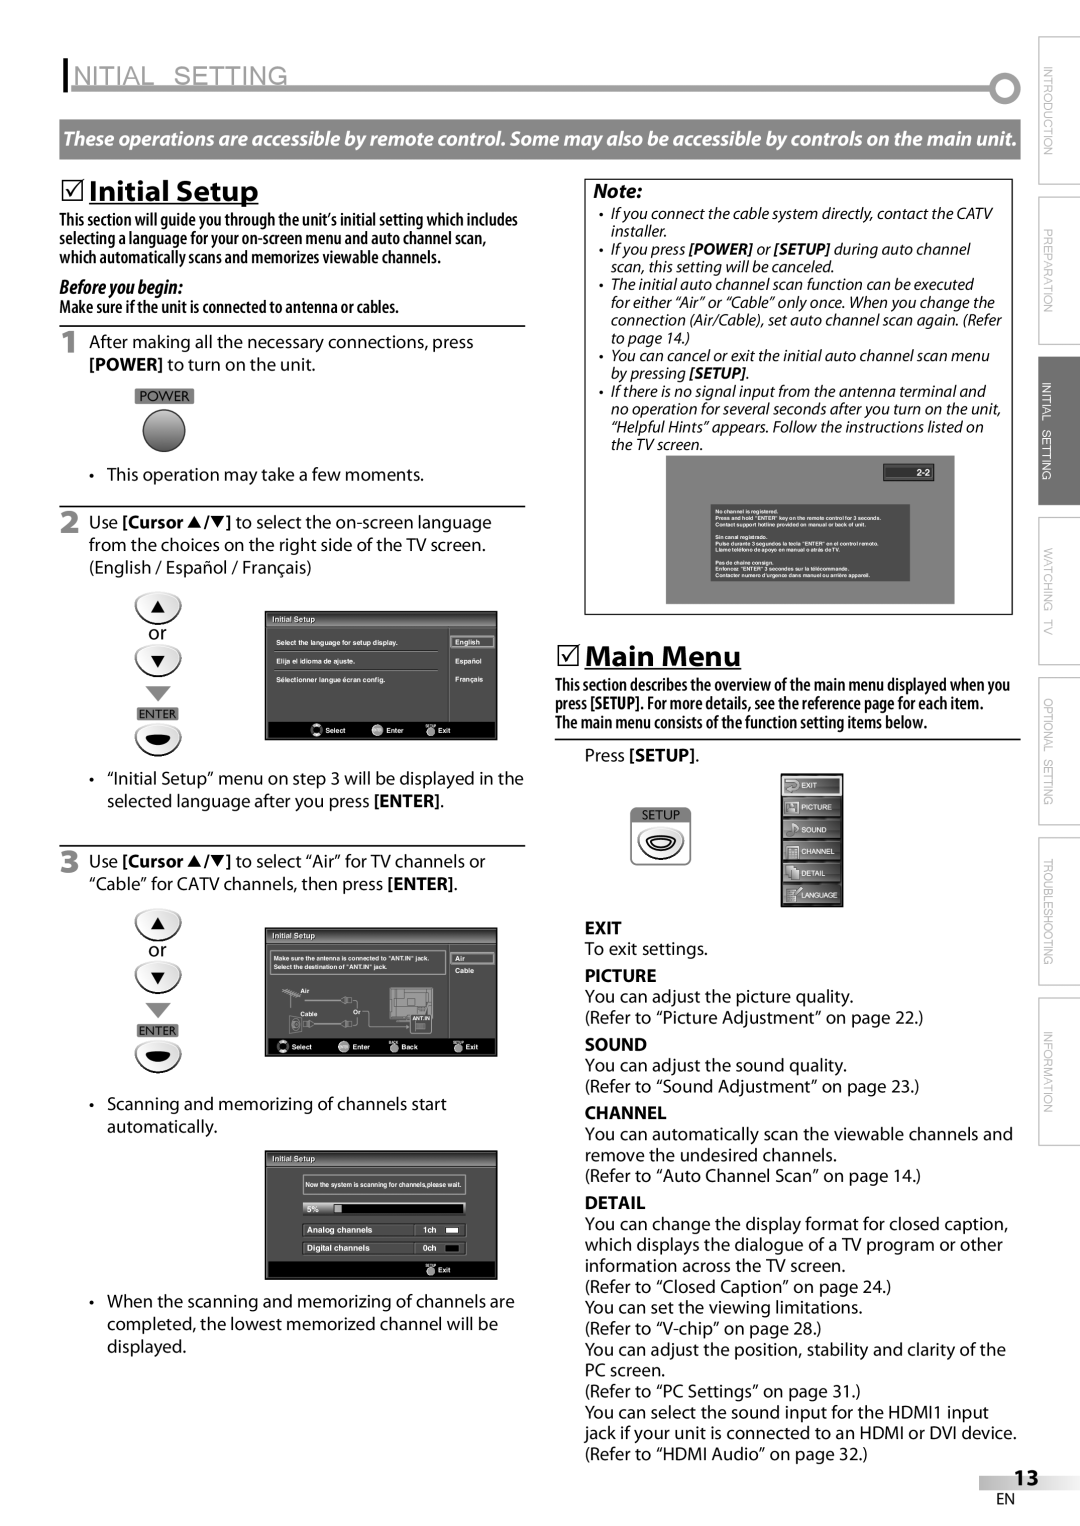
LC225SC9 specifications
The Sylvania LC225SC9 is a prominent model in the realm of LED lit televisions, delivering exceptional performance, vibrant picture quality, and an array of features that appeal to a diverse range of viewers. Designed with an eye for style and functionality, this television represents a great option for those seeking an immersive viewing experience in a compact form factor.One of the standout features of the Sylvania LC225SC9 is its impressive display. The television boasts a 22-inch LED screen that offers sharp resolution and vivid colors, perfect for watching movies, sports, or gaming. With a resolution of 1366 x 768 pixels, images are rendered with clarity and detail, allowing viewers to enjoy their favorite content in high definition. The LED backlighting technology ensures superior brightness and contrast, making it an ideal choice for bright and dimly lit rooms alike.
Connectivity is another highlight of the Sylvania LC225SC9. It comes equipped with multiple input options, including HDMI and USB ports, allowing users to connect various devices, such as game consoles, Blu-ray players, and external storage devices. The included HDMI ports enable the transmission of high-quality audio and video through a single cable, simplifying the connection process and reducing clutter.
The television also integrates innovative audio technologies that enhance the auditory experience. With built-in speakers and support for various audio formats, the Sylvania LC225SC9 ensures that viewers not only see the action but also hear it in its fullest glory. This is particularly valuable for users who prefer not to invest in additional home audio systems but still desire quality sound.
In terms of design, the Sylvania LC225SC9 features a sleek and modern aesthetic, with slim bezels that maximize the screen area and minimize distractions. This contemporary look makes it a fitting addition to various home environments, from bedrooms to living rooms.
Moreover, energy efficiency is a key consideration in modern televisions, and the Sylvania LC225SC9 does not disappoint. Adhering to stringent energy-saving standards, this model is designed to consume less power while providing outstanding performance, making it an environmentally friendly choice for consumers.
In summary, the Sylvania LC225SC9 combines excellent picture quality, versatile connectivity options, robust audio performance, and an appealing design, making it an attractive option for those in search of a compact LED television. Whether for casual viewing, gaming, or movie nights, this model delivers a satisfying experience that caters to a wide range of entertainment needs.

