TV SECTION

PREPARACIÓN PARA LA

UTILIZACIÓN

PREPARACIÓN DE CANALES

POR PRIMERA VEZ

1

Conecte el cable de alimentación a una toma de CA convencional.

NOTA: Si aparecen algunos dígitos en la esquina de la pantalla, pulse el botón POWER sin des- enchufar el cable de alimentación.

2

Pulse el botón POWER para encender el televisor/DVD/VHS.

3

Seleccione "ESPAÑOL" o "ENGLISH" (inglés), "FRANÇAIS" (francés) utilizando el botón de flecha

Bo s.

4

Pulse el botón flecha K o L para señalar “AUTOP-

RESELECCION”.

Luego pulse el botón flecha B. El sintonizador explorará y memorizará todos los canales activos de su área.

NOTAS:

El televisor/videograbadora distingue entre los canales de televisión estándar y los canales de tele- visor por cable.

Si desea reproducir o grabar una cinta ANTES de preajustar el sintonizador, usted tendrá que pulsar el botón SETUP en el mando a distancia. Para preajustar de nuevo el sintonizador, consulte

“REPETICIÓN DE LA PREPARACIÓN DE CANALES”.

La unidad de televisor/videograbadora puede reconocer los canales de TV como ellos de TV por cable a causa de los condiciones de recepción. En este caso, pruebe el preajuste automático de nuevo en los condiciones finas de recepción.

5

El sintonizador se para en el canal memorizado más bajo. Si desea recuperar canales seleccionados, usted podrá seleccionar directamente el canal deseado con los botones numerados del mando a distancia o con los botones CHANNEL K o L.

AJUSTE DEL RELOJ

Cerciórese...

La alimentación del televisor/videograbadora deberá estar conectada.

En el ejemplo de abajo, el reloj va a ajustarse así: FECHA: 7 de mayo de 2002

HORA: 5:40 PM

1

Pulse el botón SETUP en el mando a distancia. Pulse el botón PLAY/K o STOP/L para indicar “AJUSTE RELOJ”. Luego, pulse el botón F.FWD/B.

2

Pulse el botón PLAY/K o STOP/L para indicar “AJUSTE MANUAL RELOJ”. Luego, pulse el botón F.FWD/B.

3

Pulse el botón PLAY/K o STOP/L hasta que aparez- ca el mes deseado. (Ejemplo: Mayo - 05) Luego, pulse el botón F.FWD/B.

4

Pulse el botón PLAY/K o STOP/L hasta que aparez- ca el día del mes deseado. (Ejemplo: 7 - 07) Luego, pulse el botón F.FWD/B.

5

Pulse el botón PLAY/K o STOP/L hasta que aparez- ca el año deseado. (Ejemplo: 2002) Luego, pulse el botón F.FWD/B.

6

Pulse el botón PLAY/K o STOP/L hasta que aparez- ca la hora deseada. (Ejemplo: 5, PM) Luego, pulse el botón F.FWD/B.

7

Pulse el botón PLAY/K o STOP/L hasta que aparez- ca el minuto deseado. (Ejemplo: 40)

8

Pulse el botón SRTUP en el mando a distancia. Aunque los segundos no se visualizan, éstos empiezan a contar desde 00 cuando se pulsa SETUP en el mando a distancia. Utilice esta función para sin- cronizar el reloj con la hora correcta.

– 60 –

ES

1F12

Page 60
Image 60
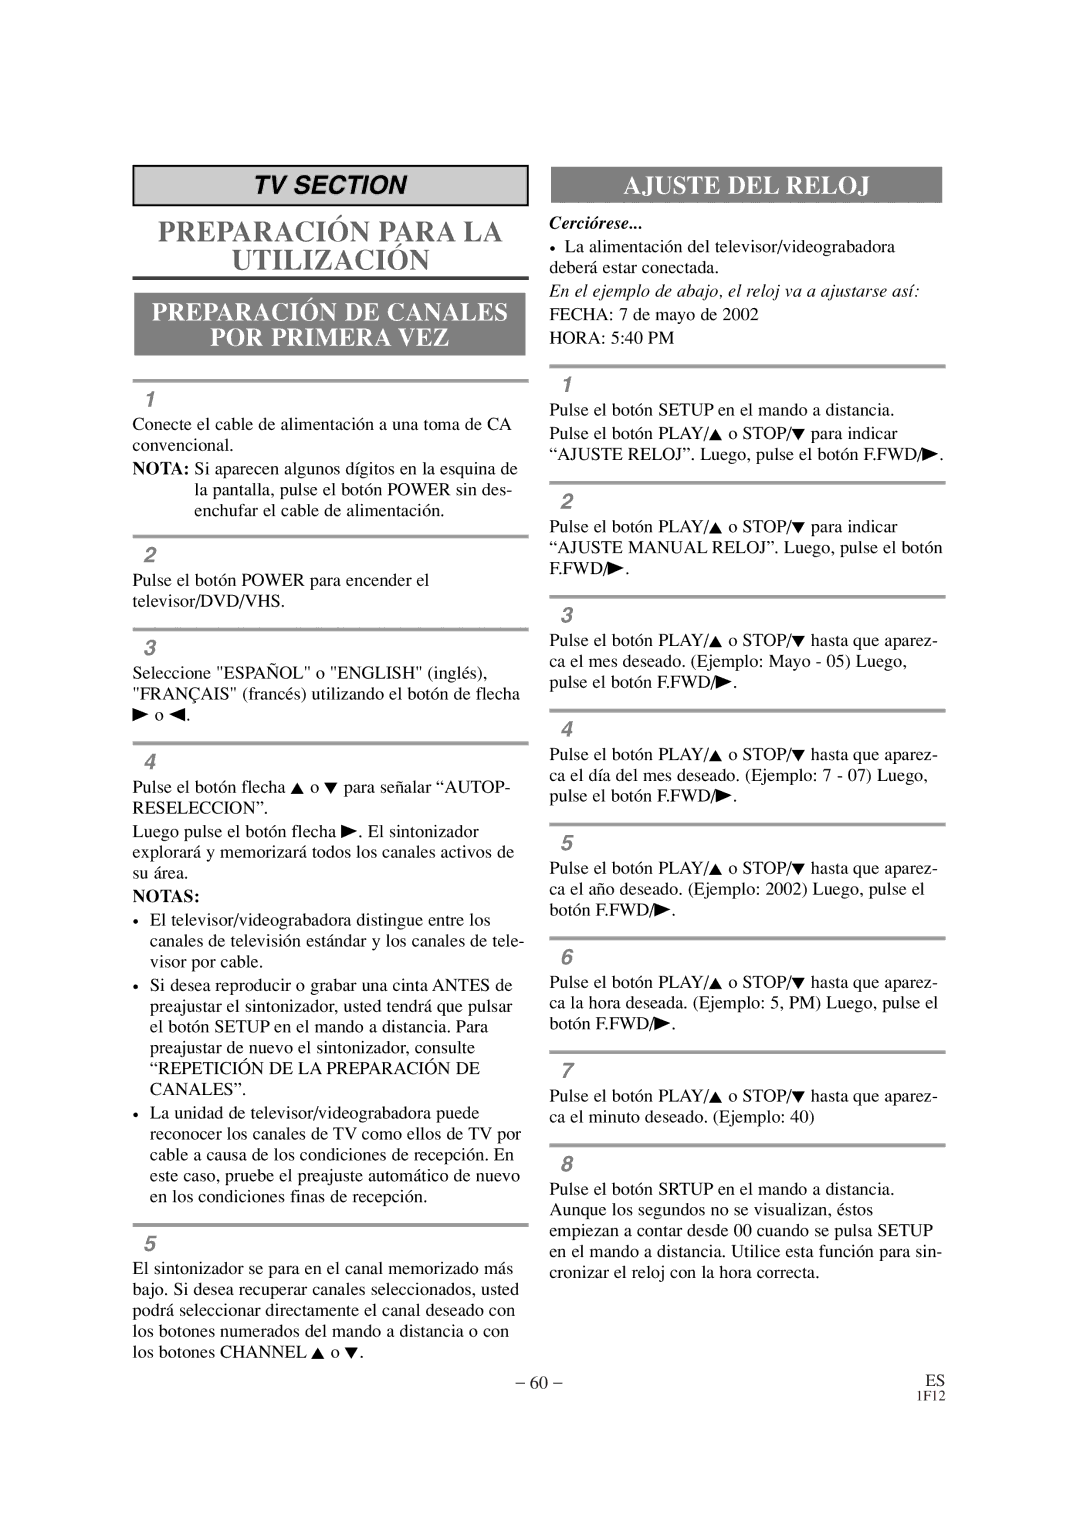
Sylvania SSC719B1 owner manual Preparación DE Canales POR Primera VEZ, Ajuste DEL Reloj

SSC719B1 specifications

The Sylvania SSC719B1 is an innovative LED floodlight designed to deliver efficient and robust lighting solutions ideal for various applications, ranging from commercial to residential use. This state-of-the-art lighting fixture stands out due to its blend of modern technology, energy efficiency, and durability, making it a popular choice for consumers and businesses alike.

One of the main features of the SSC719B1 is its impressive brightness, which can illuminate large areas effectively with its high lumen output. The floodlight is equipped with advanced LED technology, allowing it to produce a bright, uniform light that enhances visibility in outdoor settings. This feature is particularly beneficial for security lighting, landscape illumination, or outdoor events, ensuring that any space is well-lit and welcoming.

Energy efficiency is another notable characteristic of the SSC719B1. Compared to traditional incandescent or halogen floodlights, this LED fixture consumes significantly less energy, leading to reduced electricity bills and a smaller carbon footprint. With a long lifespan of up to 50,000 hours, users can expect to enjoy dependable lighting without frequent replacements, further contributing to its cost-effectiveness.

The Sylvania SSC719B1 is also designed with versatility in mind. Its sturdy construction allows for various mounting options, making it easily adaptable for different settings, such as gardens, driveways, sports fields, parking lots, and building exteriors. The floodlight features a durable housing, ensuring resistance to weather elements, including rain, snow, and dust, which is crucial for outdoor applications.

Furthermore, the SSC719B1 incorporates advanced thermal management technology, preventing overheating and ensuring optimal performance over extended periods. This feature not only enhances the life of the fixture but also maintains consistent light output, regardless of operating conditions.

In terms of design, the Sylvania SSC719B1 presents a sleek and modern appearance, aligning seamlessly with contemporary architectural styles. Its lightweight design allows for easy installation, whether mounting on walls or poles.

Overall, the Sylvania SSC719B1 represents a significant advancement in floodlight technology, combining brightness, efficiency, and durability to meet the diverse lighting needs of users. Its blend of practical features and modern design makes it an excellent investment for those seeking reliable and effective outdoor lighting solutions.