N E T W O R K I N G T A L K S W I T C H 4 8 - C A s / 4 8 - C V A s
Numbering for each unit on the LAN
After successfully changing each unit ID to a unique number, each unit can be identified by the network. More importantly each local extension, remote extension, and voice mailbox, has a unique numbering system where the second digit in the three digit identifier becomes the unit ID number. See the table below.
Example: three digit identifier 1 2 5 |
|
|
|
| Extension number “5” |
| ||
|
|
|
|
| ||||
|
|
|
|
|
| |||
“Local Extension” |
|
|
| TalkSwitch unit ID number “2” |
| |||
|
|
|
| |||||
|
|
|
|
|
|
| ||
|
|
|
|
|
|
|
|
|
TalkSwitch Numbering Scheme for Networked Units |
| |||||||
| Unit ID 1 | Unit ID 2 | Unit ID 3 | Unit ID 4 | ||||
Local Extensions |
| |||||||
|
|
|
|
|
|
|
|
|
Remote Extensions |
| |||||||
Local Mailboxes |
| |||||||
|
|
|
|
|
|
|
|
|
Remote Mailboxes |
| |||||||
General Mailboxes |
| |||||||
4. INSTALL YOUR TALKSWITCH SOFTWARE
Install the TalkSwitch software on your PC. If you have not done so, you may follow the instructions on the CD or see the “TalkSwitch User Guide”.
5. OPEN YOUR TALKSWITCH SOFTWARE
Step A
Ensure that a TalkSwitch unit is connected to the PC via the Serial or USB connection. Alternatively, you can connect the PC to the phone system LAN using a LAN cable. Details can be found in the “TalkSwitch User Guide”.
Step B
Open the TalkSwitch Configuration Software. Details can be found in the “TalkSwitch User Guide”. The software will detect the number of units on the LAN.
Step C
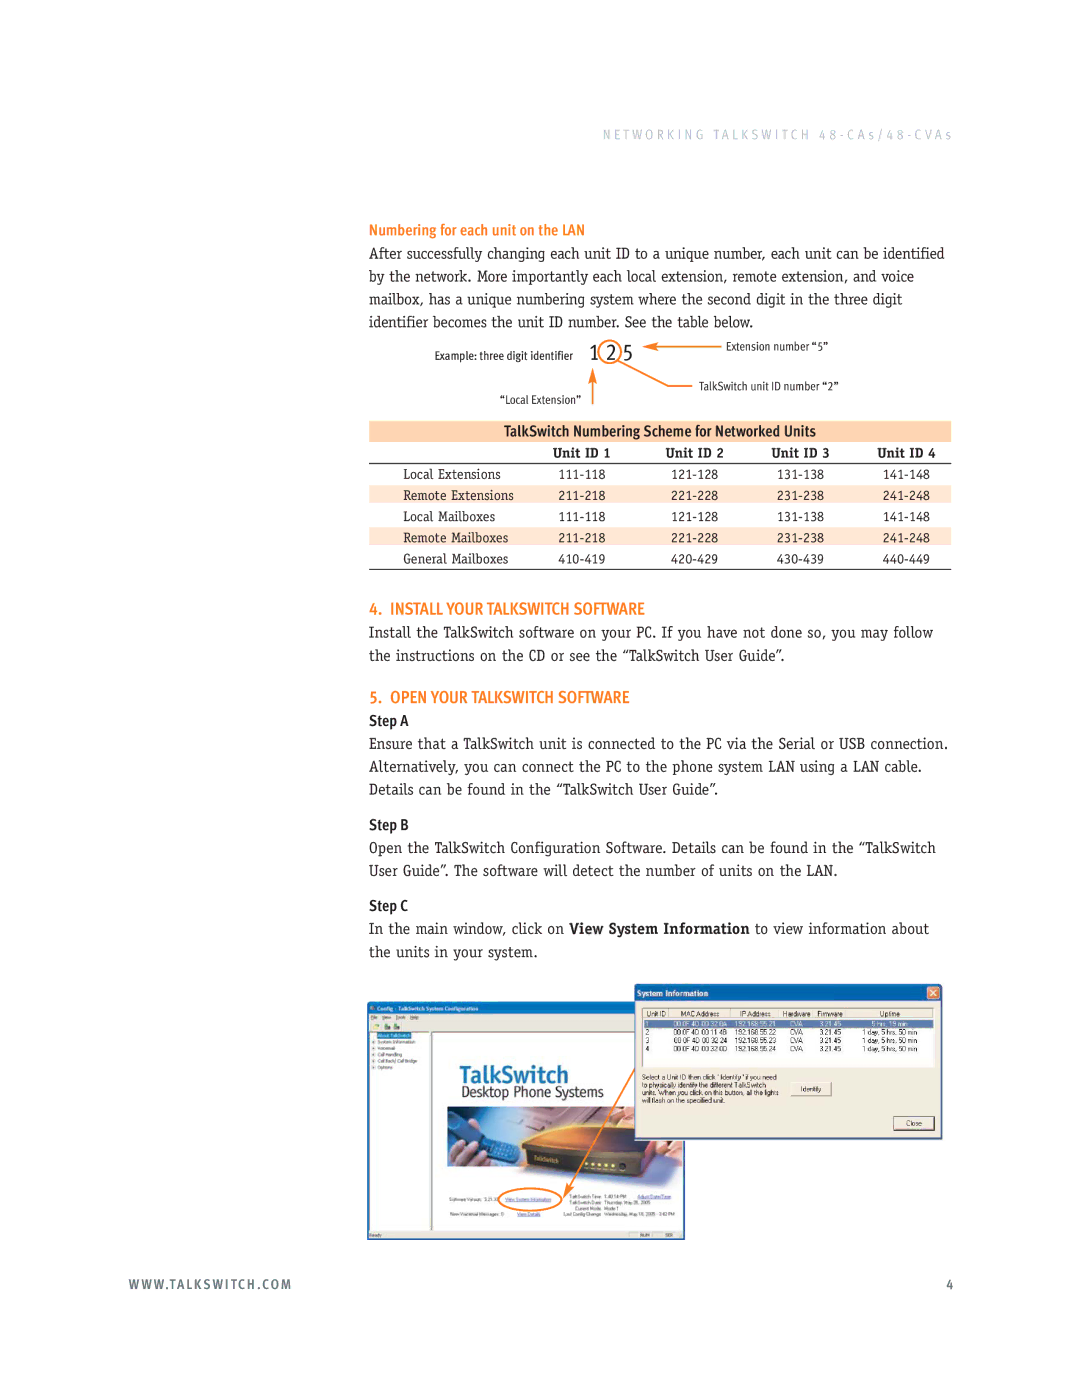
In the main window, click on View System Information to view information about the units in your system.
W W W.T A L K S W I T C H . C O M | 4 |
