RJ45RJ11 specifications
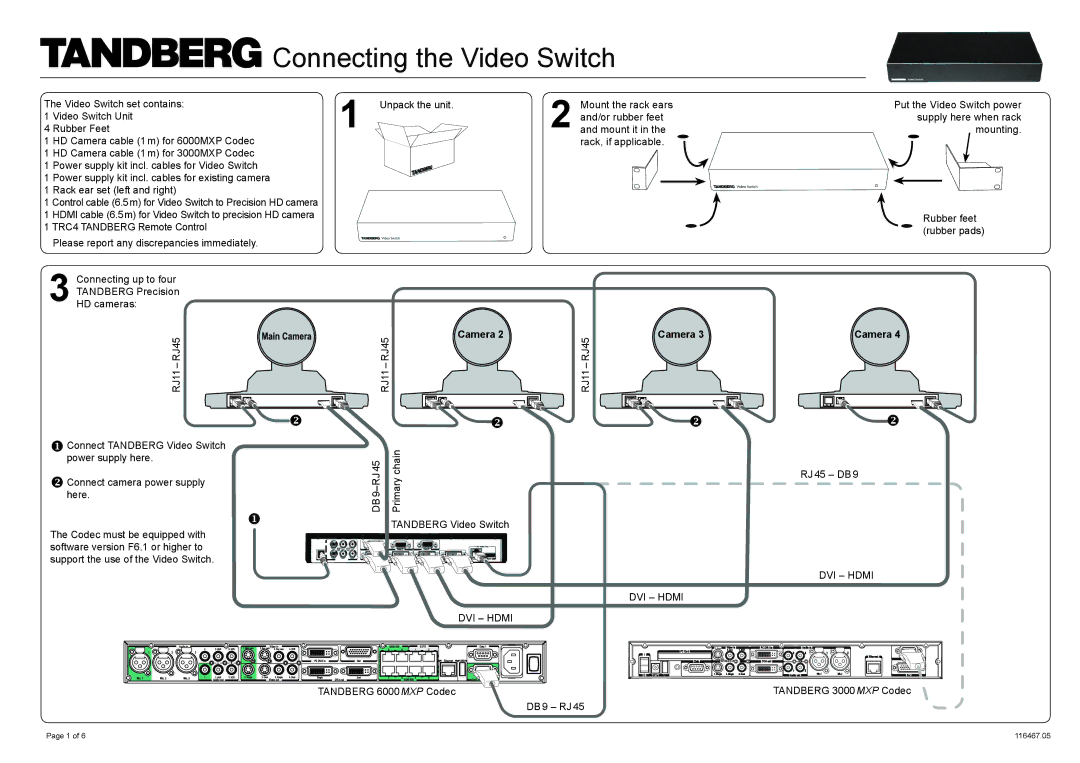
The TANDBERG RJ45RJ11 adapter stands out as a versatile solution in the realm of telecommunication devices, specifically designed to bridge connections between different types of cables and interfaces. This adapter allows for easy integration of RJ45 (Ethernet) and RJ11 (telephone) connections, ensuring seamless communication.One of the main features of the TANDBERG RJ45RJ11 adapter is its dual functionality. It enables users to connect standard telephone lines to networks using Ethernet cabling. This feature is particularly beneficial in environments where both traditional phone systems and modern data networks need to coexist. By allowing a single adapter to serve both purposes, it simplifies the setup process and reduces clutter associated with multiple cables.
The adapter is built with high-quality materials, ensuring durability and reliable performance. Its design is compact, making it easy to handle and install without occupying excessive space. The user-friendly design ensures that even those with minimal technical knowledge can make the necessary connections quickly and efficiently, fostering effective communication solutions.
In terms of technology, the TANDBERG RJ45RJ11 adapter supports various data transfer rates, ensuring compatibility with a wide range of network speeds. This adaptability makes it suitable for both home and professional use, from simple telephone communications to more complex data needs. The design of the adapter adheres to standard telephone wiring systems, making it widely compatible with most existing infrastructure.
Some key characteristics of the TANDBERG RJ45RJ11 include its plug-and-play functionality. Users can easily connect the adapter without the need for additional software or drivers, enhancing its appeal for those looking for hassle-free solutions. Additionally, its robust build quality ensures longevity, minimizing the need for frequent replacements.
Another notable aspect of the TANDBERG RJ45RJ11 is its ability to support various networking protocols, enhancing its utility in diverse applications. Whether used in a home office or a larger corporate setting, this adapter facilitates reliable communication, ensuring that both voice and data transmissions are clear and stable.
In summary, the TANDBERG RJ45RJ11 adapter is an essential tool for bridging the gap between traditional telecommunication systems and modern data networks. Its dual functionality, user-friendly design, and robust construction make it an excellent choice for anyone in need of a reliable connection solution.

