19
MECHANICAL INSTALLATION 110SR
10)After clearing the remaining debris and dust from the opening, it should look like (Fig. 6). Take note of the location and color of the 11
11)You must align the cutout on the 110SR with the same control access cutout (indicated with red paint) on the PIR that will allow you to make adjustments to the system later. Orient the signal cable to the cutout, and prepare to make the AC mains connection before completing the next step.
12)Put the subwoofer into place, resting it on an angle (Fig. 7) on the secondary wooden installation “ledge” on the side of the sub; this will assist you in getting a hand free to operate a screw gun (Fig. 8). There are seven 3”,
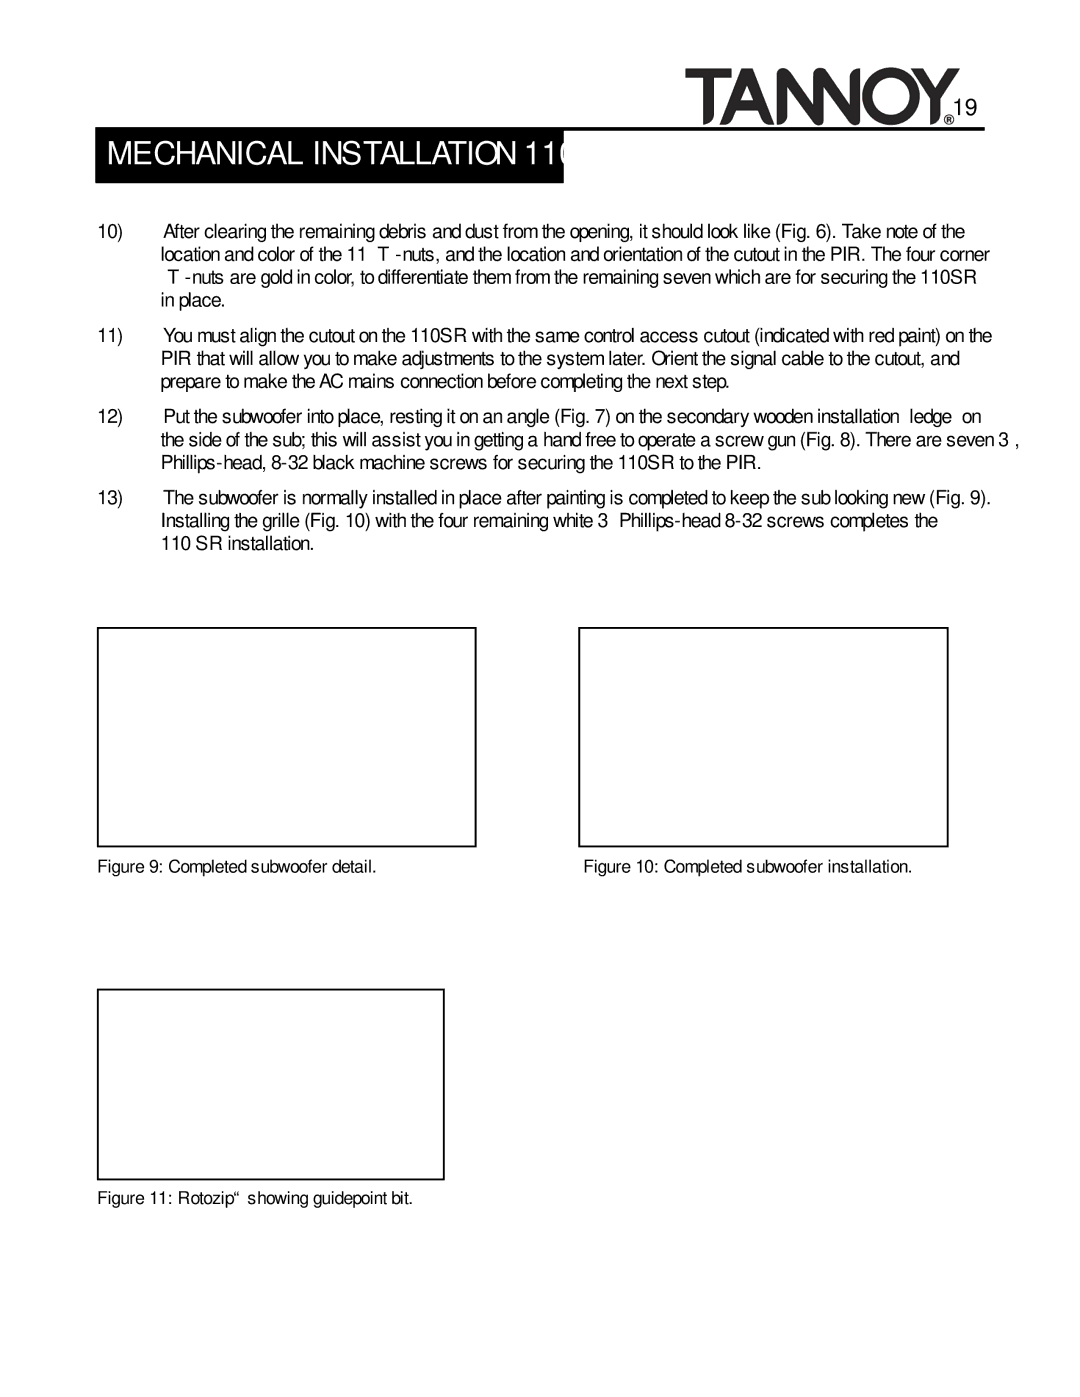
13)The subwoofer is normally installed in place after painting is completed to keep the sub looking new (Fig. 9). Installing the grille (Fig. 10) with the four remaining white 3”
110 SR installation.
Figure 9: Completed subwoofer detail. | Figure 10: Completed subwoofer installation. |
|
|
|
|