18
MECHANICAL INSTALLATION 110SR
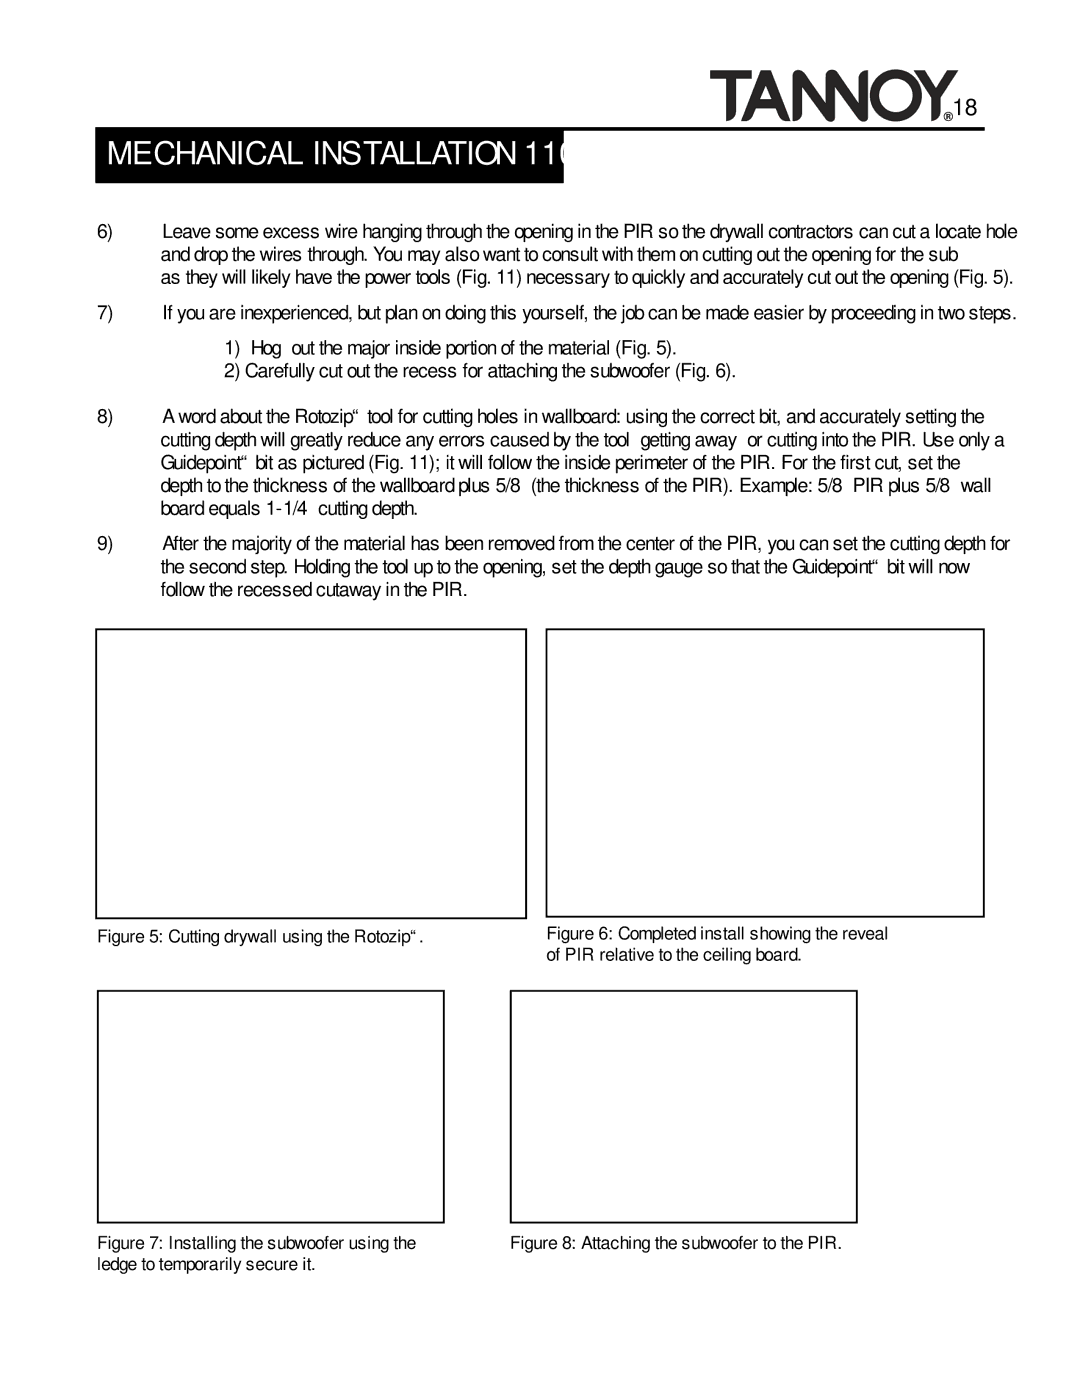
6)Leave some excess wire hanging through the opening in the PIR so the drywall contractors can cut a locate hole and drop the wires through. You may also want to consult with them on cutting out the opening for the sub as they will likely have the power tools (Fig. 11) necessary to quickly and accurately cut out the opening (Fig. 5).
7)If you are inexperienced, but plan on doing this yourself, the job can be made easier by proceeding in two steps.
1)“Hog” out the major inside portion of the material (Fig. 5).
2)Carefully cut out the recess for attaching the subwoofer (Fig. 6).
8)A word about the Rotozip™ tool for cutting holes in wallboard: using the correct bit, and accurately setting the cutting depth will greatly reduce any errors caused by the tool “getting away” or cutting into the PIR. Use only a Guidepoint™ bit as pictured (Fig. 11); it will follow the inside perimeter of the PIR. For the first cut, set the depth to the thickness of the wallboard plus 5/8” (the thickness of the PIR). Example: 5/8” PIR plus 5/8” wall board equals
9)After the majority of the material has been removed from the center of the PIR, you can set the cutting depth for the second step. Holding the tool up to the opening, set the depth gauge so that the Guidepoint™ bit will now follow the recessed cutaway in the PIR.