
BTR-1, TR-1 specifications
The Telex TR-1 and BTR-1 represent significant advancements in the realm of professional audio communication, particularly suited for broadcast environments and large-scale live events. Both devices reflect Telex's commitment to innovation and superior functionality.The Telex TR-1 is a crucial component in wireless intercom systems. It is designed for portable use, featuring a compact and lightweight design that makes it ideal for remote locations and on-the-go communications. The TR-1 utilizes advanced digital signal processing technology, which ensures crystal-clear audio quality and minimal latency, crucial for effective communication in dynamic environments. Its ergonomic design includes intuitive controls, which allow users to adjust volumes and change channels with ease, providing quick access to vital communication functionalities.
One standout feature of the TR-1 is its impressive battery life. The device can operate for extended periods, allowing users to focus on their work without the constant need to recharge. Additionally, the TR-1 incorporates a robust RF performance capability, enabling reliable connectivity over long distances in challenging RF environments, where multiple signals may contest the same frequency spectrum.
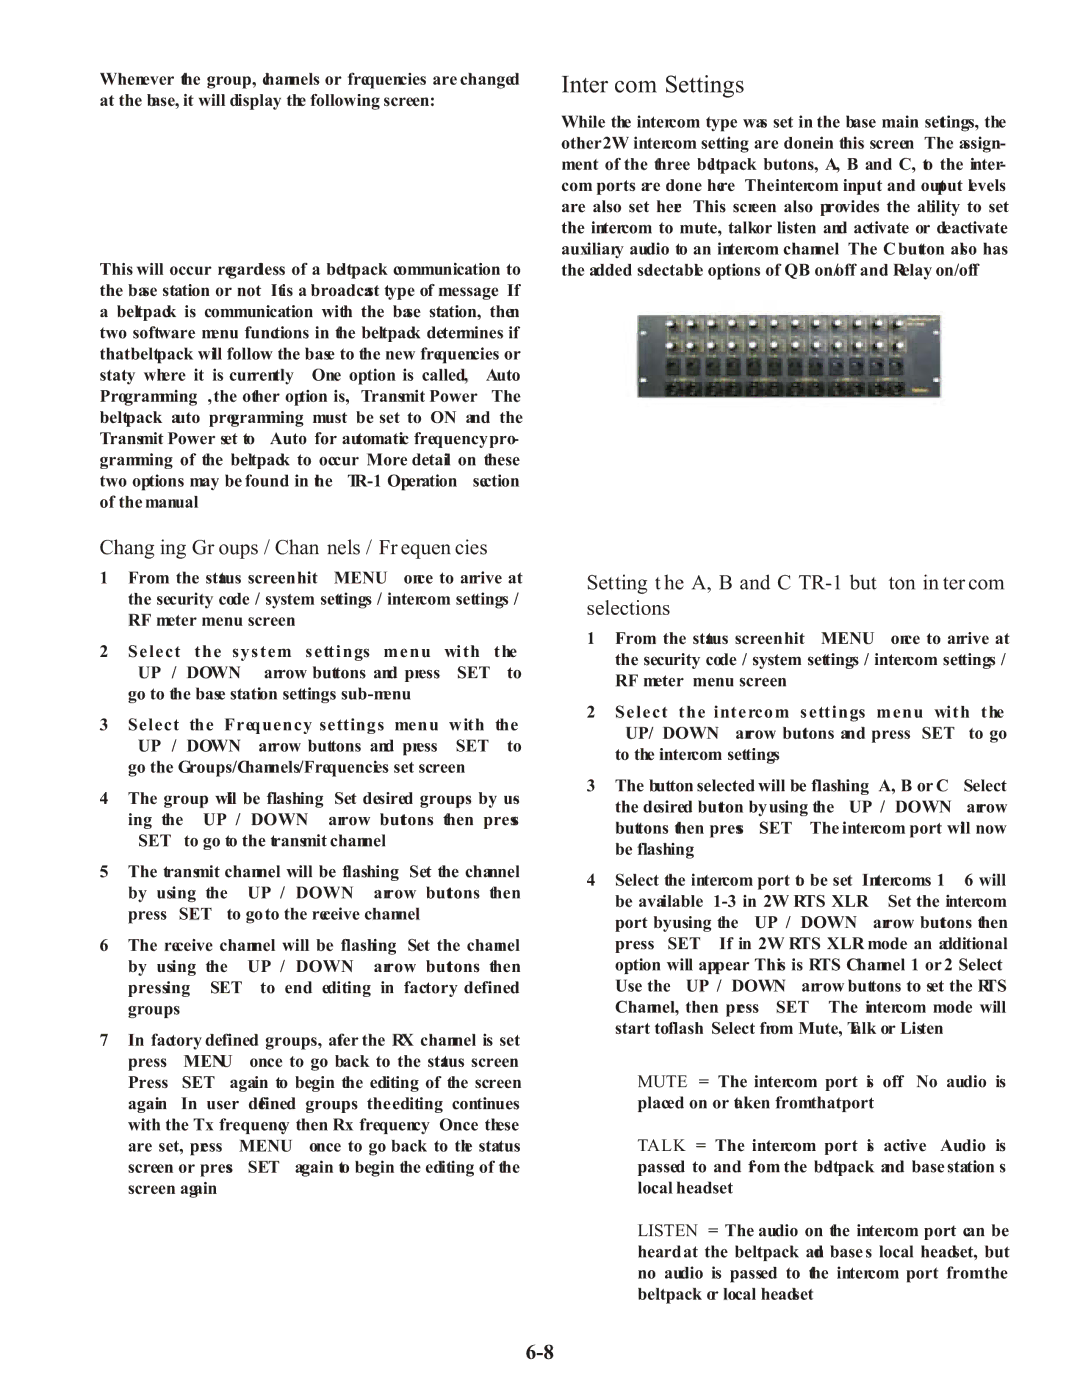
On the other hand, the Telex BTR-1 is a versatile base station that complements the TR-1 by providing the backbone for wireless communication in professional settings. The BTR-1 supports multiple channels and can accommodate a variety of belt packs and headsets, making it an ideal choice for complex setups with numerous users. Its 2.4 GHz frequency band means less susceptibility to interference, ensuring that communications remain clear even in crowded situations.
The BTR-1's advanced matrix intercom features allow for flexible routing of audio signals between users, enhancing coordination during productions or events. The unit also includes extensive network capabilities, making it possible to integrate with other communication systems and allowing for remote access and monitoring.
Overall, both the Telex TR-1 and BTR-1 epitomize the blend of portability, reliability, and scalability required for professional audio communications. Their cutting-edge technologies and thoughtful design make them indispensable tools for broadcasters, event organizers, and any professionals who rely on effective and efficient communication solutions.