Wall Mount Installation - HST series Hood only (see Figure 6-7-8)
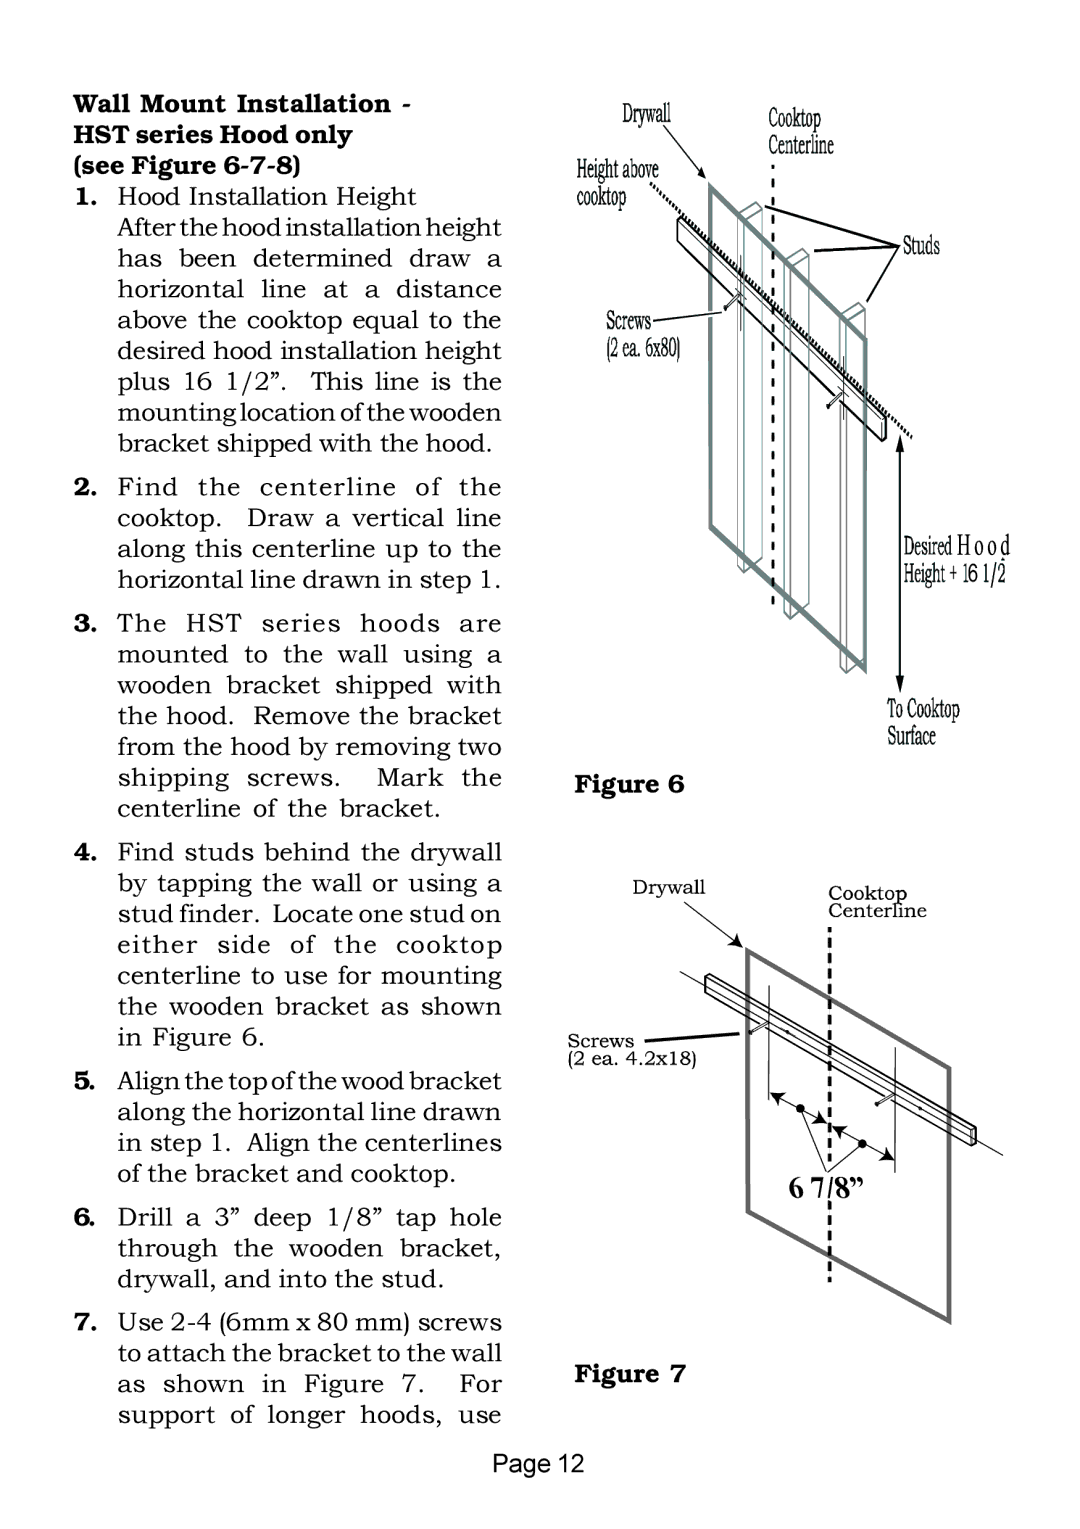
1. Hood Installation Height After the hood installation height has been determined draw a horizontal line at a distance above the cooktop equal to the desired hood installation height plus 16 1/2”. This line is the mounting location of the wooden bracket shipped with the hood.
2. Find the centerline of the cooktop. Draw a vertical line along this centerline up to the horizontal line drawn in step 1.
3. The HST series hoods are |
|
mounted to the wall using a |
|
wooden bracket shipped with |
|
the hood. Remove the bracket |
|
from the hood by removing two |
|
shipping screws. Mark the | Figure 6 |
centerline of the bracket. |
|
4. Find studs behind the drywall |
|
by tapping the wall or using a |
|
stud finder. Locate one stud on |
|
either side of the cooktop |
|
centerline to use for mounting |
|
the wooden bracket as shown |
|
in Figure 6. |
|
5.Align the top of the wood bracket along the horizontal line drawn in step 1. Align the centerlines of the bracket and cooktop.
6.Drill a 3” deep 1/8” tap hole through the wooden bracket, drywall, and into the stud.
7.Use
as shown in Figure 7. For | Figure 7 |
| |
support of longer hoods, use |
|
Page 12 | |
![]()
![]()
![]()
![]()
![]() 6
6 ![]()
![]()
![]()