STEAM VACUUM PRODUCT INFORMATION
-The Water Filtration Chamber (1) is where dirt and other vacuumed materials are collected. A minimum of 10 oz. of water should be poured into the Water Filtration Chamber in order to collect dust and other small particles that are picked up by the unit, preventing them from being released back into the air.
-The Steam-Vac Switch (2) is switched on in order to allow the unit to emit steam while simultaneously vacuuming.
-The Water Reservoir Cap (3) must be removed in order to pour water into the water reservoir. The Water Reservoir Cap includes a safety feature that will vent steam if pressure in boiler becomes too great.
-The Main Control Switch (4) is used to turn the unit off, as well as toggle between the unit’s vacuum mode and steam mode. Steam mode uses the Steam Indicator (6) to indicate when the unit’s boiler is on and when it is ready to begin steaming.
-The Carry Handle (5) is useful for carrying the unit up stairs and over obstacles.
-The Hose (7) is the conduit through which vacuumed materials travel to the Water Filtration Chamber. It also safely channels the flow of steam from the unit’s boiler to the Steam Nozzle.
-The Handle (8) is designed to stay cool while providing the optimum amount of safety and user comfort.
-The Steam Trigger (9) is depressed in order to release a spray of steam from the Steam Nozzle.
-The Steam Nozzle (10) releases a spray of hot, penetrating steam when the Steam Trigger is pressed. The unit must be set to steam mode or steam-vac mode in order for the Steam Nozzle to function.
-The Vacuum Nozzle (11) uses suction to collect dirt and other materials. The unit must be set to vacuum mode or steam-vac mode in order for the Vacuum Nozzle to function.
-The Hose Connection Base (12) is the point at which the Hose connects to the main unit.
-The Air Filter (13) works to purify the air that is released by the unit during the vacuuming process, making the air in your home cleaner and safer to breathe.
-The Vacuum Head (14) serves multiple functions, depending on which insert is used with it. The Squeegee Insert (15) allows you to clean mirrors, windows and other hard surfaces while simultaneously vacuuming loosened materials. The Brush Insert (16) is useful for vacuuming carpet, tile or hardwood floors. The Heavy Carpet Insert (17) is used to more easily vacuum very thick, plush carpeting.
-The Squeegee Head (18) is useful for cleaning mirrors, windows and other hard surfaces.
-The Steam Jet Nozzle (19) connects to the Vacuum/Steam Nozzles and serves to focus the spray of steam for cleaning tough spots and stains.
-The Small Vacuum Head (20) connects to the Vacuum Nozzle and is useful for vacuuming in small corners or crevices that may be otherwise difficult to reach.
-The Extension Wands (21) connect to the Vacuum/Steam Nozzles, allowing easy cleaning of floors and other hard-to-reach places.
-The Nylon Utility Brush (22) connects to the Steam Jet Nozzle, and is useful for working stains out of fabrics and carpet.
-The Water Funnel (23) and Measuring Cup (24) are provided to assist you in easily and consistently filling the Water Reservoir with the optimum amount of water (20 oz.).
USING THE STEAM VACUUM
STEAM MODE
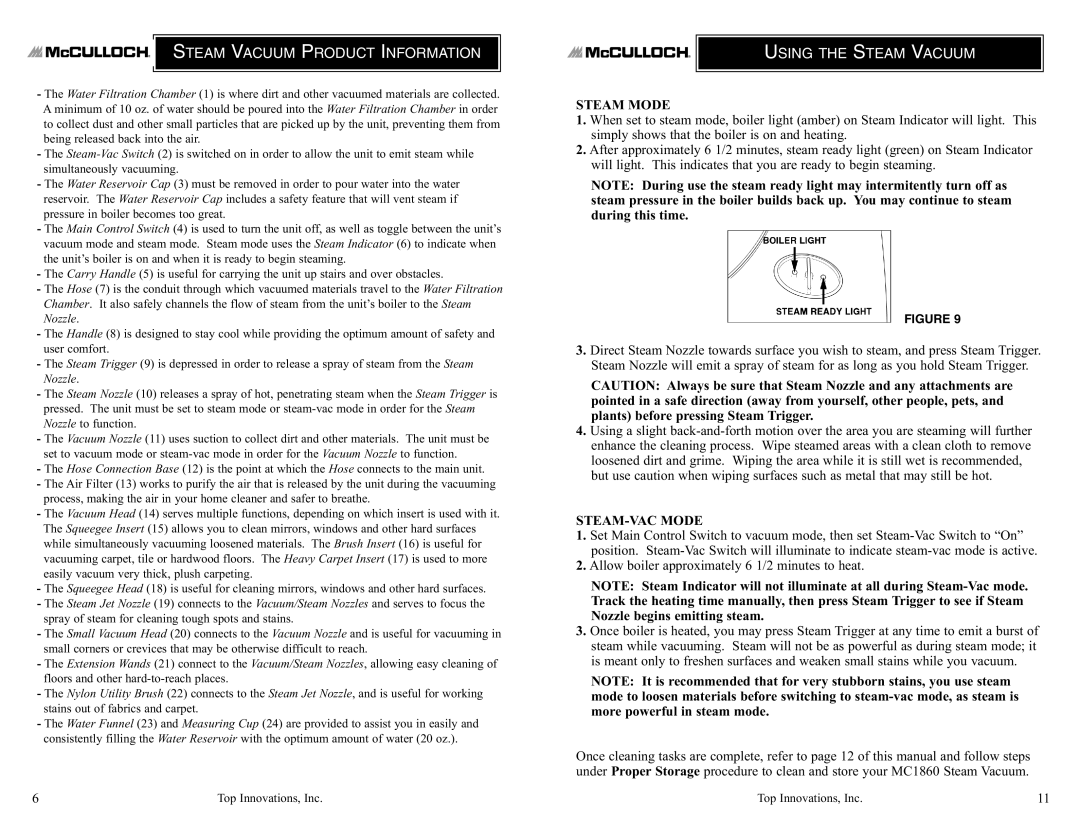
1.When set to steam mode, boiler light (amber) on Steam Indicator will light. This simply shows that the boiler is on and heating.
2.After approximately 6 1/2 minutes, steam ready light (green) on Steam Indicator will light. This indicates that you are ready to begin steaming.
NOTE: During use the steam ready light may intermitently turn off as steam pressure in the boiler builds back up. You may continue to steam during this time.
FIGURE 9
3.Direct Steam Nozzle towards surface you wish to steam, and press Steam Trigger. Steam Nozzle will emit a spray of steam for as long as you hold Steam Trigger.
CAUTION: Always be sure that Steam Nozzle and any attachments are pointed in a safe direction (away from yourself, other people, pets, and plants) before pressing Steam Trigger.
4.Using a slight back-and-forth motion over the area you are steaming will further enhance the cleaning process. Wipe steamed areas with a clean cloth to remove loosened dirt and grime. Wiping the area while it is still wet is recommended, but use caution when wiping surfaces such as metal that may still be hot.
STEAM-VAC MODE
1.Set Main Control Switch to vacuum mode, then set Steam-Vac Switch to “On” position. Steam-Vac Switch will illuminate to indicate steam-vac mode is active.
2.Allow boiler approximately 6 1/2 minutes to heat.
NOTE: Steam Indicator will not illuminate at all during Steam-Vac mode. Track the heating time manually, then press Steam Trigger to see if Steam Nozzle begins emitting steam.
3.Once boiler is heated, you may press Steam Trigger at any time to emit a burst of steam while vacuuming. Steam will not be as powerful as during steam mode; it is meant only to freshen surfaces and weaken small stains while you vacuum.
NOTE: It is recommended that for very stubborn stains, you use steam mode to loosen materials before switching to steam-vac mode, as steam is more powerful in steam mode.
Once cleaning tasks are complete, refer to page 12 of this manual and follow steps under Proper Storage procedure to clean and store your MC1860 Steam Vacuum.