26AV52U 26AV502U 32AV502U 32AV50SU 37AV52U 37AV502U
Issue
Safety Precautions
Tune Into Safety
Dear Customer
Installation, Care, and Service
Important Safety Instructions
Additional Safety Precautions
Installation
Care
Service
Choosing a location for your LCD TV
To Display your LCD TV using a Wall Bracket
To Display your LCD TV on the included Pedestal Stand
Removing the Pedestal Stand
Part
Important notes about your LCD TV
Trademark Information
Contents
Introduction
Features of your new TV
Introduction
TV front and side panel controls and connections
Volume tu These buttons adjust the volume level
Green LED
HD1, ColorStream HD2, Hdmi 1, Hdmi 2, PC
TV back panel connections
Connecting your TV
Overview of cable types
About the connection illustrations
To view the antenna or Cable signal
Connecting a VCR and antenna or Cable TV no Cable box
You will need
To view the VCR
To view basic and premium Cable channels
Connecting a VCR with S-video and a cable box
Coaxial cables Video cable
Standard audio cables
To view the DVD player
To view antenna or Cable channels
To view the VCR or view and record antenna channels
To record a TV program while watching a DVD
Connecting a camcorder
To view the camcorder video
Select the Video 2 video input source on the TV
To connect an Hdmi device, you will need
To view the Hdmi device video
To connect a DVI device, you will need
Connecting an audio system
Connecting a digital audio system
To control the audio
Signal
Connecting a personal computer PC
To connect a PC to the PC in terminal on the TV
To connect a PC to the Hdmi terminal on the TV
Preparing the remote control for use
Using the remote control
Installing the remote control batteries
Remote control effective range
Learning about the remote control
VCR, set the Mode Select switch to AUX
To use your TV remote control to operate a
DVD player or HTIB, set the Mode Select switch to
AUX
AUX 1 VCR
Remote Control functional key chart
Programming the remote control to control your other devices
Remote control codes
Htib
Menu layout and navigation
Main menu layout
Icon Option
Input Configuration Opens the Input Configuration menu
Setup/Installation menu layout
Navigating the menu system
Channel Program Start Scans for new channels on
To configure the ANT/CABLE input source
Setting up your TV
Selecting the menu language
To select the menu language
Programming channels into the TV’s channel memory
Programming channels automatically
Manually adding and deleting channels in the channel memory
Labeling channels
To set the Hdmi audio mode
Setting the Hdmi audio mode
To create and assign a custom label
To delete the custom label
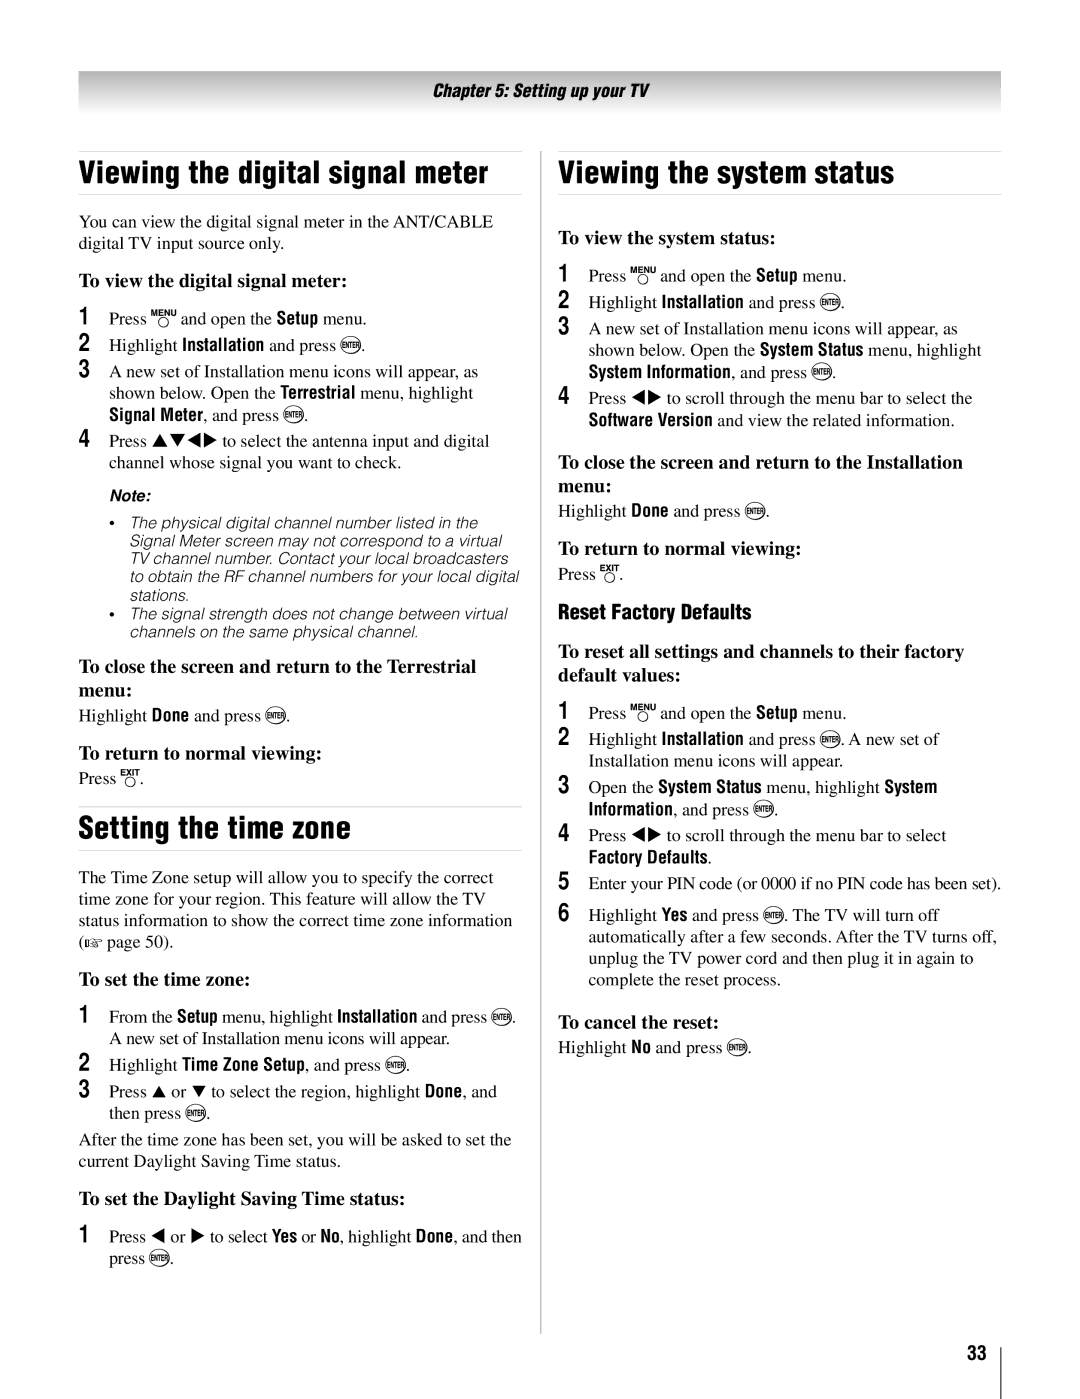
Setting the time zone
Viewing the digital signal meter
Reset Factory Defaults
Viewing the system status
Selecting the video input source to view
Using the TV’s features
Labeling the video input sources
To select the video input source to view
Tuning channels
Tuning channels using Channel Browser
Favorites Browser
Adding and clearing channels and inputs in the History List
Elements of the ChannelBrowser
Tuning to the next programmed channel
Setting the Channel Tuning Mode
Tuning to a specific channel programmed or unprogrammed
Switching between two channels using Channel Return
To select the picture size using the remote control
Switching between two channels using SurfLock
To select the picture size using the menus
Select Picture Size in the Theater Settings menu
TheaterWide For 43 format programs
Natural
TheaterWide For letter box programs
TheaterWide For letter box programs with subtitles
Selecting the cinema mode
Using the Freeze feature
Using the auto aspect ratio feature
Selecting the picture mode
Adjusting the picture
Adjusting the picture quality
To select the picture mode using the menu system
Digital CC Settings
Using the closed caption mode
Base closed captions
CC Selector
Using the digital audio selector
Adjusting the audio
Muting the sound
Selecting stereo/SAP broadcasts
Using the Dolby Digital Dynamic Range Control feature
Adjusting the audio quality
To adjust the audio quality
To select the optical audio output format
Entering the PIN code
Using the Locks menu
If you cannot remember your PIN code
Changing your PIN code
To download the additional rating system if available
Using the input lock feature
Blocking channels
Unlocking programs temporarily
Using the control panel lock feature
Using the GameTimer
Using the PC settings feature
Setting the PC Audio
Setting the sleep timer
Understanding the auto power off feature
Understanding the last mode memory feature
Displaying TV status information
Using the advanced picture settings features
Using the TV’s advanced features
Using dynamic contrast
Using the static gamma feature
Using the Game Mode feature
Using Mpeg noise reduction
General troubleshooting
Troubleshooting
Closed caption problems
Channel tuning problems
Rating blocking V-Chip problems
Hdmi problems
Appendix
Specifications
Format Resolution Frequency Pixel Clock Frequency
Acceptable signal formats for PC in and Hdmi terminals
For LCD Televisions 26 and Larger
Limited United States Warranty
For Toshiba Brand Flat Panel Televisions
Limited Canadian Warranty
Disclaimer and Limitation of Remedy
Appendix
Page
Toshiba America Consumer PRODUCTS, L.L.C