Adjusting the Zoom and Focus
Access to the Network Camera from the network, and click the configuration button on the main page. Then click the following:
Audio and Video ![]() Image
Image ![]() Zoom and Focus
Zoom and Focus
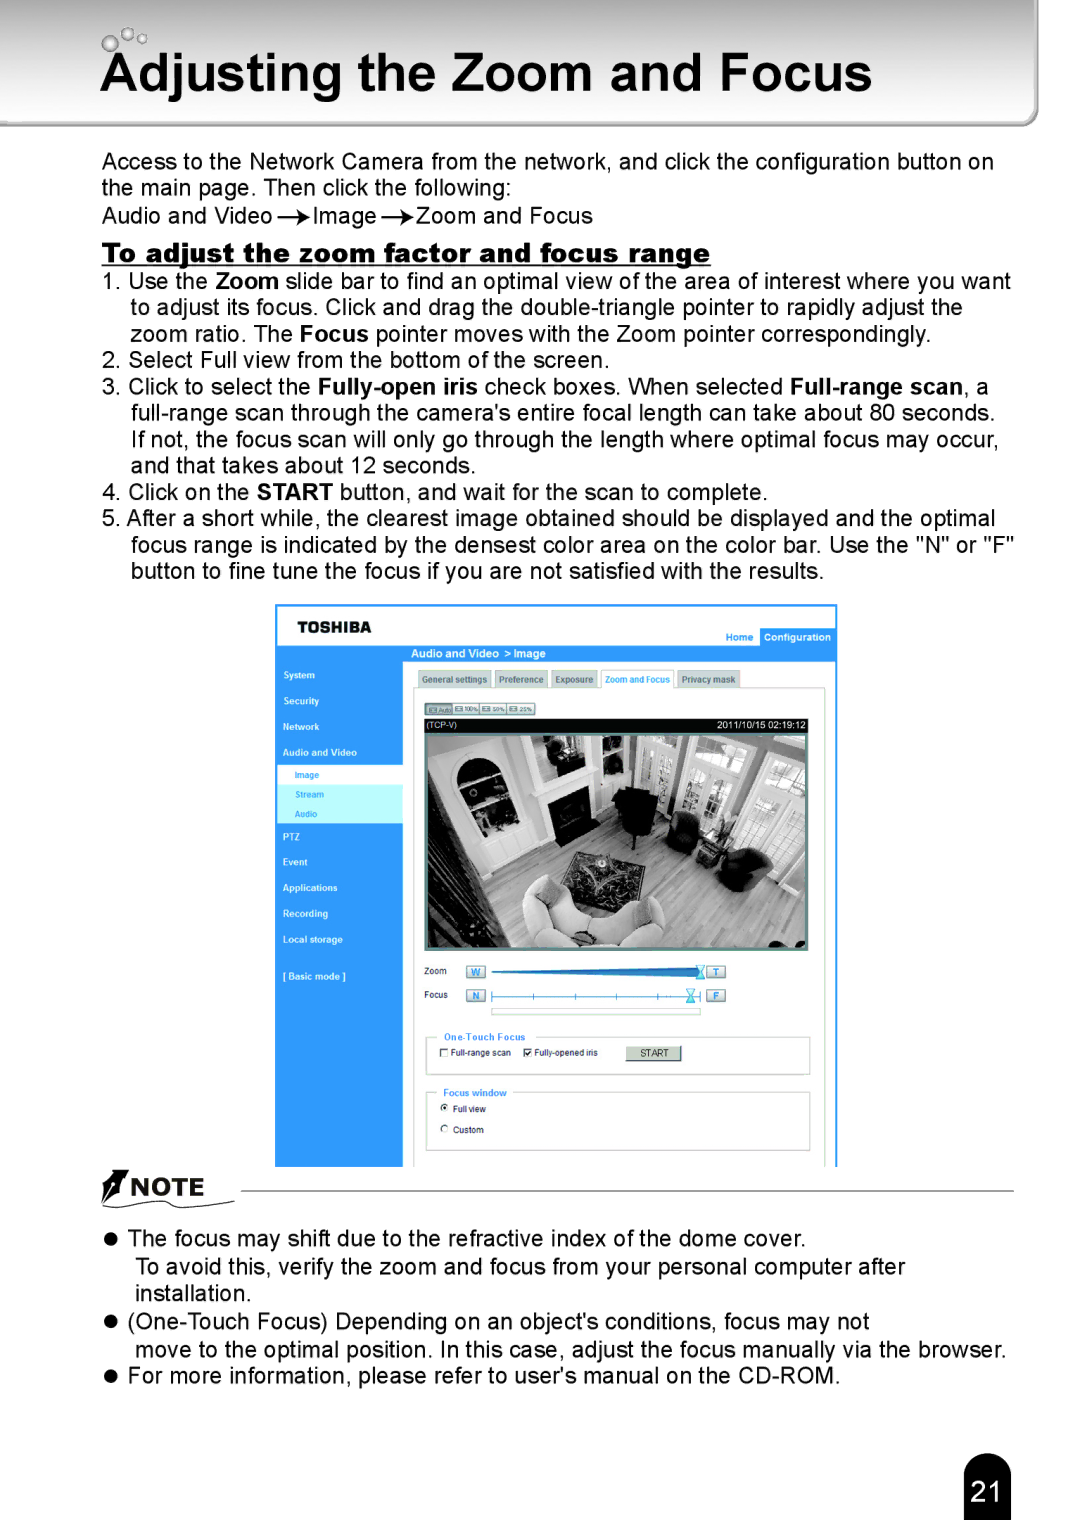
To adjust the zoom factor and focus range
1.Use the Zoom slide bar to find an optimal view of the area of interest where you want to adjust its focus. Click and drag the
2.Select Full view from the bottom of the screen.
3.Click to select the
4.Click on the START button, and wait for the scan to complete.
5.After a short while, the clearest image obtained should be displayed and the optimal focus range is indicated by the densest color area on the color bar. Use the "N" or "F" button to fine tune the focus if you are not satisfied with the results.
START
![]() NOTE
NOTE
•The focus may shift due to the refractive index of the dome cover.
To avoid this, verify the zoom and focus from your personal computer after installation.
•
move to the optimal position. In this case, adjust the focus manually via the browser.
•For more information, please refer to user's manual on the
21