CA8900 | 4 |
|
|
Part Two: Installing Guide
![]()
![]()
• To avoid fire, shock, or death, and to prevent damage to the furnace, | • Do not short (jumper) across electric terminals at control on | |
| air conditioner, and thermostat, disconnect the power supply before | furnace or air conditioner to test the system. This will damage the |
| beginning work. This can be done at the circuit breaker, or at the | thermostat and void your warranty. |
| appliance. | • All wiring must conform to local codes and ordinances. |
|
| |
• | Your thermostat is a precise instrument, handle it with care. | • This thermostat is designed for use with 24 volt AC systems. The |
|
| |
• | Do not turn electricity back on until work is completed. | thermostat should be limited to a maximum of 1.0 amps; higher |
|
| amperage may cause damage to the thermostat. |
Tools Needed
•#1 Phillips screwdriver (small)
•Drill with
1 – Location of Thermostat
Replacement
New
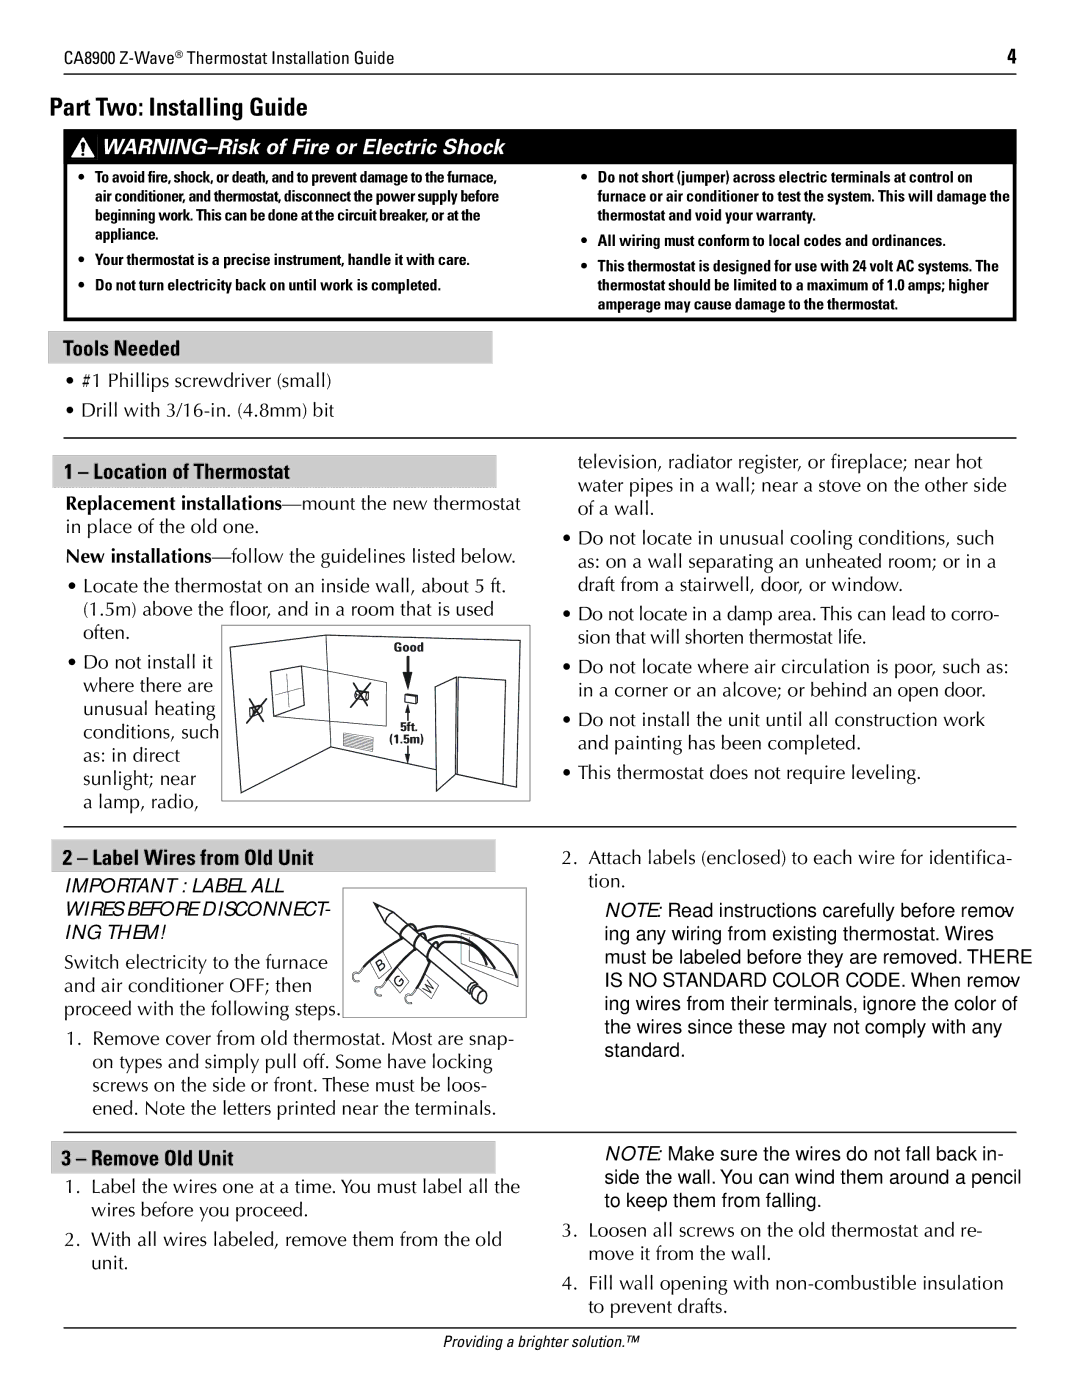
•Locate the thermostat on an inside wall, about 5 ft. (1.5m) above the floor, and in a room that is used often.
• Do not install it | Good | |
| ||
where there are |
| |
unusual heating | 5ft. | |
conditions, such | ||
(1.5m) | ||
as: in direct |
| |
sunlight; near |
| |
a lamp, radio, |
|
television, radiator register, or fireplace; near hot water pipes in a wall; near a stove on the other side of a wall.
•Do not locate in unusual cooling conditions, such as: on a wall separating an unheated room; or in a draft from a stairwell, door, or window.
•Do not locate in a damp area. This can lead to corro- sion that will shorten thermostat life.
•Do not locate where air circulation is poor, such as: in a corner or an alcove; or behind an open door.
•Do not install the unit until all construction work and painting has been completed.
•This thermostat does not require leveling.
2 – Label Wires from Old Unit
2. Attach labels (enclosed) to each wire for identifica- |
IMPORTANT : LABEL ALL WIRES BEFORE DISCONNECT- ING THEM!
Switch electricity to the furnace and air conditioner OFF; then proceed with the following steps.
B |
|
G | W |
|
tion. |
NOTE: Read instructions carefully before remov- ing any wiring from existing thermostat. Wires must be labeled before they are removed. THERE IS NO STANDARD COLOR CODE. When remov- ing wires from their terminals, ignore the color of the wires since these may not comply with any
1.Remove cover from old thermostat. Most are snap- on types and simply pull off. Some have locking screws on the side or front. These must be loos- ened. Note the letters printed near the terminals.
standard.
3 – Remove Old Unit
1.Label the wires one at a time. You must label all the wires before you proceed.
2.With all wires labeled, remove them from the old unit.
NOTE: Make sure the wires do not fall back in- side the wall. You can wind them around a pencil to keep them from falling.
3.Loosen all screws on the old thermostat and re- move it from the wall.
4.Fill wall opening with
Providing a brighter solution.™