Installing a Hard Drive
Your StoreJet™ 3.5 HDD Enclosure is capable of supporting an IDE, or a SATA Hard Disk Drive. It is IMPORTANT! that you match and install the correct Hard Drive to the correct enclosure.
Installing a Hard Drive
If you purchased a Transcend StoreJet™ 3.5 HDD Enclosure that does not have a Hard Disk Drive already installed, please read this section, otherwise you can skip to the “Driver Installation” section. Your Transcend StoreJet™ 3.5 HDD Enclosure is capable of supporting an IDE, or a SATA Hard Drive, it is important that you match and install the correct hard drive to the correct enclosure. You can identify the type of enclosure by its part number. Enclosures with the Transcend part number
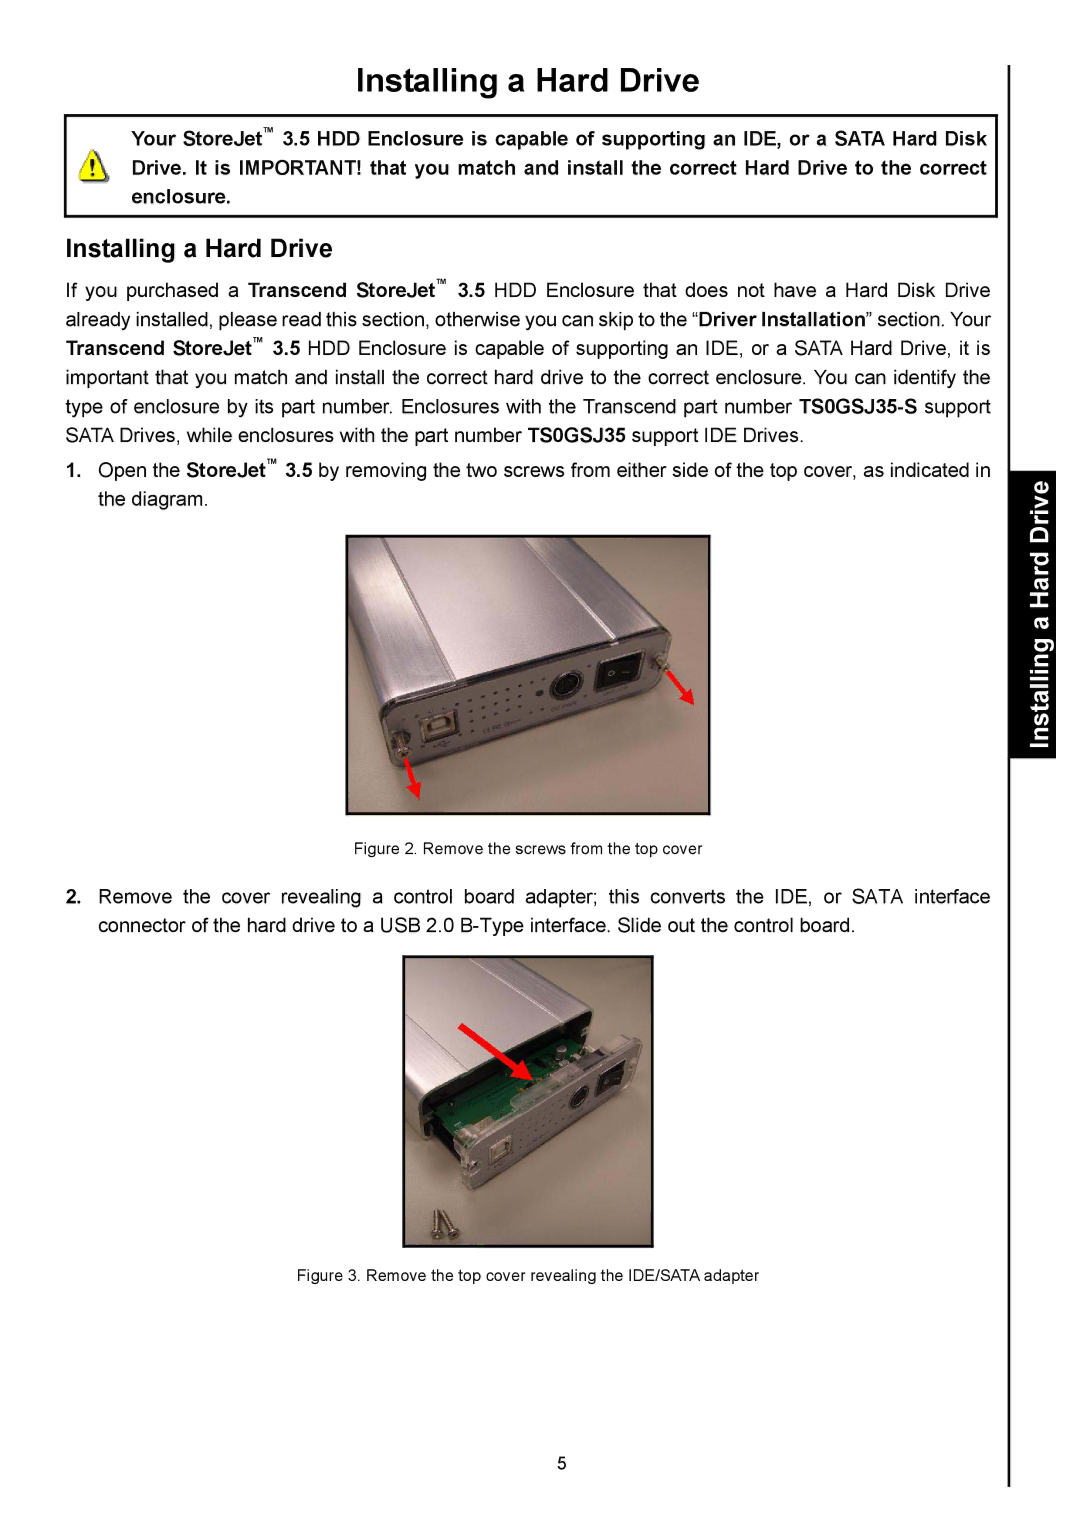
1.Open the StoreJet™ 3.5 by removing the two screws from either side of the top cover, as indicated in the diagram.
Installing a Hard Drive
Figure 2. Remove the screws from the top cover
2.Remove the cover revealing a control board adapter; this converts the IDE, or SATA interface connector of the hard drive to a USB 2.0
Figure 3. Remove the top cover revealing the IDE/SATA adapter
5
