V. CARE & MAINTENANCE
WARNING:
DISCONNECT ELECTRICAL POWER SUPPLY BEFORE CLEANING ANY PARTS OF THE UNIT.
V. a - CLEANING THE CONDENSER:
The most important thing you can do to insure a long, reliable service life for your Traulsen is to regularly clean the condenser coil.
The condensing unit requires regularly scheduled cleaning to keep the finned condenser clean of lint and dust accummulation. Keeping the condenser clean allows the cabinet to operate more efficiently and use less energy.
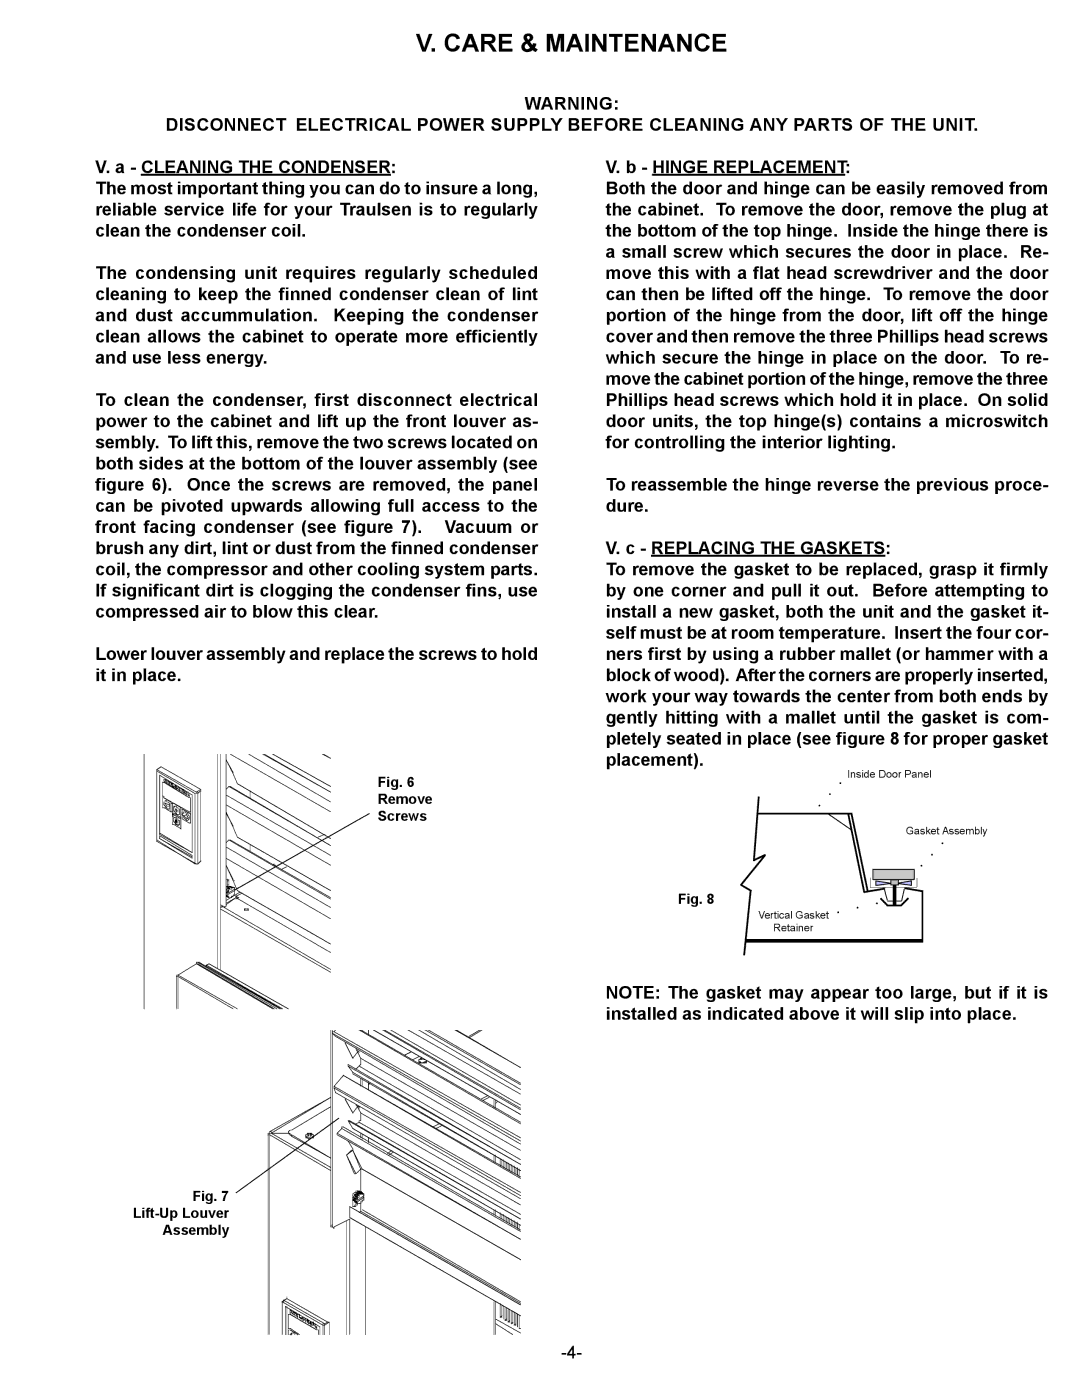
To clean the condenser, first disconnect electrical power to the cabinet and lift up the front louver as- sembly. To lift this, remove the two screws located on both sides at the bottom of the louver assembly (see figure 6). Once the screws are removed, the panel can be pivoted upwards allowing full access to the front facing condenser (see figure 7). Vacuum or brush any dirt, lint or dust from the finned condenser coil, the compressor and other cooling system parts. If significant dirt is clogging the condenser fins, use compressed air to blow this clear.
Lower louver assembly and replace the screws to hold it in place.
Fig. 6
Remove
Screws
V. b - HINGE REPLACEMENT:
Both the door and hinge can be easily removed from the cabinet. To remove the door, remove the plug at the bottom of the top hinge. Inside the hinge there is a small screw which secures the door in place. Re- move this with a flat head screwdriver and the door can then be lifted off the hinge. To remove the door portion of the hinge from the door, lift off the hinge cover and then remove the three Phillips head screws which secure the hinge in place on the door. To re- move the cabinet portion of the hinge, remove the three Phillips head screws which hold it in place. On solid door units, the top hinge(s) contains a microswitch for controlling the interior lighting.
To reassemble the hinge reverse the previous proce- dure.
V. c - REPLACING THE GASKETS:
To remove the gasket to be replaced, grasp it firmly by one corner and pull it out. Before attempting to install a new gasket, both the unit and the gasket it- self must be at room temperature. Insert the four cor- ners first by using a rubber mallet (or hammer with a block of wood). After the corners are properly inserted, work your way towards the center from both ends by gently hitting with a mallet until the gasket is com- pletely seated in place (see figure 8 for proper gasket placement).
Inside Door Panel
Gasket Assembly
Fig. 8
Vertical Gasket
Retainer
NOTE: The gasket may appear too large, but if it is installed as indicated above it will slip into place.
Fig. 7
Assembly