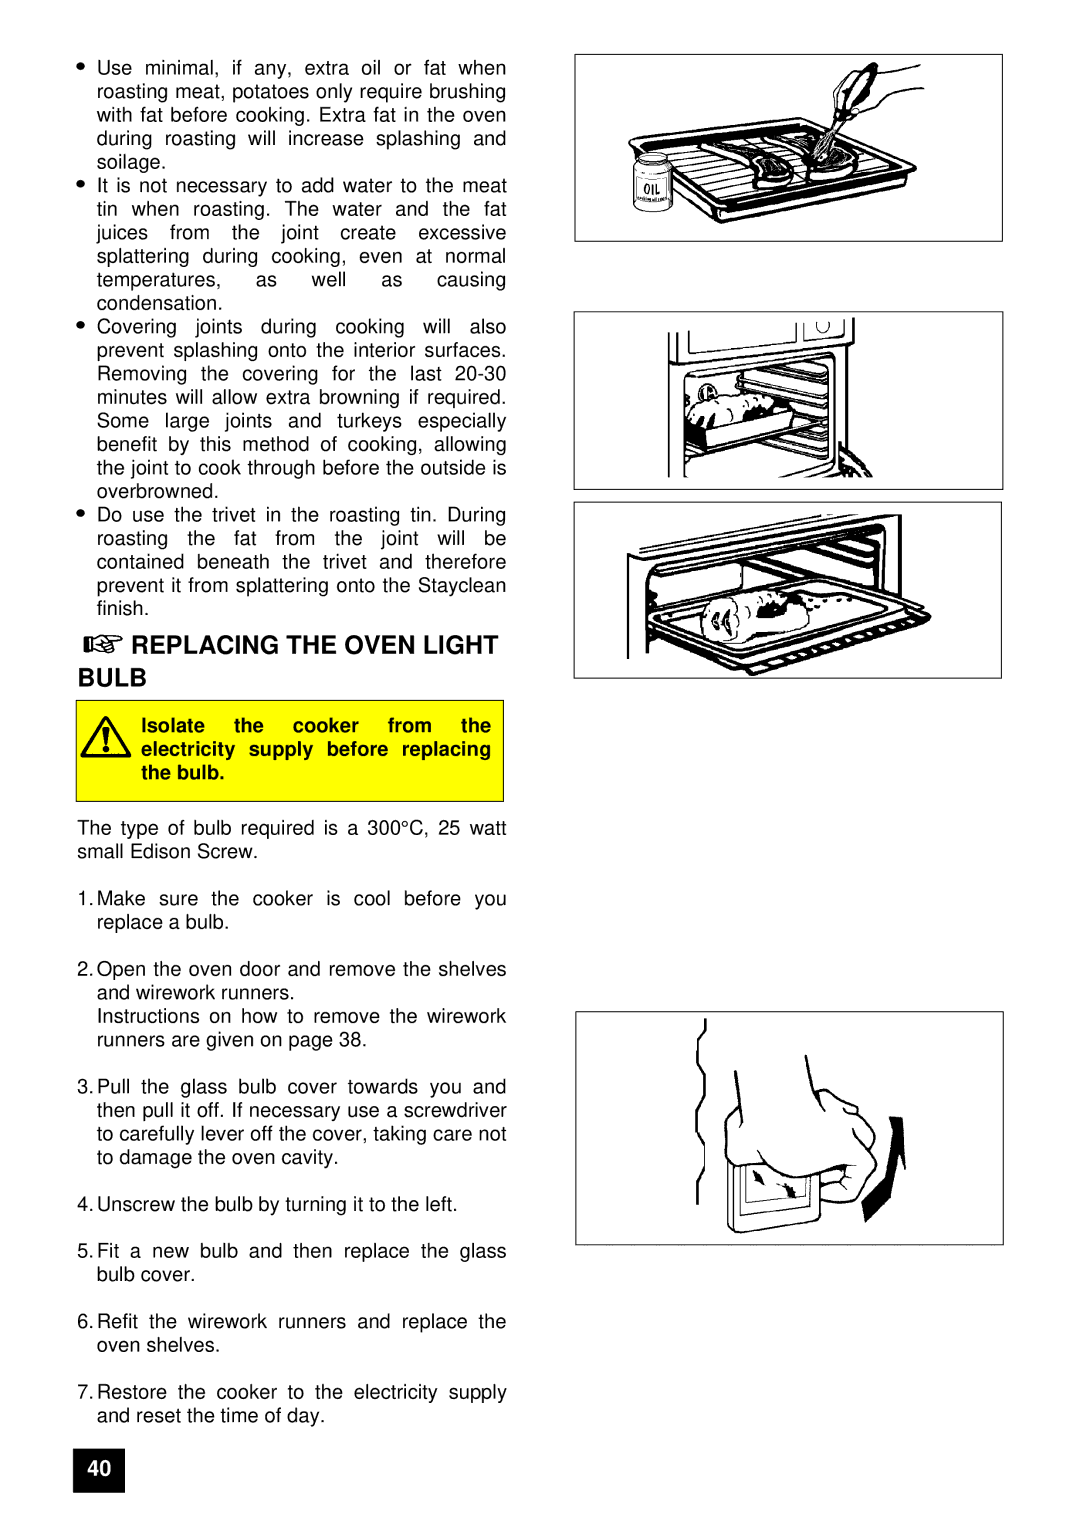
Use minimal, if any, extra oil or fat when roasting meat, potatoes only require brushing with fat before cooking. Extra fat in the oven during roasting will increase splashing and soilage.
It is not necessary to add water to the meat tin when roasting. The water and the fat juices from the joint create excessive splattering during cooking, even at normal temperatures, as well as causing condensation.
Covering joints during cooking will also prevent splashing onto the interior surfaces. Removing the covering for the last
Do use the trivet in the roasting tin. During roasting the fat from the joint will be contained beneath the trivet and therefore prevent it from splattering onto the Stayclean finish.
 REPLACING THE OVEN LIGHT BULB
Isolate the cooker from the electricity supply before replacing the bulb.
The type of bulb required is a 300°C, 25 watt small Edison Screw.
1.Make sure the cooker is cool before you replace a bulb.
2.Open the oven door and remove the shelves and wirework runners.
Instructions on how to remove the wirework runners are given on page 38.
3.Pull the glass bulb cover towards you and then pull it off. If necessary use a screwdriver to carefully lever off the cover, taking care not to damage the oven cavity.
4.Unscrew the bulb by turning it to the left.
5.Fit a new bulb and then replace the glass bulb cover.
6.Refit the wirework runners and replace the oven shelves.
7.Restore the cooker to the electricity supply and reset the time of day.
40