Battery Selection
Match Battery Amp-Hour Capacity to Your Application
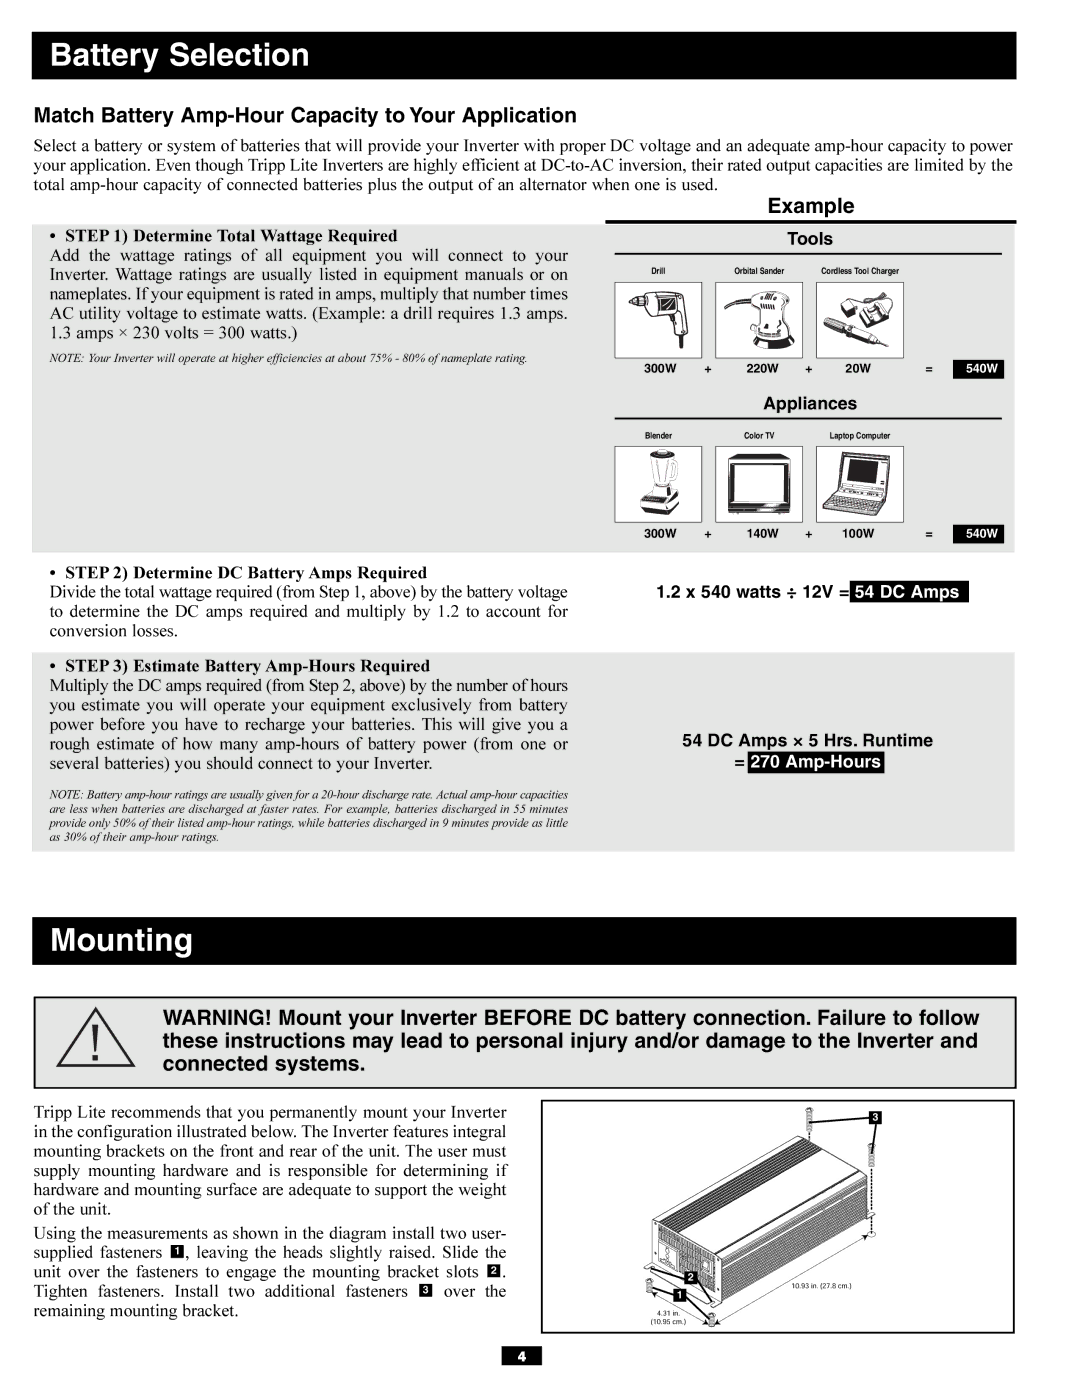
Select a battery or system of batteries that will provide your Inverter with proper DC voltage and an adequate
|
|
|
| Example |
|
| ||
• STEP 1) Determine Total Wattage Required |
|
|
|
| Tools |
|
| |
Add the wattage ratings of all equipment you will connect to | your |
|
|
|
|
|
|
|
Inverter. Wattage ratings are usually listed in equipment manuals or on | Drill |
| Orbital Sander |
| Cordless Tool Charger |
|
| |
|
|
|
|
|
|
| ||
nameplates. If your equipment is rated in amps, multiply that number times |
|
|
|
|
|
|
| |
AC utility voltage to estimate watts. (Example: a drill requires 1.3 amps. |
|
|
|
|
|
|
| |
1.3 amps × 230 volts = 300 watts.) |
|
|
|
|
|
|
|
|
NOTE: Your Inverter will operate at higher efficiencies at about 75% - 80% of nameplate rating. |
| 300W | + | 220W | + | 20W | = | 540W |
|
| |||||||
Appliances
Blender | Color TV | Laptop Computer |
300W | + | 140W | + | 100W | = | 540W |
• STEP 2) Determine DC Battery Amps Required
Divide the total wattage required (from Step 1, above) by the battery voltage to determine the DC amps required and multiply by 1.2 to account for conversion losses.
• STEP 3) Estimate Battery
Multiply the DC amps required (from Step 2, above) by the number of hours you estimate you will operate your equipment exclusively from battery power before you have to recharge your batteries. This will give you a rough estimate of how many
NOTE: Battery
1.2 x 540 watts ÷ 12V = 54 DC Amps
54 DC Amps × 5 Hrs. Runtime
=270
Mounting
WARNING! Mount your Inverter BEFORE DC battery connection. Failure to follow these instructions may lead to personal injury and/or damage to the Inverter and connected systems.
Tripp Lite recommends that you permanently mount your Inverter in the configuration illustrated below. The Inverter features integral mounting brackets on the front and rear of the unit. The user must supply mounting hardware and is responsible for determining if hardware and mounting surface are adequate to support the weight of the unit.
Using the measurements as shown in the diagram install two user- supplied fasteners 1 , leaving the heads slightly raised. Slide the unit over the fasteners to engage the mounting bracket slots 2 . Tighten fasteners. Install two additional fasteners 3 over the remaining mounting bracket.
![]() 3
3
![]() 2
2 ![]() 1
1
4
