630C, 1634A specifications
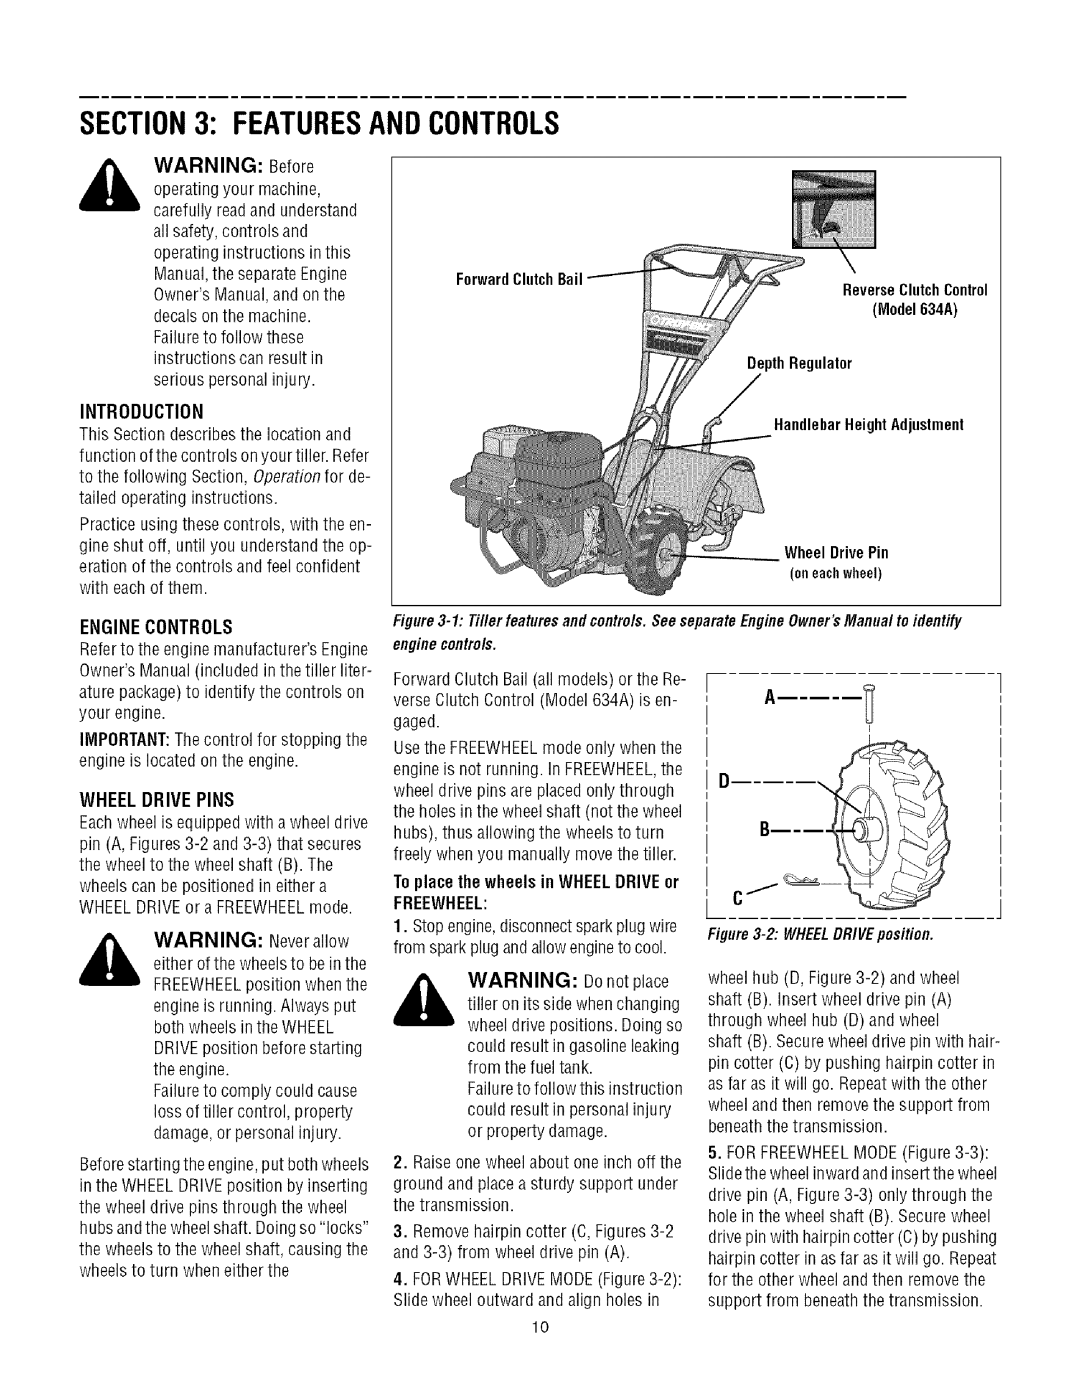
The Troy-Bilt line of tillers, specifically the 634A, 630C, and 634F models, represents a blend of reliability, power, and advanced engineering designed to meet the needs of avid gardeners and professional landscapers alike. Each model boasts unique features and technologies that enhance performance and usability.The Troy-Bilt 634A is equipped with a 6.5 HP engine, providing ample power for tackling tough soil conditions. The tiller's 16-inch tilling width allows for efficient breaking up of soil, while its impressive tilling depth of up to 8 inches ensures that garden beds are adequately prepared for planting. The 634A model features a lightweight design, making it easy to maneuver around flower beds and garden rows. Additionally, the adjustable handlebar enhances comfort during operation, accommodating various user heights.
In contrast, the Troy-Bilt 630C offers a slightly different approach. This model is designed for those who seek enhanced control and precision while tilling. It features a 6.75 HP engine and similar tilling capabilities but adds an innovative counter-rotating tilling technology. This feature is particularly useful for breaking up compacted soil and mixing in organic materials, resulting in a well-aerated and fertile garden bed. The 630C also comes equipped with a variety of attachments, allowing users to expand its functionality for different gardening tasks.
The 634F model elevates the line further with its robust frame and advanced features. With a powerful 7 HP engine, it provides optimal performance for larger plots of land. The 634F is designed with a wider tilling width of 18 inches, making it perfect for larger gardens and landscaping projects. Its self-propelled system allows for effortless movement across various terrains, reducing user fatigue. Additionally, the 634F includes a unique automatic depth adjustment feature, enabling gardeners to achieve the desired tilling depth without constant manual adjustments.
Across all three models, Troy-Bilt's commitment to user-friendly design shines through. Features such as easy-to-access controls, durable construction, and stable wheels enhance overall usability. The patented "Forward and Reverse" operating system found in these tillers ensures that gardeners can navigate easily in tight spaces, making them versatile for any gardening situation. The combination of power, advanced technology, and user-focused design makes the Troy-Bilt 634A, 630C, and 634F top choices for those looking to cultivate their garden with ease and efficiency.

