Section 4: Operation
4.When the turn is complete, shift to NEUTRAL and lower the handlebars. Move Tines/PTO Clutch Lever back to ENGAGE position and resume forward operation.
Transporting The Tiller Around Your Property
When the engine is running, the tiller’s powered wheels make moving the tiller to and from the garden easy. If the engine is not running set the Wheel Speed Lever to FREEWHEEL position to roll the tiller to another location.
WARNING
To help avoid personal injury from revolving tines, always put the Tines/PTO Clutch Lever in DISENGAGE position before transporting, loading, or unloading tiller.
1.Place the Tines/PTO Clutch Lever in DISENGAGE position.
2.Move Depth Regulator Lever down all the way into the Travel setting.
3.If using engine power, move Wheel Speed Lever to either SLOW or FAST, and use the Wheels/Tines/PTO Drive Lever to drive the wheels.
4.If the engine is stopped, move Wheel Speed Lever to FREEWHEEL, and manually push tiller.
Testing the Forward
Interlock Safety System
The Forward Interlock Safety System is designed to shut the tiller engine off immediately if you lose control and cannot stop moving FORWARD by shifting the Wheels/Tines/PTO Drive Lever into NEUTRAL. When you release both Forward Interlock Levers, they send ground to the ignition system thereby stopping the engine. Squeezing one or both levers up against the handlebars enables the ignition system; therefore, you must squeeze at least one lever whenever the Wheels/Tines/PTO Drive Lever is engaged in FORWARD.
IMPORTANT: The interlock system also prevents the engine from starting if the Wheels/Tines/PTO Drive Lever is engaged in FORWARD.
DANGER
The Forward Interlock Safety System is designed for the operator’s safety. Do not disconnect or attempt to defeat the purpose of the system. If the system malfunctions, immediately contact your local authorized dealer or the
How to Check the Interlock System
The Forward Interlock System has an
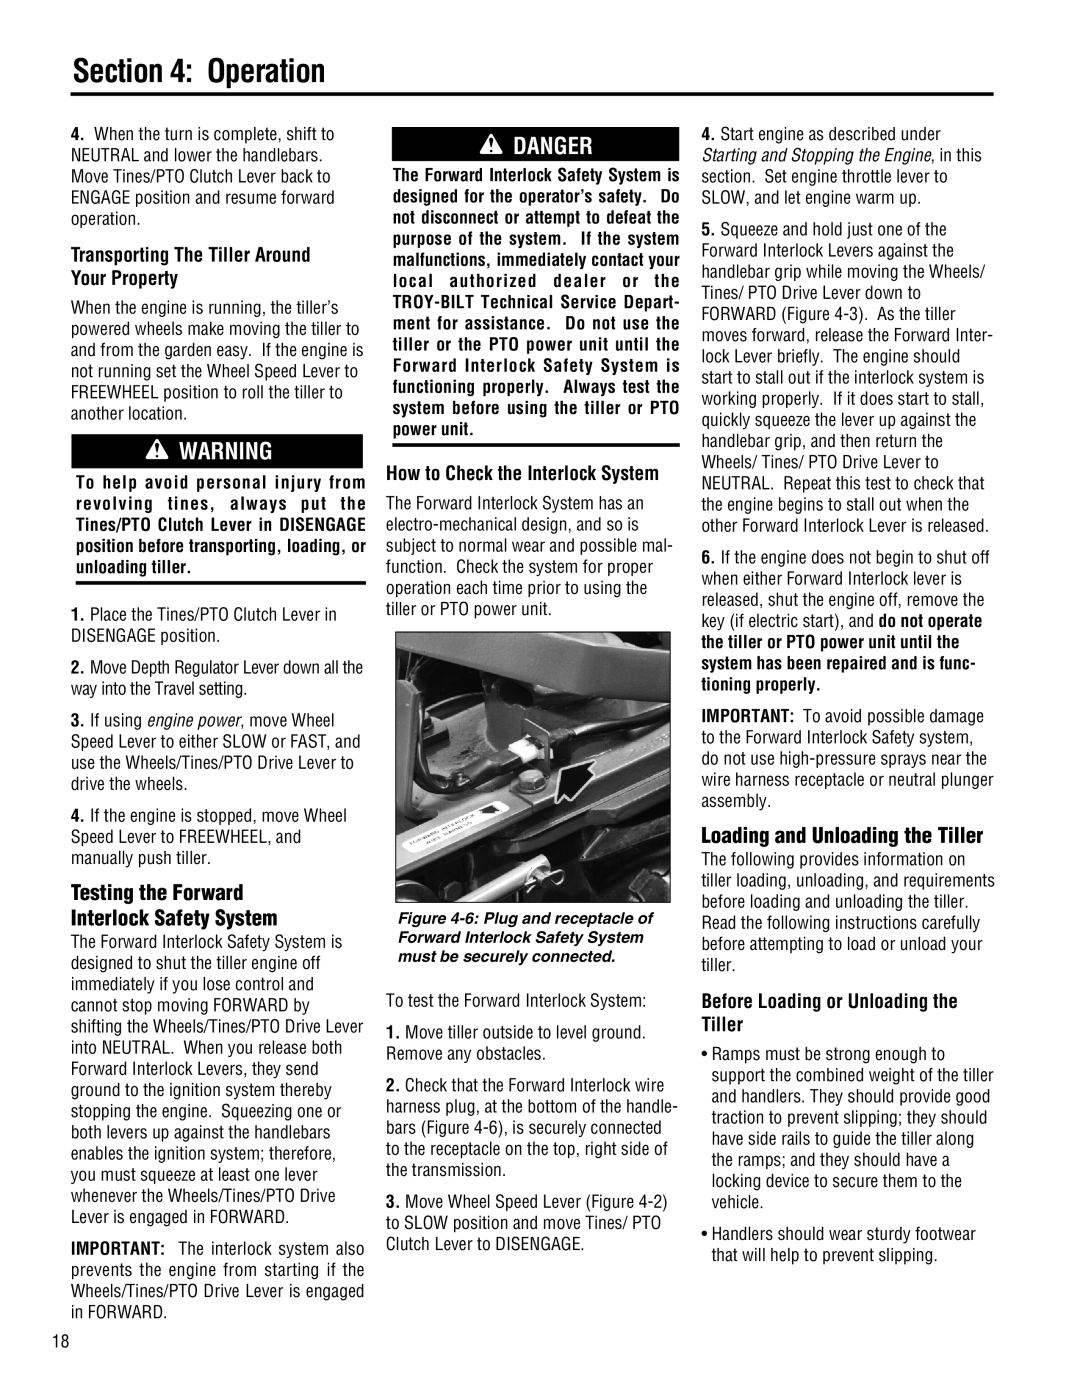
Figure 4-6: Plug and receptacle of Forward Interlock Safety System must be securely connected.
To test the Forward Interlock System:
1.Move tiller outside to level ground. Remove any obstacles.
2.Check that the Forward Interlock wire harness plug, at the bottom of the handle- bars (Figure
3.Move Wheel Speed Lever (Figure
4.Start engine as described under Starting and Stopping the Engine, in this section. Set engine throttle lever to SLOW, and let engine warm up.
5.Squeeze and hold just one of the Forward Interlock Levers against the handlebar grip while moving the Wheels/ Tines/ PTO Drive Lever down to FORWARD (Figure
6.If the engine does not begin to shut off when either Forward Interlock lever is released, shut the engine off, remove the key (if electric start), and do not operate the tiller or PTO power unit until the system has been repaired and is func- tioning properly.
IMPORTANT: To avoid possible damage to the Forward Interlock Safety system, do not use
Loading and Unloading the Tiller
The following provides information on tiller loading, unloading, and requirements before loading and unloading the tiller. Read the following instructions carefully before attempting to load or unload your tiller.
Before Loading or Unloading the Tiller
•Ramps must be strong enough to support the combined weight of the tiller and handlers. They should provide good traction to prevent slipping; they should have side rails to guide the tiller along the ramps; and they should have a locking device to secure them to the vehicle.
•Handlers should wear sturdy footwear that will help to prevent slipping.
18
