Door Alignment Check and Adjustment
IMPORTANT
Properly aligned, the door’s gasket should be firmly in contact with the cabinet all the way around the door (no gaps). Carefully examine the door’s gasket to assure that it is firmly in contact with the cabinet. Also make sure the door gasket is not pinched on the hinge side of the door.
ULIN_0210_A
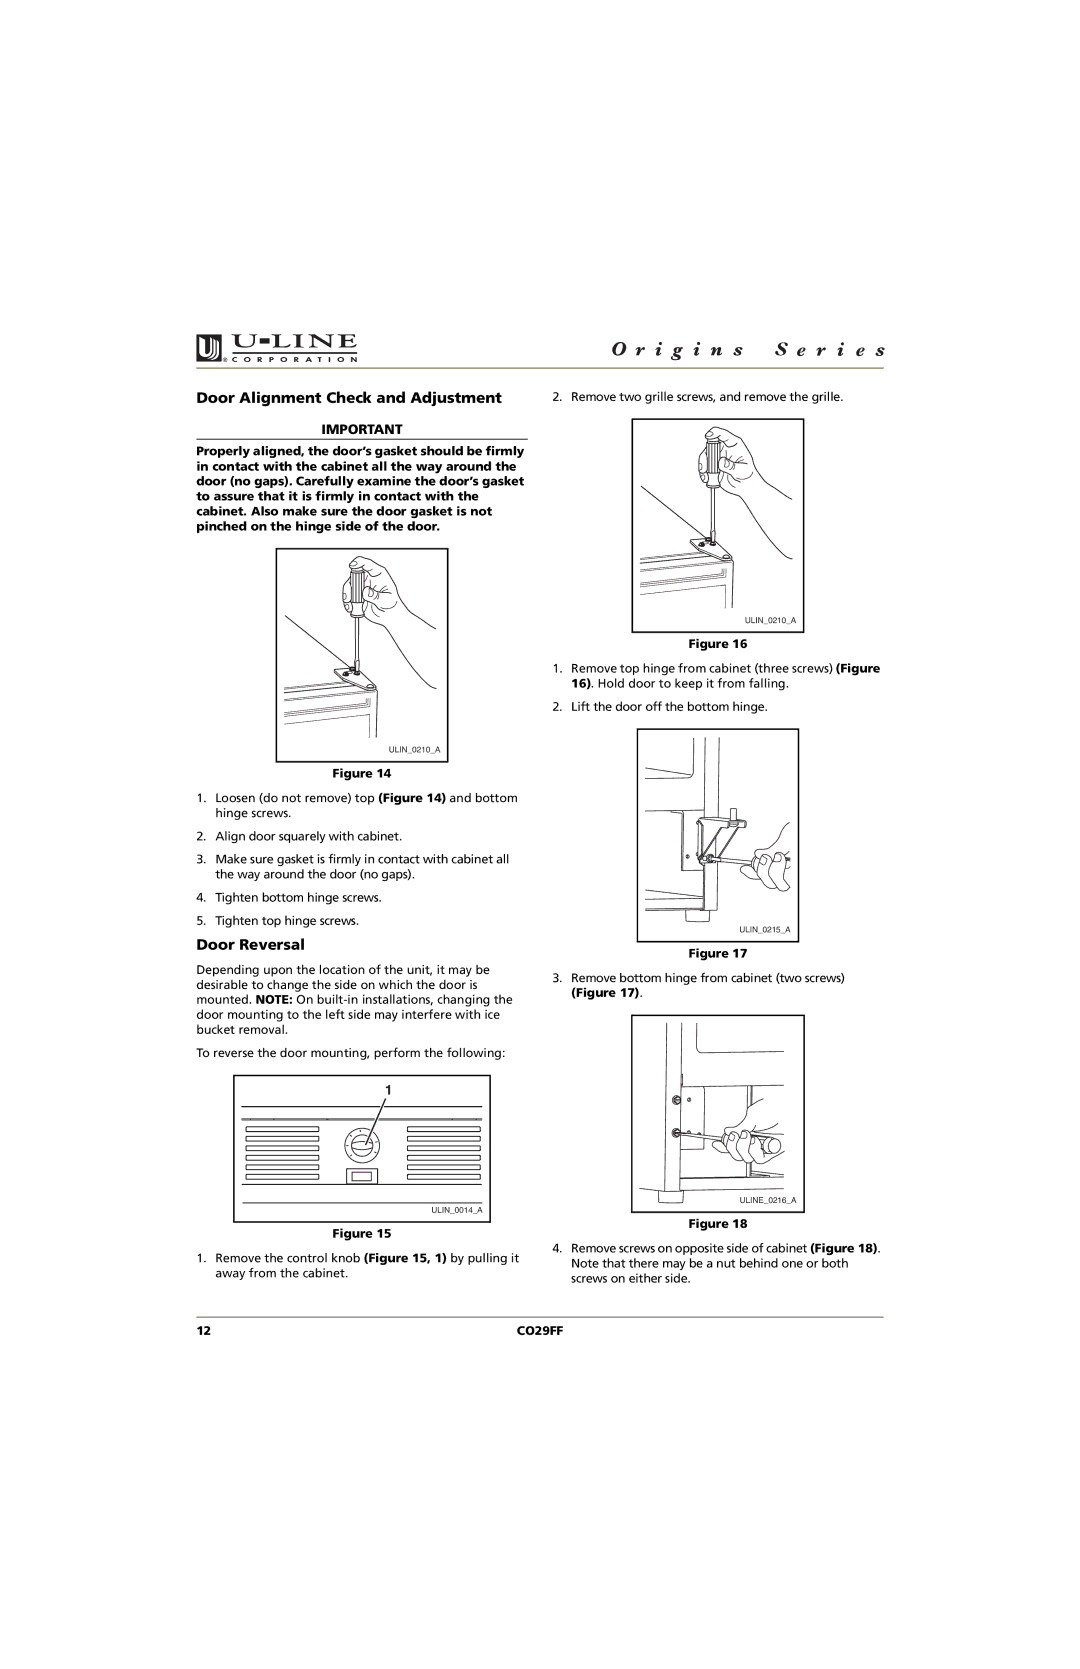
Figure 14
1.Loosen (do not remove) top (Figure 14) and bottom hinge screws.
2.Align door squarely with cabinet.
3.Make sure gasket is firmly in contact with cabinet all the way around the door (no gaps).
4.Tighten bottom hinge screws.
5.Tighten top hinge screws.
Door Reversal
Depending upon the location of the unit, it may be desirable to change the side on which the door is mounted. NOTE: On
To reverse the door mounting, perform the following:
1
ULIN_0014_A
Figure 15
1.Remove the control knob (Figure 15, 1) by pulling it away from the cabinet.
2. Remove two grille screws, and remove the grille.
ULIN_0210_A
Figure 16
1.Remove top hinge from cabinet (three screws) (Figure 16). Hold door to keep it from falling.
2.Lift the door off the bottom hinge.
ULIN_0215_A
Figure 17
3.Remove bottom hinge from cabinet (two screws) (Figure 17).
ULINE_0216_A |
Figure 18
4.Remove screws on opposite side of cabinet (Figure 18). Note that there may be a nut behind one or both screws on either side.
12 | CO29FF |
