Using the Answering System
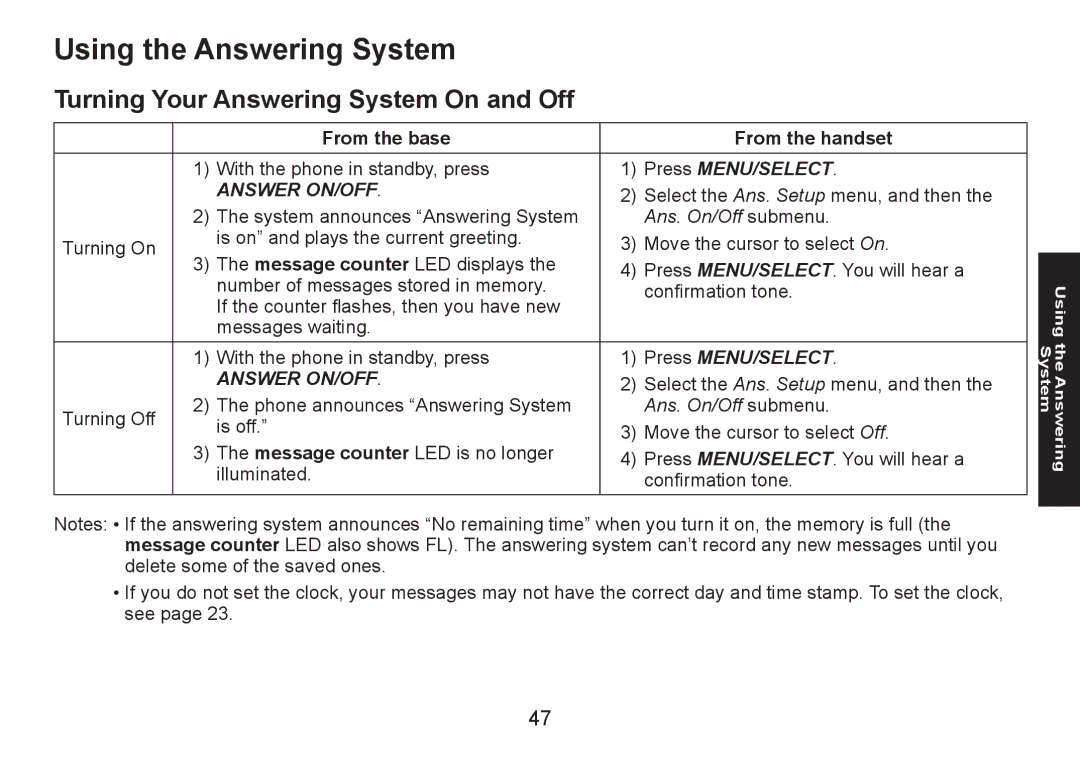
Turning Your Answering System On and Off
|
| From the base |
| From the handset |
| 1) | With the phone in standby, press . | 1) | Press Menu/Select. |
|
| ANSWER ON/OFF. | 2) | Select the Ans. Setup menu, and then the |
| 2) | The system announces “Answering System |
| Ans. On/Off submenu. |
Turning On |
| is on” and plays the current greeting. | 3) | Move the cursor to select On. |
| 3) | The message counter LED displays the | 4) | Press Menu/Select. You will hear a |
|
| number of messages stored in memory. |
| confirmation tone. |
|
| If the counter flashes, then you have new |
|
|
|
| messages waiting. |
|
|
| 1) | With the phone in standby, press . | 1) | Press Menu/Select. |
|
| ANSWER ON/OFF. | 2) | Select the Ans. Setup menu, and then the |
Turning Off | 2) | The phone announces “Answering System |
| Ans. On/Off submenu. |
| is off.” | 3) | Move the cursor to select Off. | |
|
| |||
| 3) | The message counter LED is no longer | 4) | Press Menu/Select. You will hear a |
|
| illuminated. |
| confirmation tone. |
Notes: • If the answering system announces “No remaining time” when you turn it on, the memory is full (the message counter LED also shows FL). The answering system can’t record any new messages until you delete some of the saved ones.
•If you do not set the clock, your messages may not have the correct day and time stamp. To set the clock, see page 23.
Using the Answering System
47
